Coming soon: Banging choons

Edit (March 2021): Change of plan. I decided against having any kind of stereo in my car. Without cutting up any panels, I would never had a stereo that sounded really good, and also because hearing the engine is far too important to me. The latter isn't just because I like the noise, though I do; it's because I need that feedback to instantly know when something is not right with is. This head unit has been sold and was posted off for its Forever Home in a Porsche 928.

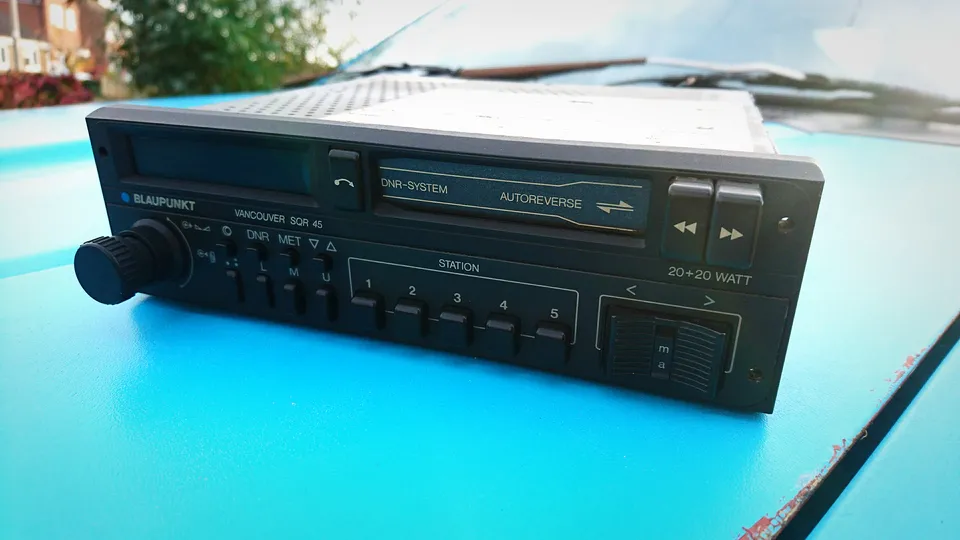
This is a Blaupunkt Vancouver SQR 45 head unit. As I am told, it was originally fitted to some expensive, high-end German cars. I believe, but do not know, it would have been fitted to the Porsche 944, and possibly the Porsche 911. Hopefully, someone coming here via a search engine will be able to correct me some day.

I got this for free, some years ago. Via some chain of events that I'm probably better off not knowing about, it ended up in my mum's 1988 Suzuki SJ410. A few years ago this Blaupunkt was, while still functioning, acting a little erratically, so it got replaced by a much more modern unit with a CD player, USB, and all those other things that people in the 1980s did not know they needed. This head unit was going to go in the bin. I thought it was too nice to go to landfill, and that some day it'd be a nice addition to Mazda Amy (which lacks a stereo), so I saved it.

Then some time passed, and with my car mostly working as it should, I decided I should actually do something with this stereo, so I got in touch with Bal from Retro Car Audio UK who did a refurb to bring it back to life. This cost me £285, which for most people doesn't resemble "cheap". I would not want this work to be done cheaply, because you get what you pay for. And this work was done on a rather rare head unit that I have seen selling for £200+ in working condition (not "refurbished by a pro and works exactly like new", as anything is when Bal is done with anything), I think the price was extremely reasonable. I could probably make a small profit selling it, though I don't plan on doing that.

The failure sheet, quoted directly from Bal, was this:

Power supply stiffening circuit malfunctioning

Radio PLL synthesizer circuit failure

Capacitor failure throughout - I will replace all electrolytic capacitors.

Cassette mechanism needs a full service

Volume pot oxidized

So it goes. Hey, Lewis-logic says it was a free stereo! Just like that time I bought a "cheap" Mazda 323, ha ha...

Anyway. It's here. It's lovely. Bal has done an extraordinary job. There are some practicalities I need to work out, though.

The UK edition 323 GTX had the stereo as an option in the "Lux" version of the car (that edition also including a body-coloured bodykit and alloy wheels). This stereo system only had two tiny speakers in the dashboard. The Rallye edition never had a stereo, but retains the two places where speakers would have been. Now, this car is extremely loud, because of its minimal sound deadening and 3" straight-through exhaust, and might get even louder in the near future via a tubular manifold and probably an obnoxious, totally illegal external wastegate. I'm not convinced that two tiny speakers are going to supply sufficient loudness, even with today's speakers being vastly superior to anything that existed in the 1980s.

But, I will not cut 6x9 holes in the parcel shelf I spent years trying to find (though I did briefly troll my brother, who acquired it for me, into thinking I would do just that, which was fun), or cut speaker holes in my even rarer original door cards. I need something stealthy. I think I can use the space under the front seats for a couple of compact subs, and maybe use the coin/random shit holder below the diff lock switch in the centre console for a small mid speaker.

There's also the small matter of getting the head unit to fit into the hole where a stereo should be. This may require home-brewed brackets!

Something that is not a practicality concern is the lack of an aux jack. Cheap tape adapters that you can buy for so little money that they may as well come free in your Corn Flakes are, by all accounts, remarkably good. Technology Connections from the YouTube explains why:

And because I like physical buttons, because I have a huge MP3 collection, and because I like not farting around with my phone while I am driving (it goes in my glovebox, on silent, and yours should too): this is probably going to be paired with a 5th generation iPod, running Rockbox. Or maybe I'll start a tape collection instead!

I'm also not totally happy with the backlight of the LCD on this one being green, when the illumination for the rest of the dash is consistently yellow/orange, but I'll park that one, for now.

Ah well, I'll poke around things this weekend. One expensive thing at a time.

Onwards!
Sitting pretty

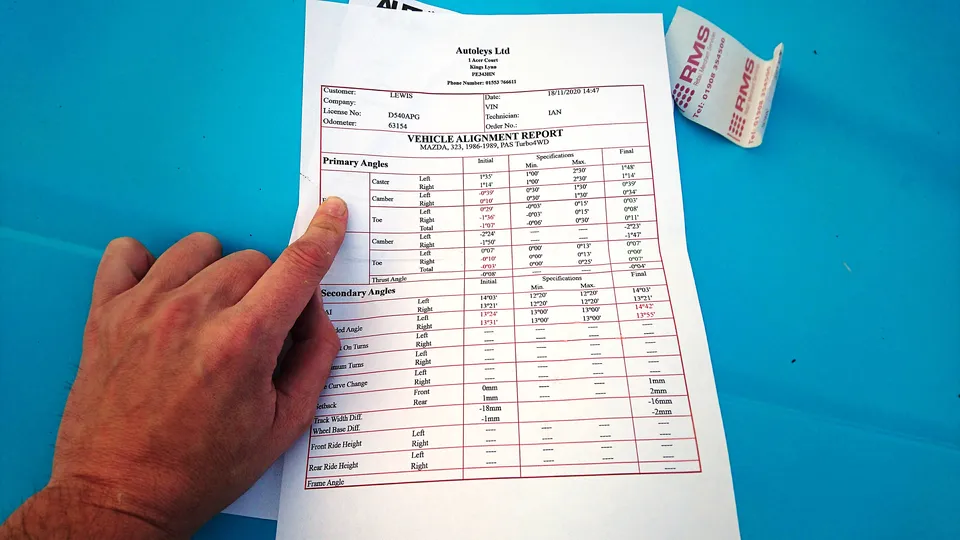
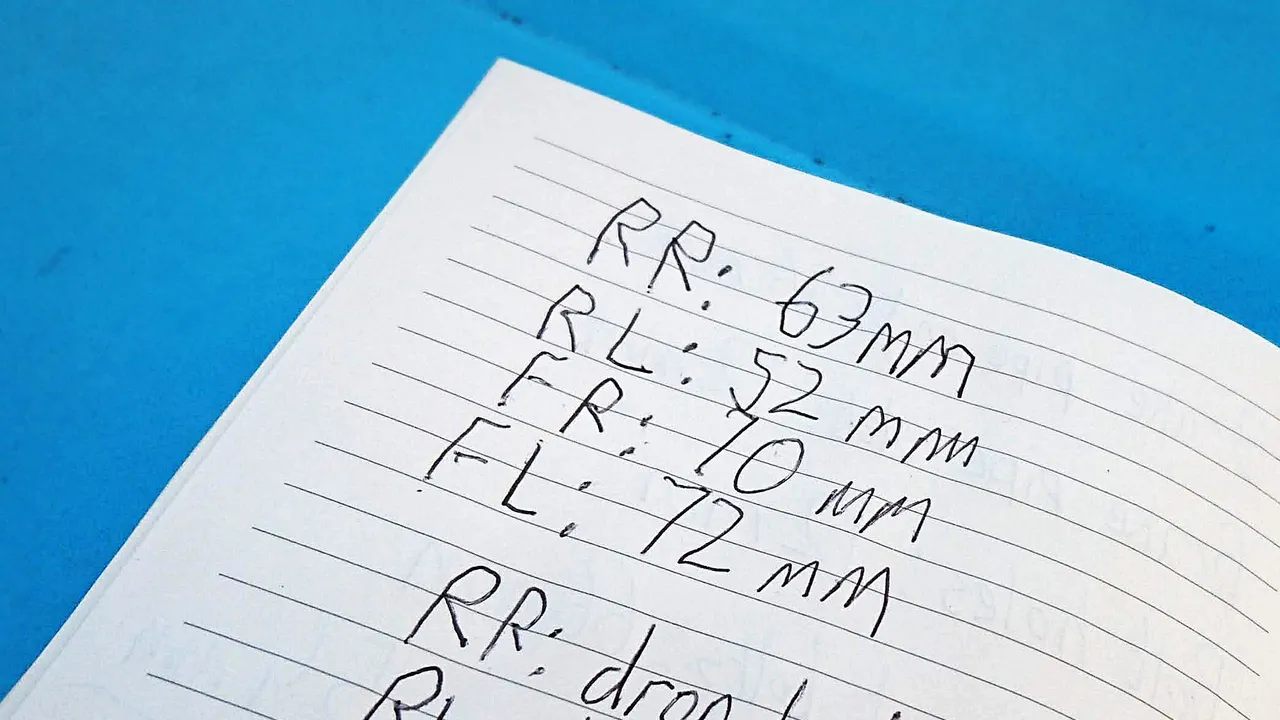
So the alignment is done, and the figures in the photo showed that I didn't do a terribly bad job with my bottle-jack alignment. But, lacking a level surface, let alone all the tooling and knowing what the fuck they're doing that a real garage has, I took my car to Autoleys in King's Lynn.

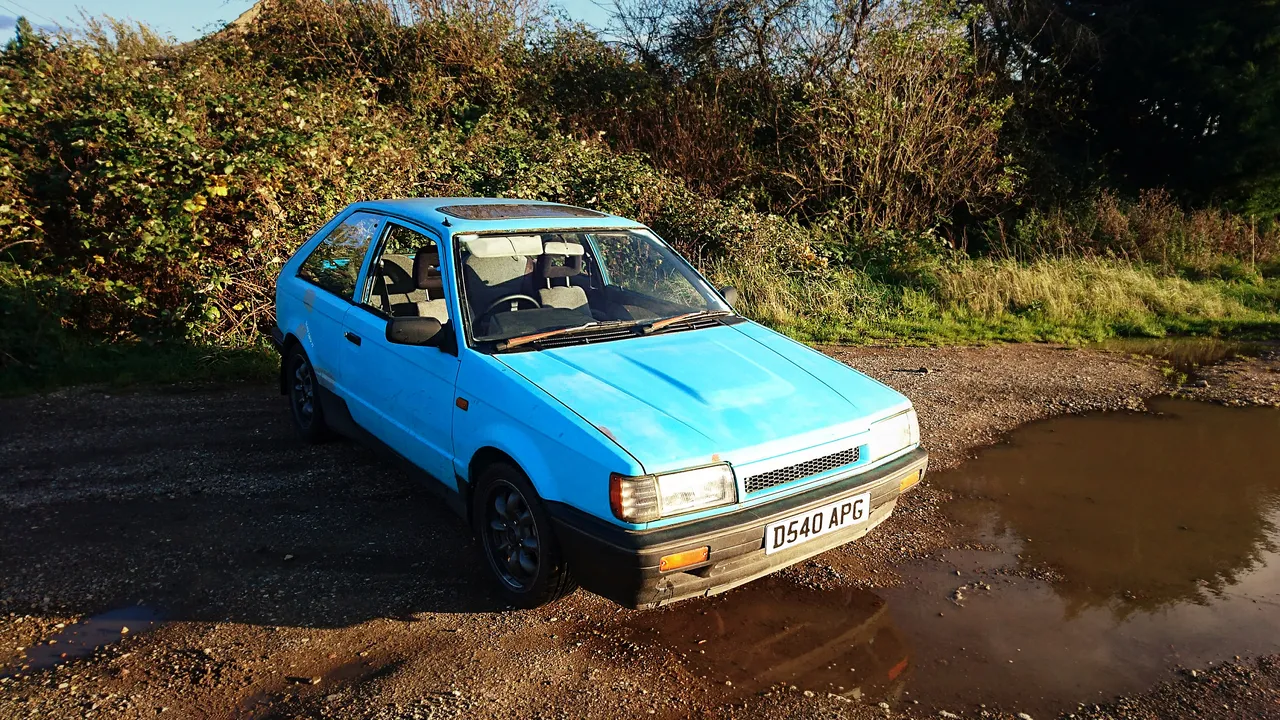
They normally work on BMWs, and it was quite fun bringing down the tone in their car park with a shitty-looking 1987 Mazda 323, but bringing down the tone wasn't why I picked them. It was the first place I found that would do alignment that didn't involve me driving on main roads. Not that I don't trust this car or anything, given that I'd already sorted out the horrific bump steer and the dangerous understeer, but.

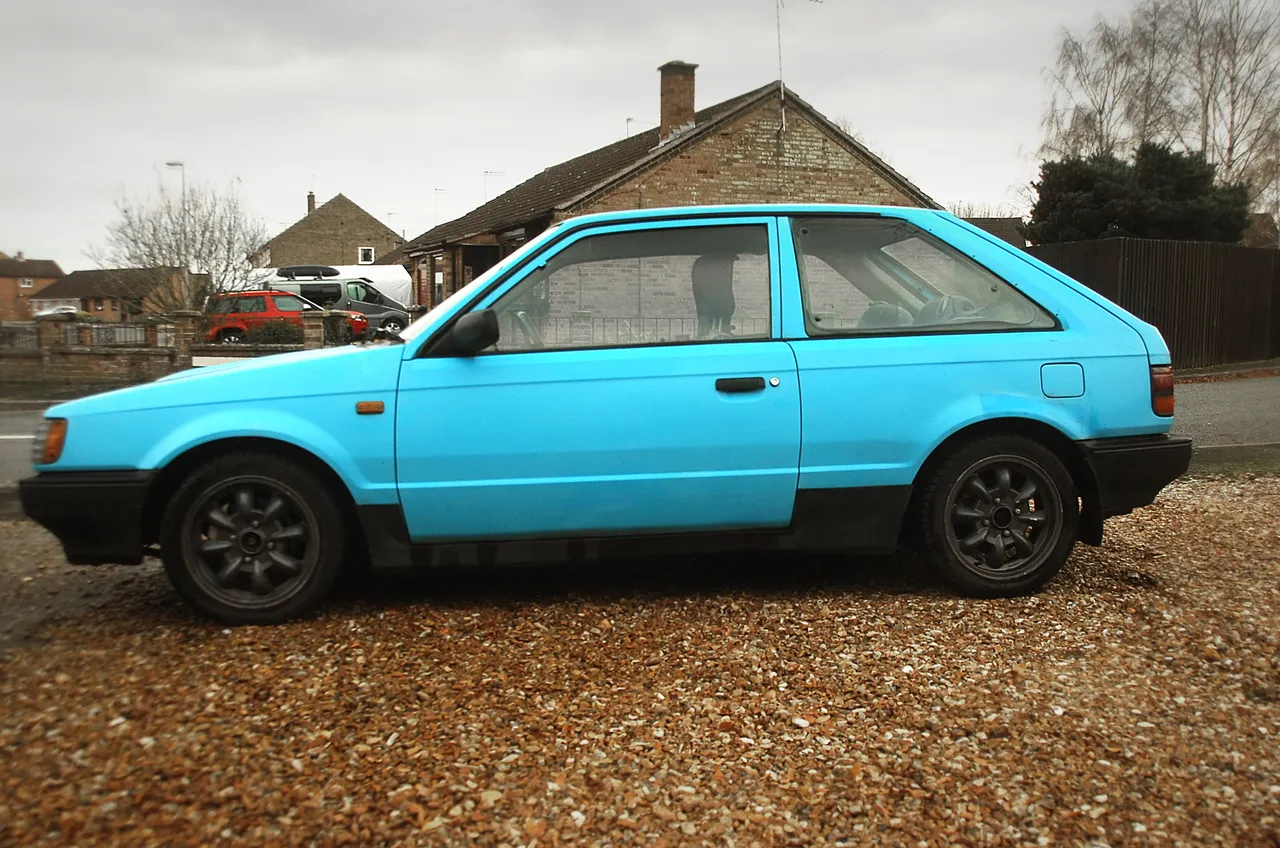
Anyway, this got done. I found a way to kill two hours in King's Lynn while Autoleys did what they did. And this car is better than she has ever been. I only write about this today, rather than on Wednesday, because I've had a chance to take her for a proper hoon two days in a row. Which means I can talk about how good the K-Sport suspension setup is now!

So, I've got my ride height exactly where I want it now:

Which partly happened by accident; from a previous episode, I took some dimensions from my collapsed former front suspension and used that as a baseline for my new suspension. Turned out that when you put not-collapsed brand-new front suspension following the old dimensions, the ride height is where I want it. No sump-smashing. There are no more "lows", but there are no also more scary noises when I hit a bump too fast.

I must say that the K-Sport suspension is awesome. It was horrendously expensive and I am happy with every penny I spent on it. The K-Sport suspension combined with good Toyo rubber means this car runs out of cornering ability long after I run out of bravery. Because this setup is okay with back roads and their corners at any speed, that also means that there are a lot of bits in the interior that are rattling at speed and it's quite hard to debug those rattles. That merely annoys me; maybe I'll find someone to ride with me and help me with that some time.

This chapter concludes with this: Everything is great. My car is still my favourite car in the world except that part where she's now both burning oil and leaking it from the front crankshaft seal. But that, is a thing to be solved another day.

Onwards!

Priorities

This week's problem: extremely low engine idle speed. It wants to sit at about 200-300 RPM, which is so low that it stalls or near-stalls the engine. This happened out of nowhere yesterday. This, only takes a few minutes to fix with a screwdriver.

So, instead of solving that problem I got a Bad Obsession Motorsport sticker for my horn push! And doesn't it look good.

It's actually lovely quality (it's very thick), and I reckon that's given me about another 15 horsepower. Or maybe it hasn't, but it's definitely a good idea to represent the greatest angle-grinder engineers in the world.

Onwards!

In which I spend a weekend on my car and don't make it worse

The title understates the success of my weekend. I actually improved it!

You may remember from the last episode:

Actually, that's a different photo; I used my trusty, battle-scarred SLR to take a photo today in the hope I'd get a better photo of the same thing, and still managed to get a bad photo. Maybe I'm just doomed if I try to take photos of anything but BMWs driving sideways past me at 50 miles per hour.

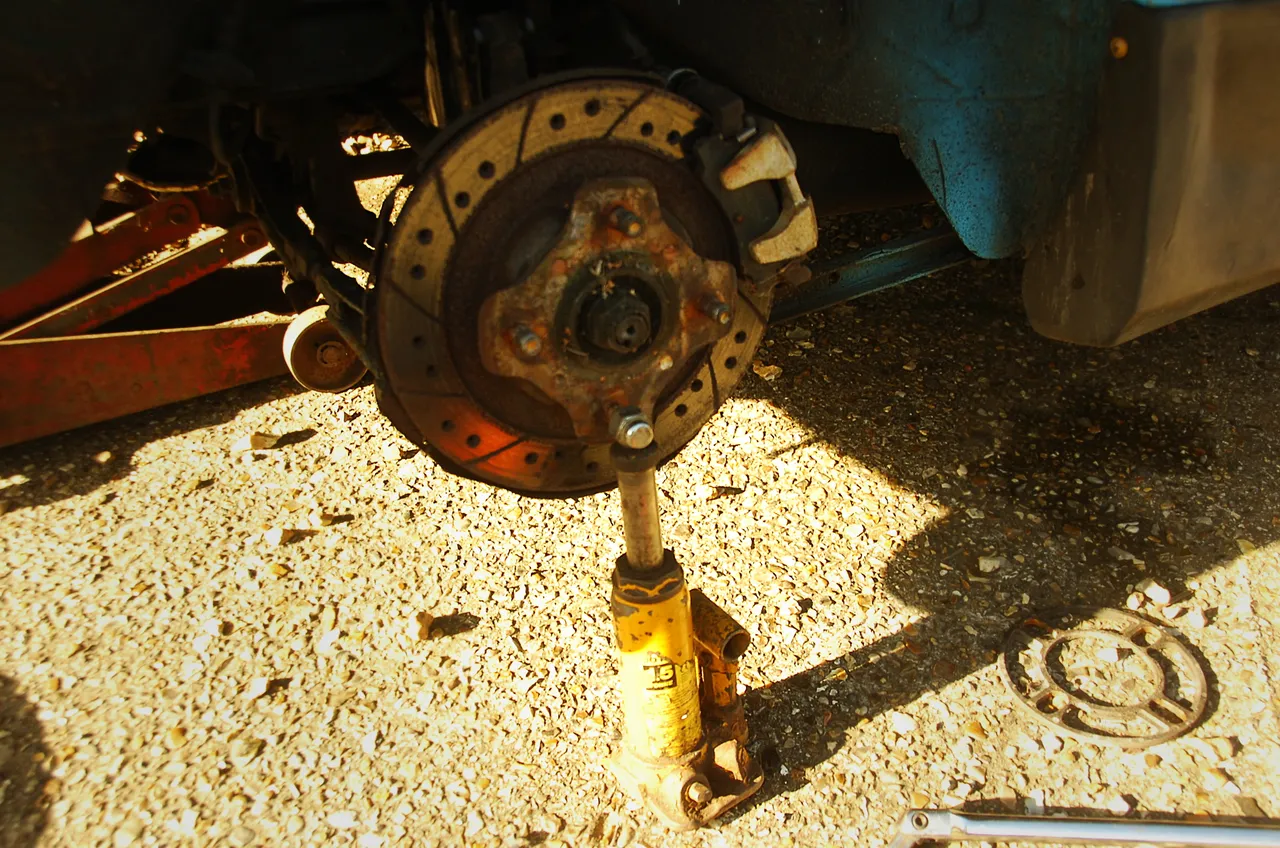
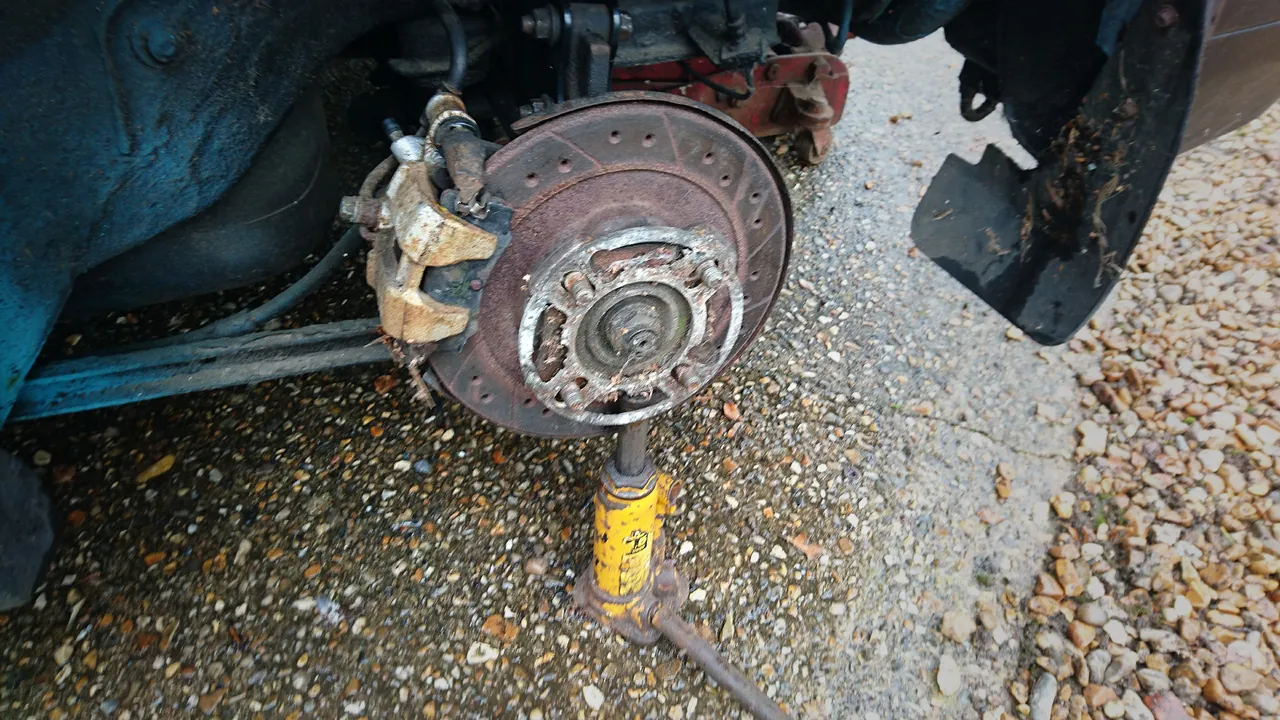
Anyway, that was the thing I worked out wherein I found it was much easier to get the bottom bolts in if you jack the hub up. At some point in the week, while working on something completely unrelated, I had a lightbulb moment: I had bolted up the front coilovers when the hub was dropped, which, from what little I know about suspension geometry on a car like this (mostly learned by osmosis from the drifters), means that I had ended up dialling in positive camber to the front suspension, which would almost certainly explain the bump steer and the near-dangerous amount of understeer.

I guess that's one of those things you don't know unless you know it; I've only fitted suspension on ancient Land Rovers in the past, so I don't feel bad about it. The upshot is: If you're doing coilovers on a car with fully independent suspension, always jack up the hub to roughly its natural sitting position (since your car is going to be jacked up when you do this, remember you need to do this relative to the body and not the ground) before doing up the bottom bolts.

So that's what I did when fitting my new longer bolts (sourced from the wonderful Franklin Industrial Supplies in King's Lynn, and picked up for me by the equally great Maurice due to my lack of a safe vehicle, so thanks to both). With the car back on all four wheels, I took it for a swervy spin down my street to get everything settled to where it wanted to settle, and with that settled down, I measured the gaps on each corner between the arch and an arbitrary point on the sidewall with my cheap Vernier.

Hey, I hate to boast about getting my front ride heights within two millimetres of each other, but it was a complete accident, so I'm probably not going to boast about getting my front ride heights within two millimetres of each other. I rather liked the extra ride height on the front, so I decided to raise the rear suspension to match it.

This is merely time-consuming, rather than difficult, especially when you know the thread pitch is 1.5mm. Working from the measurements I have, I needed to raise the rear left by 20mm; that meant unbolting the rear shocks at the bottom (and loosening them at the top, to give me some room to wiggle the shock around) and unscrew the bottom mount by 13 turns. I needed to raise the rear right by about 7mm, which meant unscrewing the bottom mount by 5 turns.

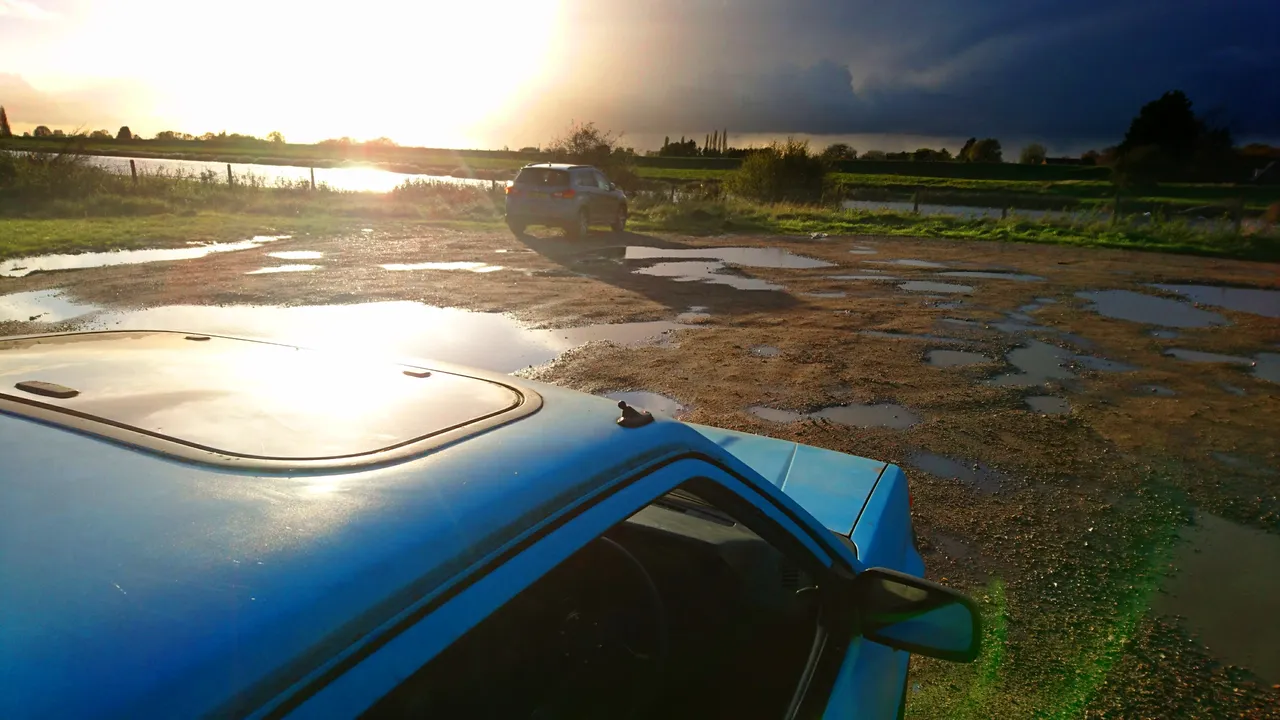
After that, it was time to go for a little spin on the bumpy backroads around here.

Yeah, that's a 'car park' around here, but the roads aren't much better...

And the end result...is the bump steer is almost gone, and the understeer is gone entirely! Yep, it still needs a proper alignment from people who know what they are doing and who have tools I don't have, and I'm going to see where I can get it booked in next week to make that happen, but I can confidently say this: The new suspension and the ride height has completely transformed the car. Yeah, the K-Sports were a bit of a fiddle, and you cannot fit them unless you have some minor fabrication skills, but they are awesome even at speed on the terrible roads in this little corner of Norfolk.

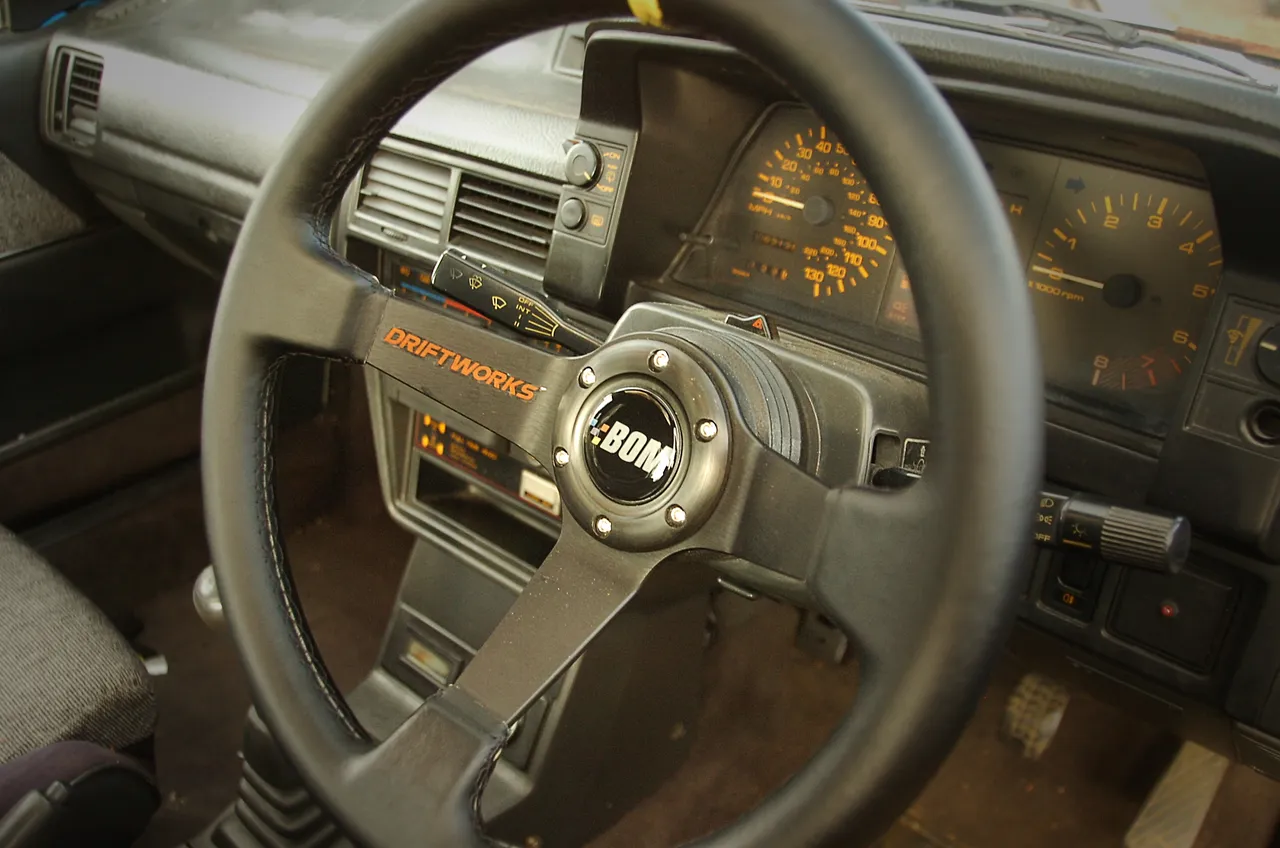
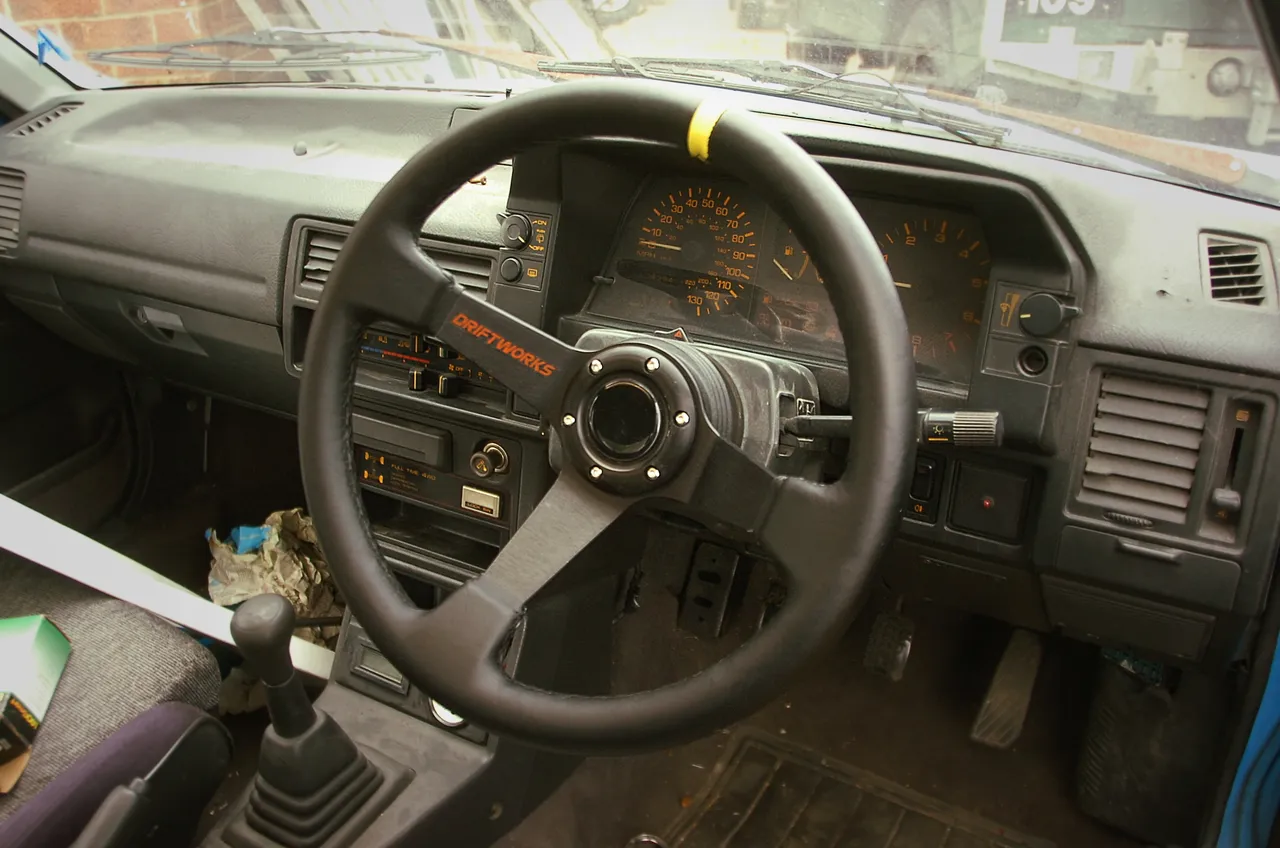
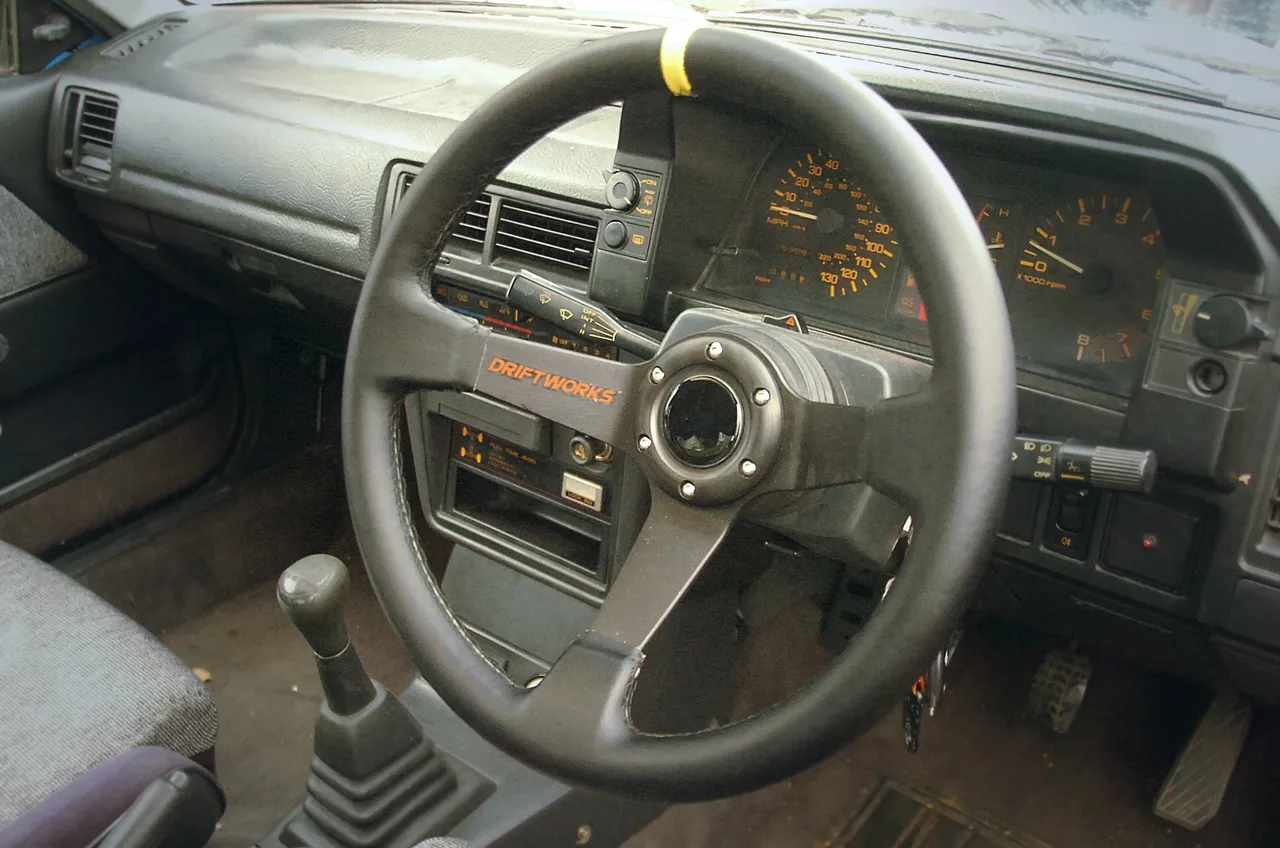
There's one more good thing that came out of this. Let's go back to the Driftworks steering wheel I bought and fitted a few months back:

You may notice that in this photo, the steering wheel is at a bit of an angle. The fun part is that this was with my steering centred. And no, this could not be because the boss was fitted incorrectly; there are two nubs on the Mazda steering column that meet two holes on the Mazda steering boss, which means it is impossible to get that wrong. It was annoying; because of the low sitting position in the Mazda, it meant that one of the spokes of the steering wheel was blocking the speedometer in the 20-30mph range.

Unfortunately, it was not quite out enough that I could unbolt the steering wheel and rotate it by one bolt spacing (6 bolts, so 60 degrees). I wrote this off as "I'll deal with it some other time", as I didn't want to pull the engine out to get to the steering box to fix a minor annoyance; I figured I'd get someone else to pull the engine out to get to the steering box to fix this minor annoyance at some point. I'm glad I didn't, because with the new suspension sitting correctly this happened:

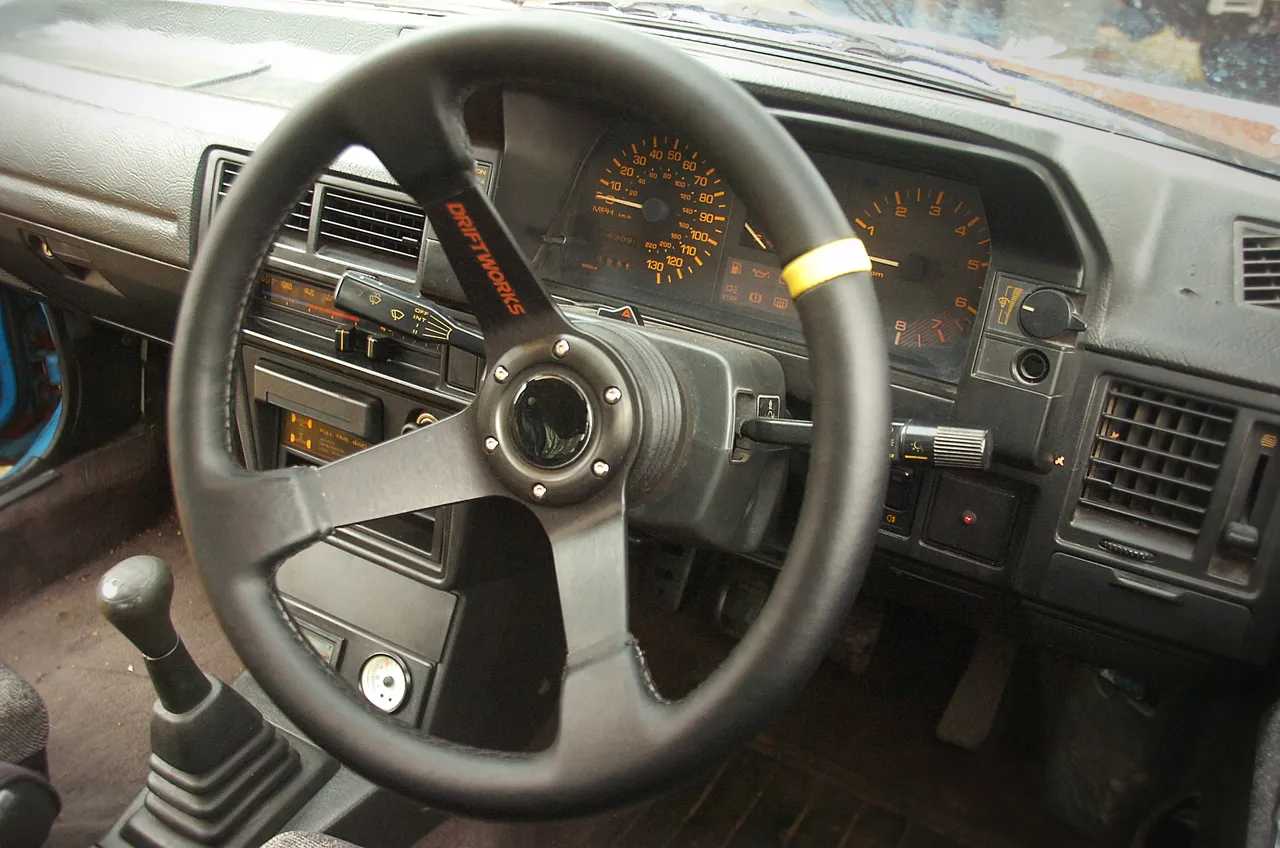
Which looked like everything had changed, such that the steering wheel was out by almost exactly 60 degrees, which meant I could unbolt and rotate the steering wheel by one bolt hole to the left:

And well, that's actually still not totally straight, but it'll do. And does that mean I actually fixed a steering alignment problem with this car with a prehistoric Halfords bottle jack? I don't know if I did, but that's not the story I'll tell everyone else in the future.

In short: I got everything done that I wanted to get done this weekend and fixed a thing I didn't even intend to fix. And that, means it was a good weekend. :)

Onwards!


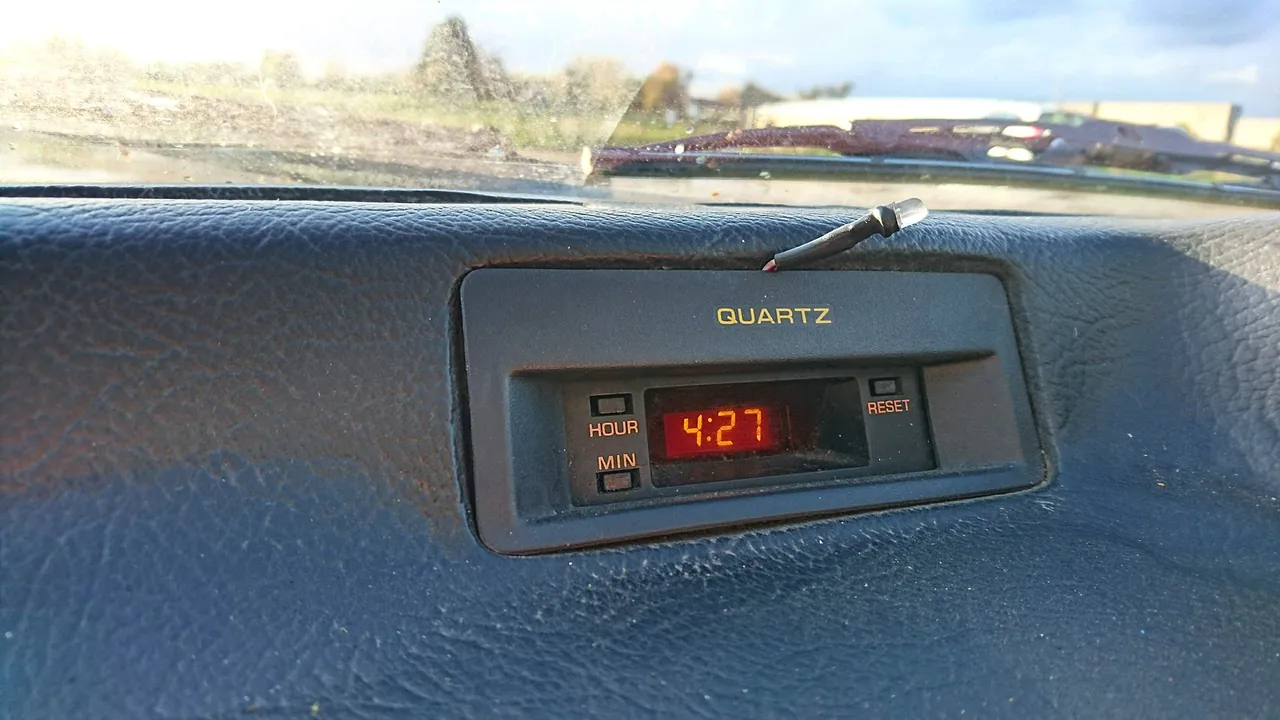
So last night that thing happened wherein the clocks shift by an hour, for entirely unclear reasons. I figured it might be time to change the clock in the car. I've never looked at the clock, really, other than that brief time when it was a canary for electrical problems. I've certainly not changed it; that means that the clock has not been set in 13 years. Today, I looked at it:

The time was actually 3:33pm (what sensible people call "15:33"), so when you ignore the clocks changing, the clock has lost 6 minutes, in over a decade. That's pretty impressive!

That LED poking out of the clock annoys me though. That's probably a remnant of the vestigial alarm system. That vestigial alarm system is something that I want to get rid of. But that, will come in a much later episode of "Lewis spends too much money on a 33 year old hatchback".

Fitting the K-Sport coilovers, episode "the rear"

So I joked at the start of the previous episode about things going smoothly and as expected until they do not go as expected, but the rears really did go as expected. There's no follow-up joke about this not going as expected this time! And not even the smallest hint of a bracket on this one.

Yeah, that probably would have been a more interesting photo if I had used my phone in portrait orientation but I refuse to do that for weird reasons. But they're on! It was rather uneventful, so I will visit assorted tangents while I talk about fitting them.

The downside with the K-Sport coilovers is that they do not have any instructions other than generic ones for no particular vehicle. That is expected, because they're specialist parts that assumes a specialist is fitting them. Which I am not! I'm just an idiot learning stuff as I go from an old car that consumes an alarmingly high amount of my disposable income.

One thing I learned is that when setting up the ride height it's not necessarily valid to offer your new coilovers against the old ones and match the heights; that only works if your spring rates on both the old and new ones are similar. It so happened, i.e. it was a coincidence, that this worked for the front shocks. When I tried this on the rear it left that corner sitting absurdly high. Alas, I did not think to take a picture of just how absurdly high it was, so I had to pay some mates of mine from Hollywood a lot of money to make a dramatic but very authentic CGI recreation of how this looked:

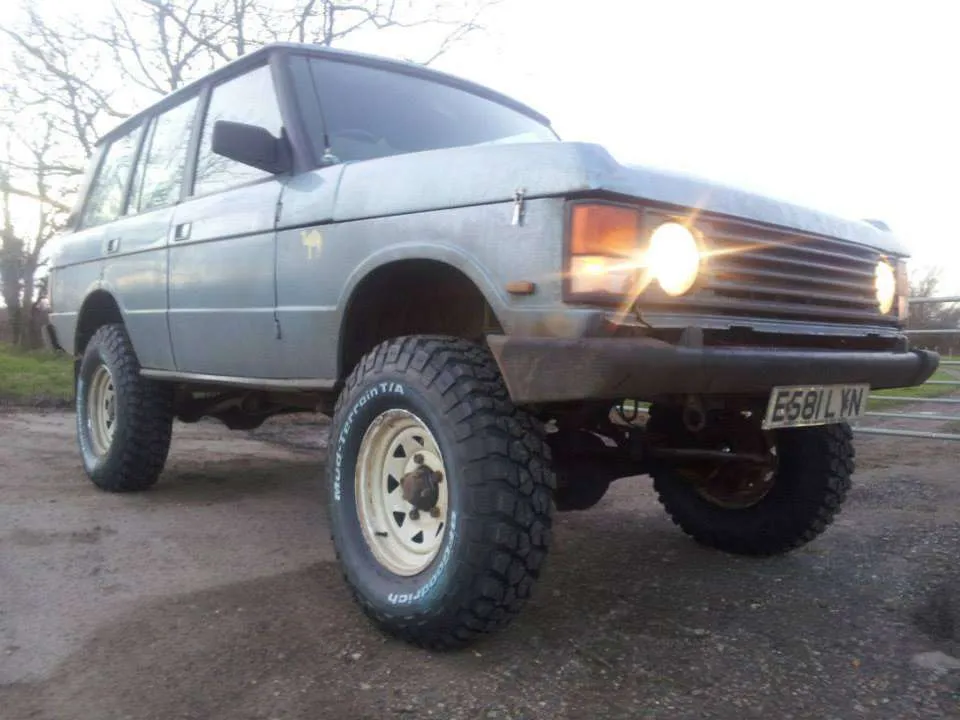
This is exactly what that looked like. (In this scene, the role of the 1987 Mazda 323 was played by my brother's 1987 Range Rover.)

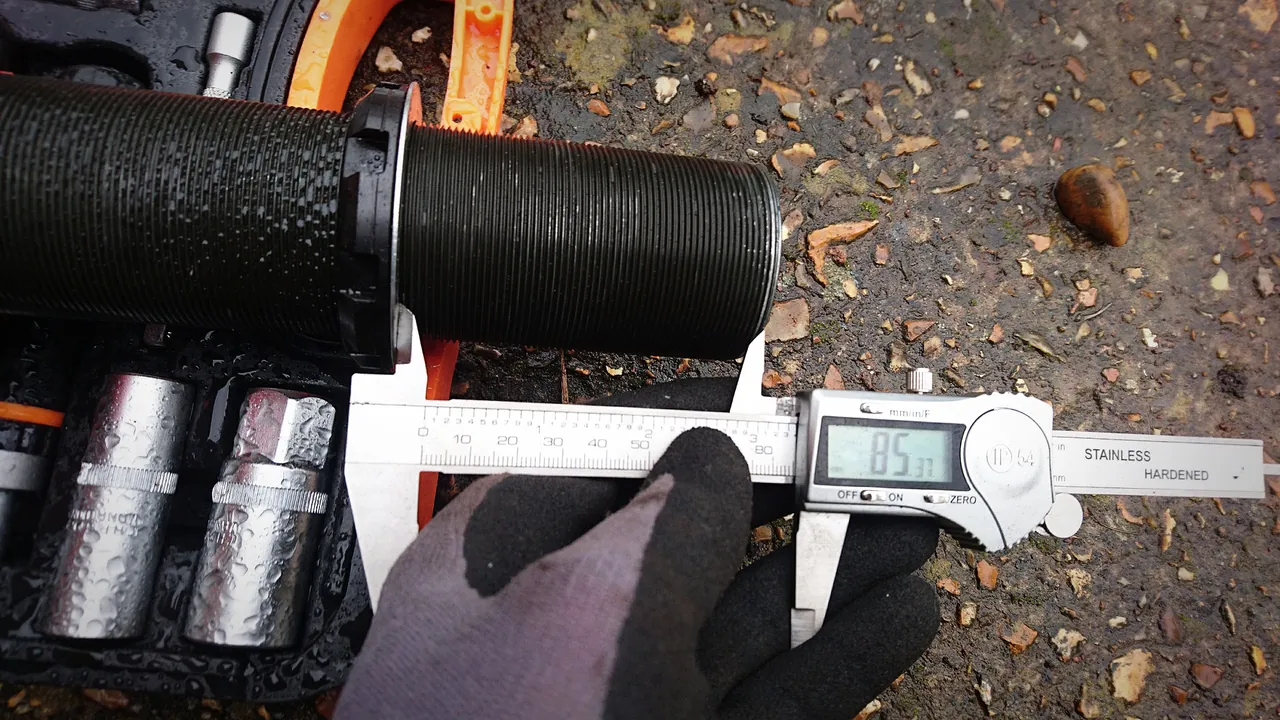
That required some fiddling, and by some I mean about two hours. After much fiddling I found out this: A good baseline is to have the bottom of your coilovers screwed in by about 85mm from the bottom of the thread. To illustrate this, your bottom nut should be in about this position:

Time for one of those tangents! The cheap Vernier here is one I bought off t'internet the other day, just because I much prefer measuring things with one of these vs tape measures or rules whenever I possibly can, and I needed one that was cheap enough that I wouldn't mind using it in the drizzle (which is basically all but a month or two a year around these parts). It seems that the cheap ones are almost exactly as accurate and, other than lacking the nicety of a "hold" button, about as good for my purposes as much more expensive ones.

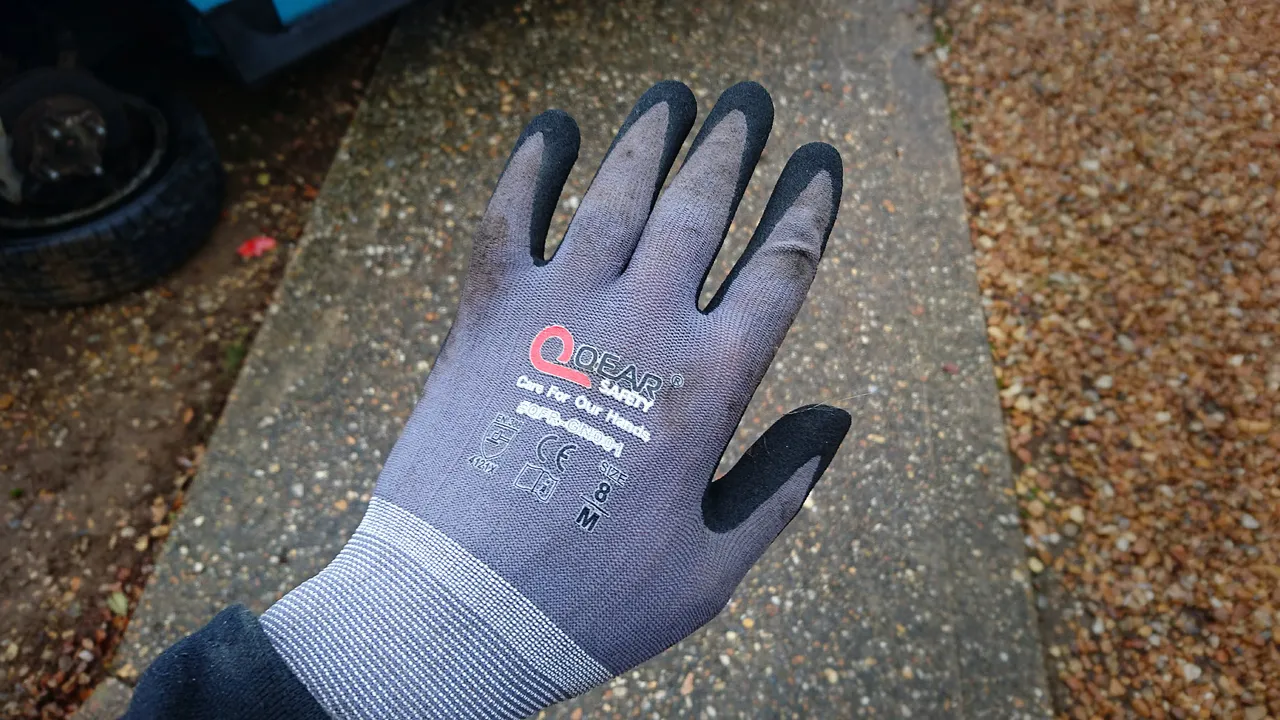
Also, I am wearing gloves. I've only had my own car on the road for a few months, but I've actually been working on cars (i.e. other peoples' old shit) for over 15 years. and why had I not tried wearing mechanic's gloves before?! It's so nice to finish up a day without random nasty abrasions, and without a coating of grease and dust and assorted old-car mank on my hands that takes multiple cleanings with a nail brush to remove. These cheapies, with their curious "Qear" name, worked great:

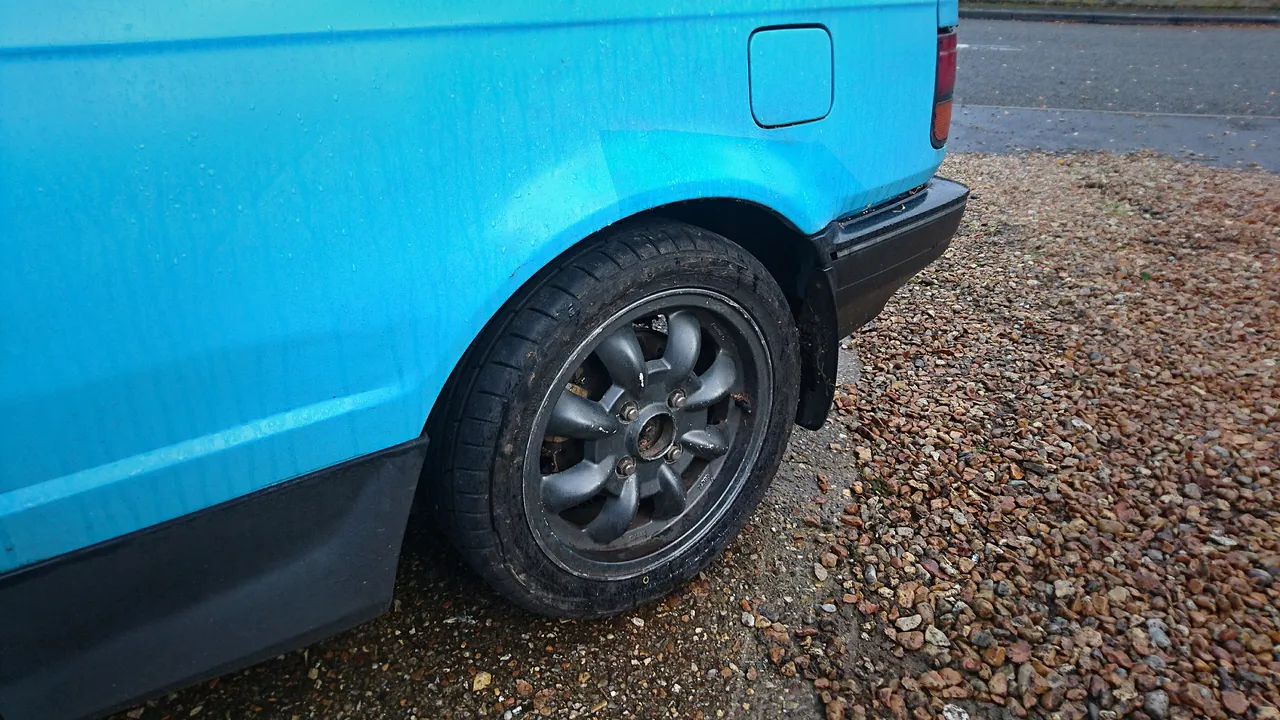
Anyway. Remember that 85mm? About that 85mm! That will give you a ride height that looks something like this (which will be a bit lower after it gets used and settles):

...which is close enough to the ballpark of where I want it to sit. More on the ballpark in a bit; just bear in mind I'm on 15 inch wheels and 195/45 tyres; adjust your baseline accordingly depending on the size of your own wheels. One of the other lessons I learned in doing the first side, which was one of the things that made the first side take nearly three hours and the second side take about a third of that, was this (and forgive the terrible photo, as I am incapable of taking a picture with a phone):

Which is to say: it is vastly easier to get the bottom bolts in if you have a small jack to hold up the hub. That way, you're only fighting to get the holes lined up in one dimension, rather than two; I lost at least twenty minutes struggling to man it out in two dimensions (and by "man" it out, I mean if a woman was doing it she'd have gotten this job done about eighteen minutes sooner by working smarter than me). As the main jack was in use because I'm too lazy to set up axle stands, this little bottle jack worked fine, but in a pinch I'd have used one of those dodgy scissor jacks if I had to.

ANYWAY, about that ballpark! Everything is sitting in the ballpark of where I want it to be, and close enough that I am happy to declare any small adjustments NMFP. And as soon as I source an appropriate set of bottom bolts for the front shocks (I hope you didn't think I'd drive the car any non-trivial distance with just one "spare" thread) she is going to have a visit with to people who have actual level surfaces to work on (and niceties such as hydraulic ramps which make working underneath cars less of a hateful experience than it is for me).

Yeah, this suspension change has completely ruined my handling for now; it has horrific bump steer and alarming amounts of understeer. That is entirely what I should have expected; replacing old and probably half-collapsed suspension with brand new stuff is of course going to substantially alter the geometry and it takes professionals with much more equipment than I have to get everything set up nicely. Something approaching a review of this suspension will be the next episode of "Lewis spends too much of his money on a 33-year-old hatchback".

Onwards!

Fitting the K-Sport coilovers, episode "the front"

Fitting new coilovers (to old cars, at least) is dead easy; this job was four bolts on each shock, everything comes undone easily enough, everything fits perfectly and just works and ha ha just kidding you know that wasn't going to happen on this car.

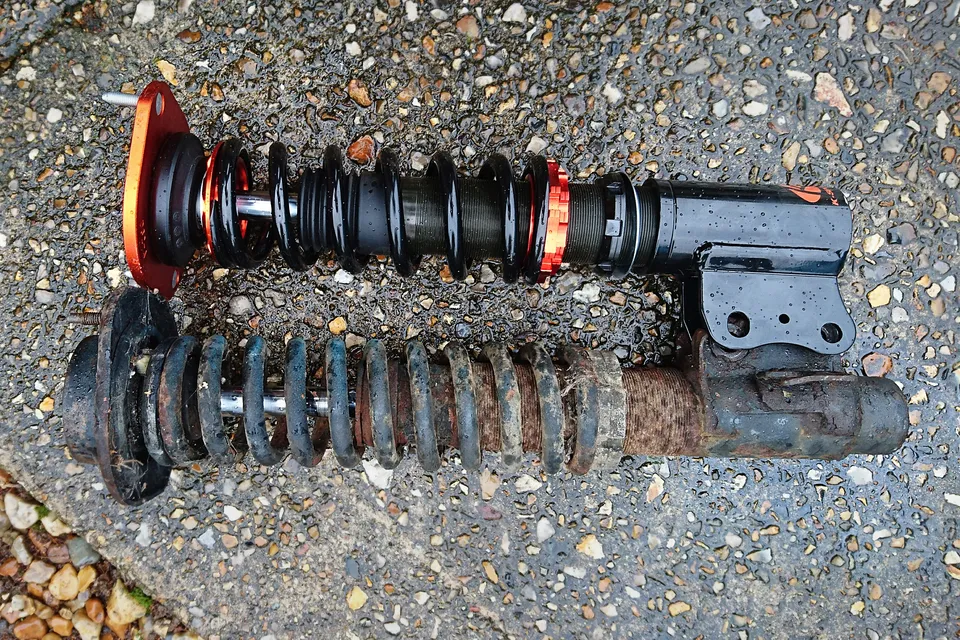
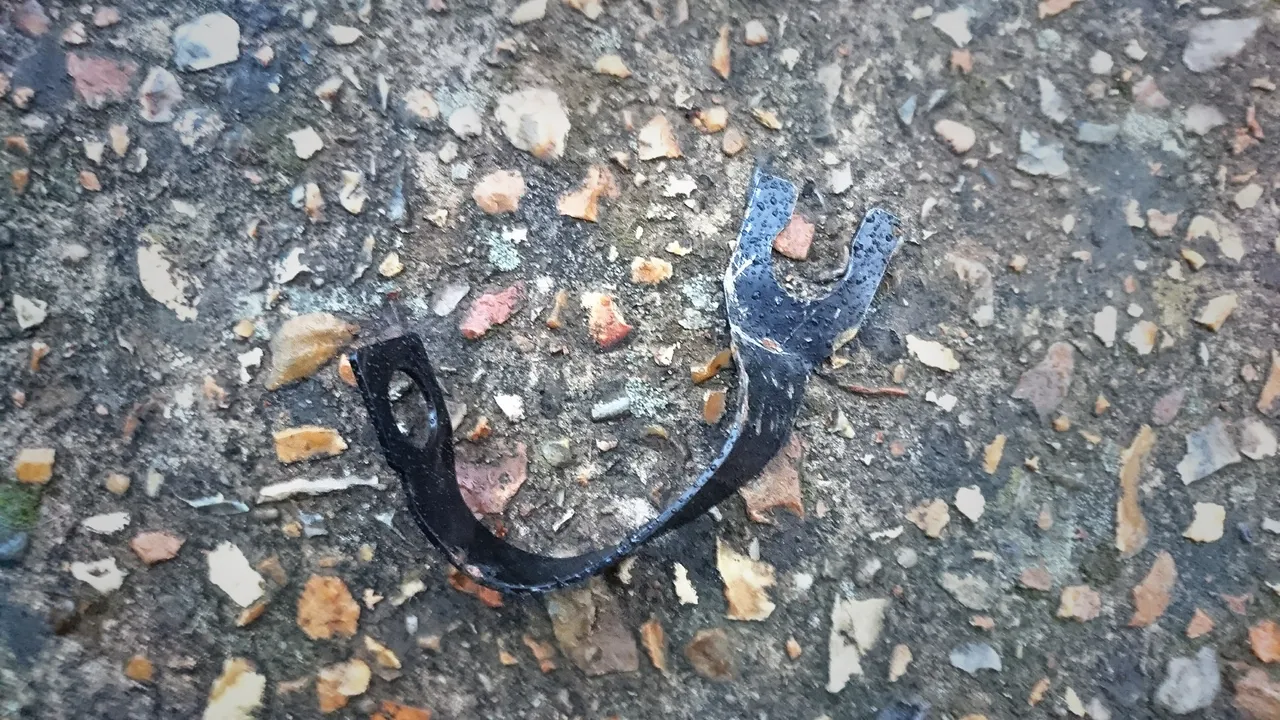
Actually, part of that was true; the old coilovers came off with only minor hammer persuasion, and the new coilovers themselves fitted fine. But on the front coilovers, there should be some brackets to hold the brake pipe in place, to prevent it from hitting the wheel or the tyre when it flaps about. The brackets supplied with the suspension were wholly inappropriate. One of them was purportedly intended to wrap around the body of the shock absorber, but did not have the diameter to do this successfully. One of them was a long rectangular steel band, which was flimsy (and also too thin, which I will get to).

Because the latter one was thin and flimsy, I could attach it to the back of the shock, bend it through 180 degrees with a hammer & Knipex grabs, then add another 90-ish degree bend with a hammer to make this work as an "I need to get to the shop before it closes" workaround. So that is what I did:

That's ugly. And because it's so thin, it would not hold the brake pipe securely using the standard clip without some more hammer-and-grabs "adjustment". It did, however, get me to the shop, and there's something to be said for that. But what was actually called for, was a proper bracket!

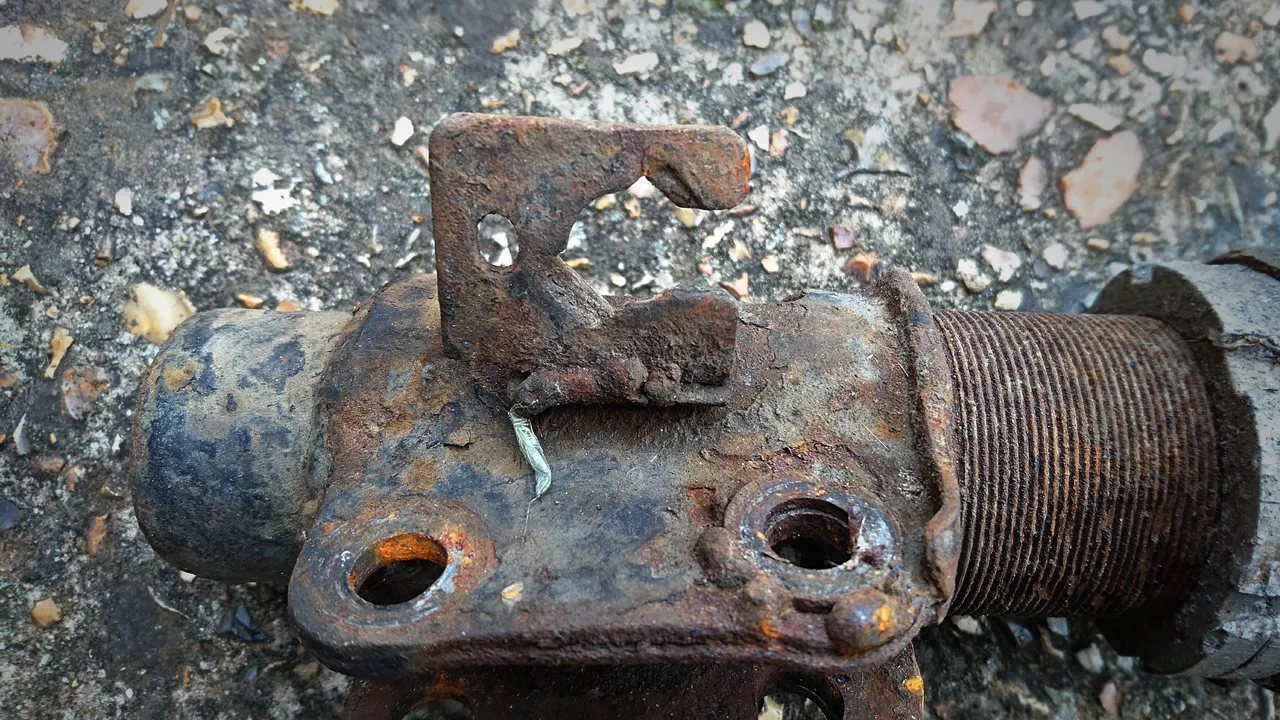
My old coilovers already had such a bracket (I think this would more properly be called a "hanger"):

Yeah, that's the opposite of pretty, and would have been the opposite of pretty even before it went rusty, but it worked for years and I can't fault anything that works. And that gave me something to work with! Because the old shocks are about the same diameter as my new ones, I was confident that a bracket in the same position of more or less the same size would keep the brake lines from fouling anything.

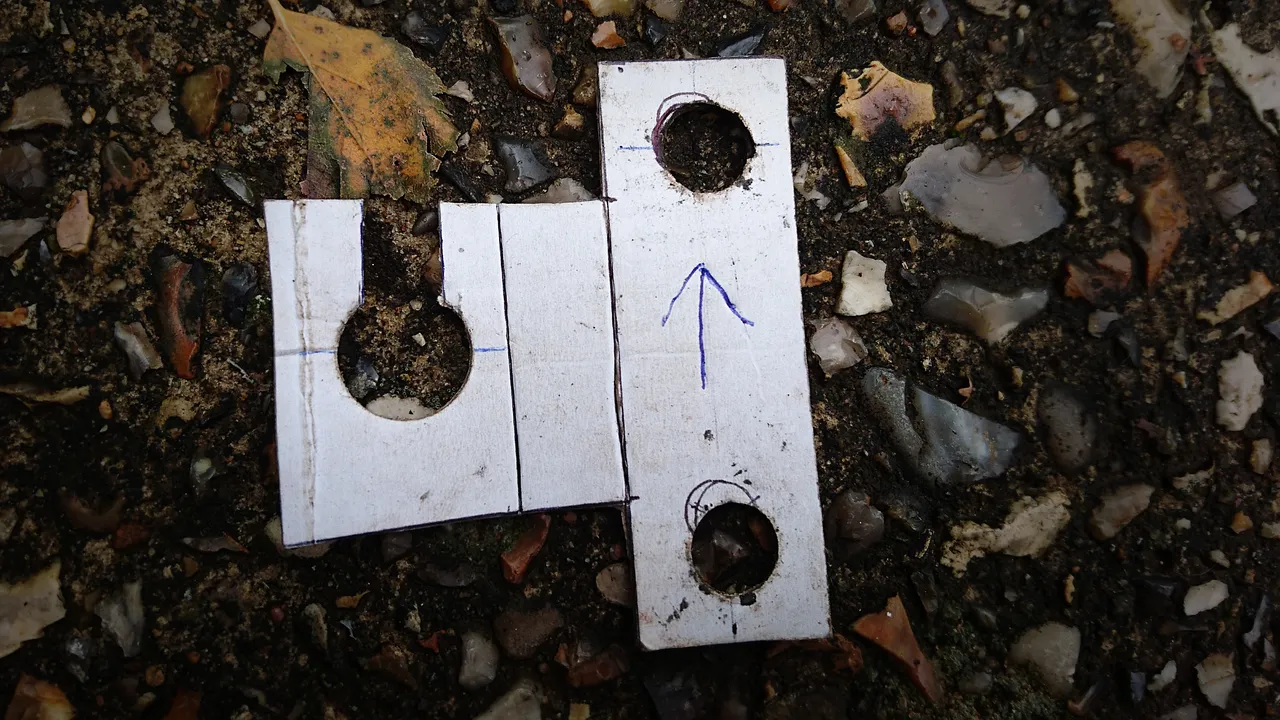
So you start by making & writing down some measurements, then making a cardboard template:

Rather than being welded to the shock (a fairly bad idea), this will pick up from the bottom bolts at the front of the shock.The vertical lines are where 45 degree bends are required; they are lightly scored with a Stanley knife to make the cardboard bend naturally along those lines when validating the design.

Always make things out of cardboard first! You can validate, iterate, and throw away designs very quickly, and you can do that at no cost because cardboard is free. The one you see was my second iteration; my first was unnecessarily elaborate.

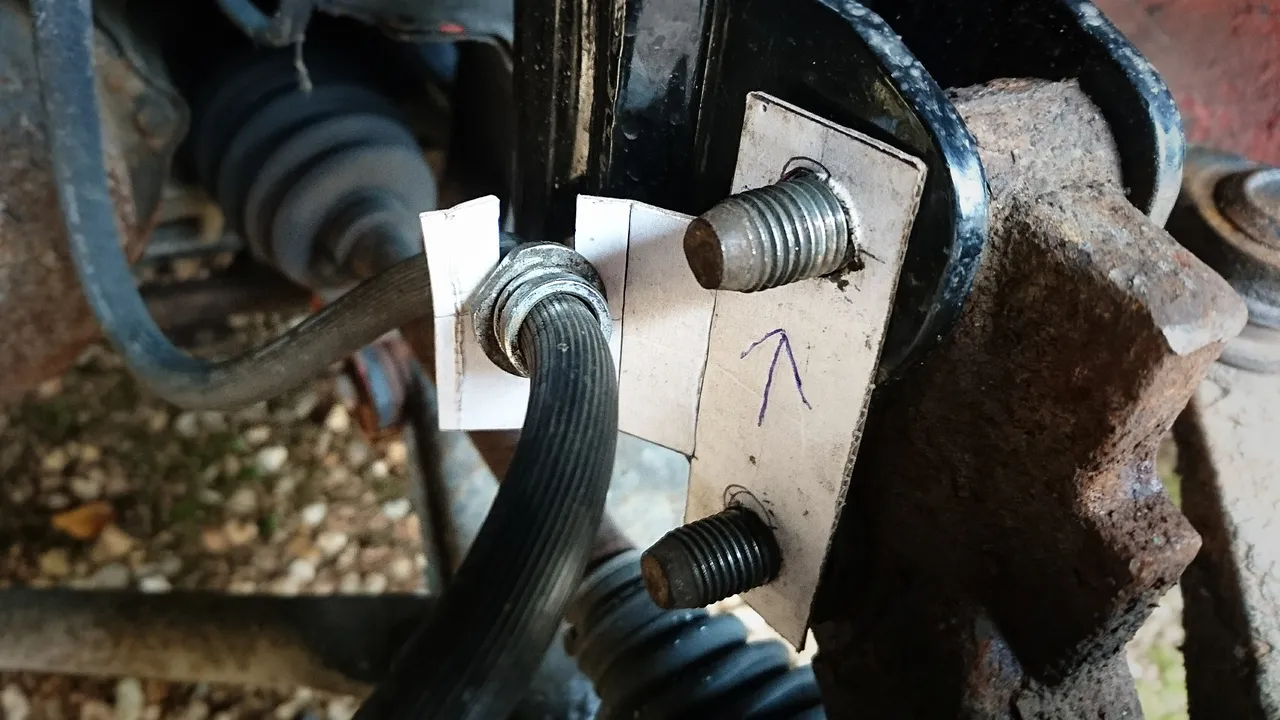
Validate your cardboard design in place:

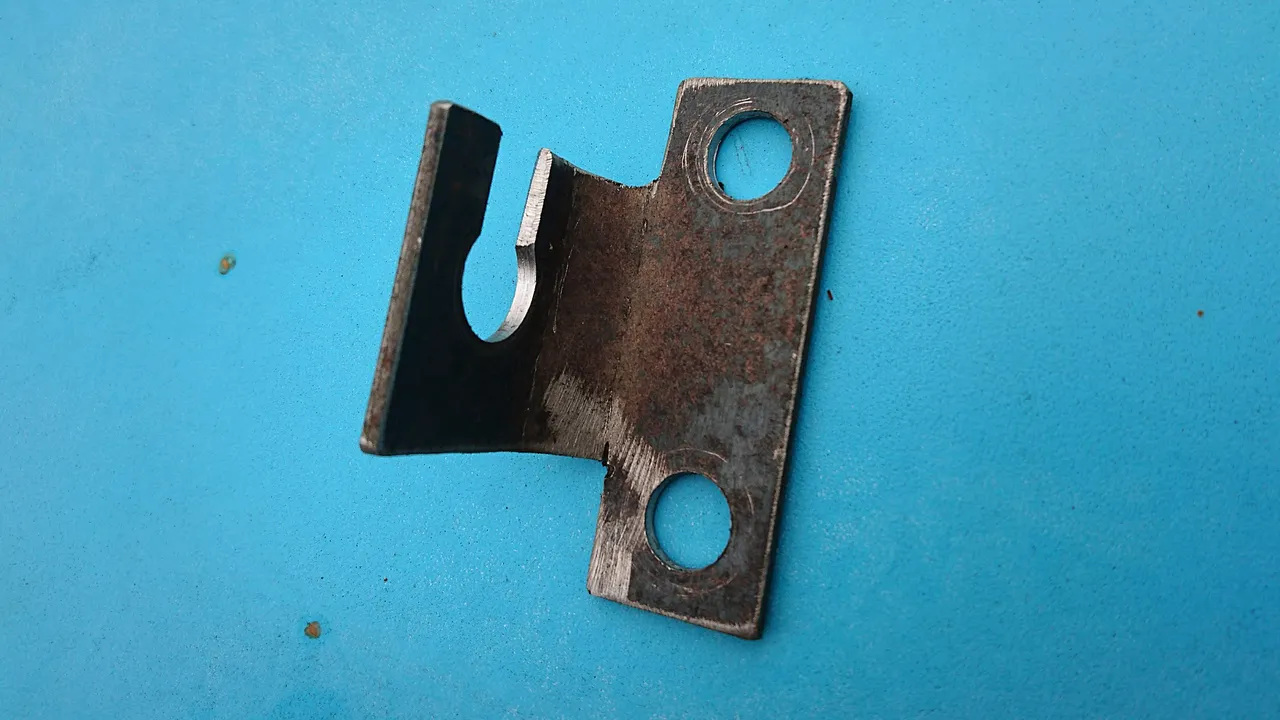
Then transfer your design onto 3mm steel:

You might think that 3mm steel is excessive, but 3mm is the exact thickness required for the OEM brake pipe & clip to fit nicely. Other people have made these out of aluminium, but steel seemed much more appropriate to me given its safety-critical location. (It's safety-critical not just because it's holding the brake pipe; it's bolted up with the shock bottom mount, and if this cracks or breaks your shocks will be loose.)

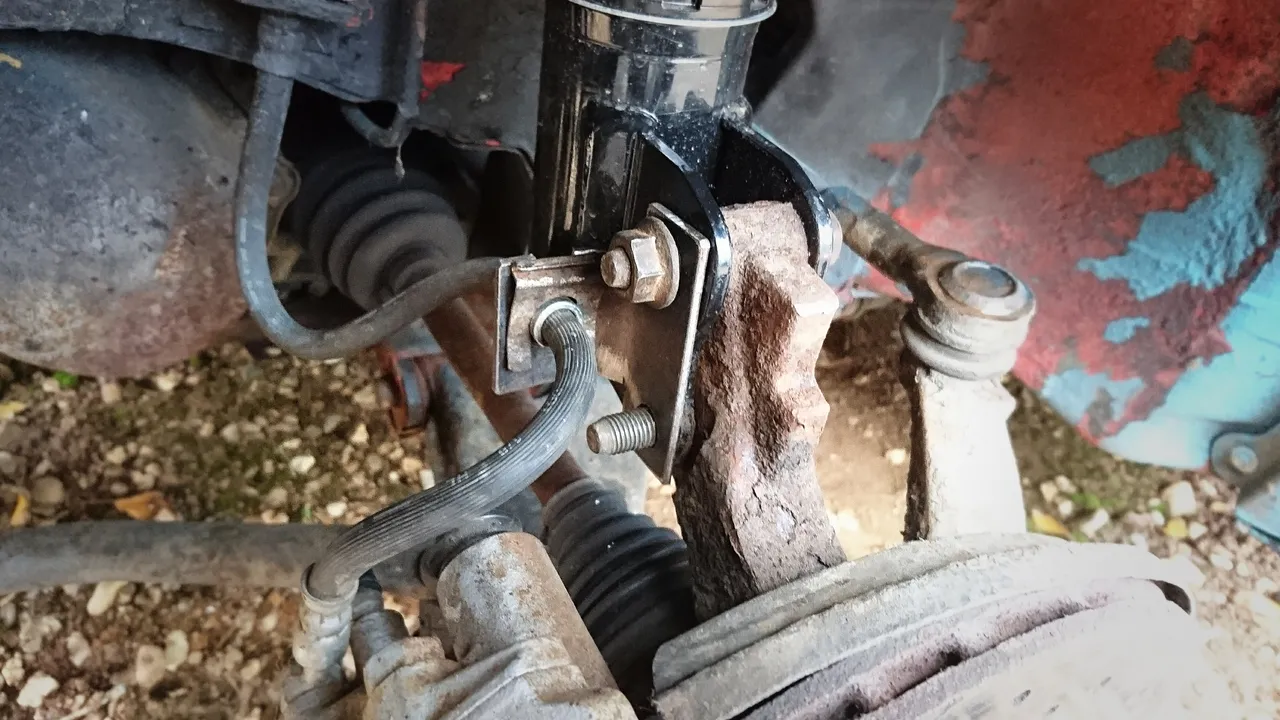
Once you're done, you dry run that to be on the safe side, and probably find you have some minor fettling to do (this was the third dry run for me, after some small adjustments to the holes and the slot):

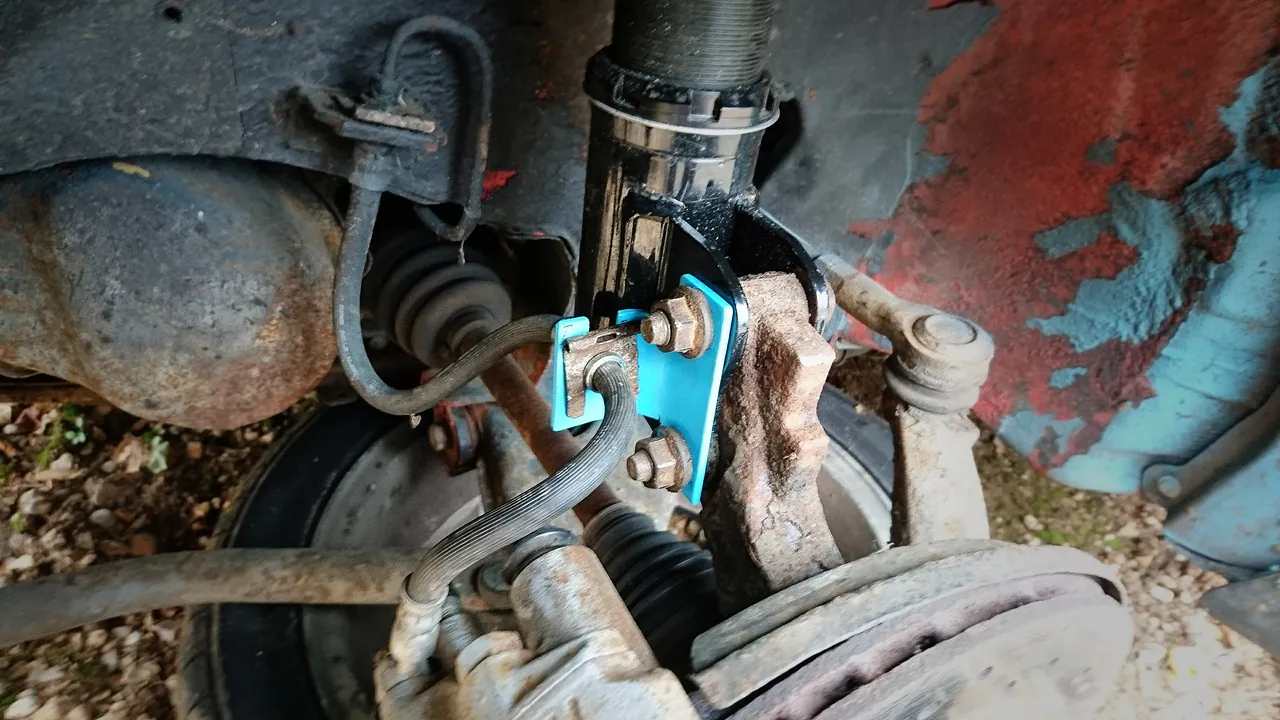
Then give it a coat of zinc primer and a coat of paint, and fit it for real:

Don't judge me on the colour! They're loud cyan because I had a can of loud cyan paint kicking around, which makes it a much better colour than any paint I didn't have.

Now you have one possibly-overengineered brightly-coloured brake pipe bracket. Just like that! Do that one more time and you have two possibly-overengineered brake pipe brackets!

So that part is done (though I am possibly-irrationally nervous about there being only one "spare" thread on those bolts with the bracket in place, so I might swap them out for something longer to put my mind at ease).

In a short while, which means however long it takes me to work out how I make a pretty drawing in FreeCAD, I will publish my designs for this bracket to help anyone else facing this (very very niche) problem.

Onwards!

They're here

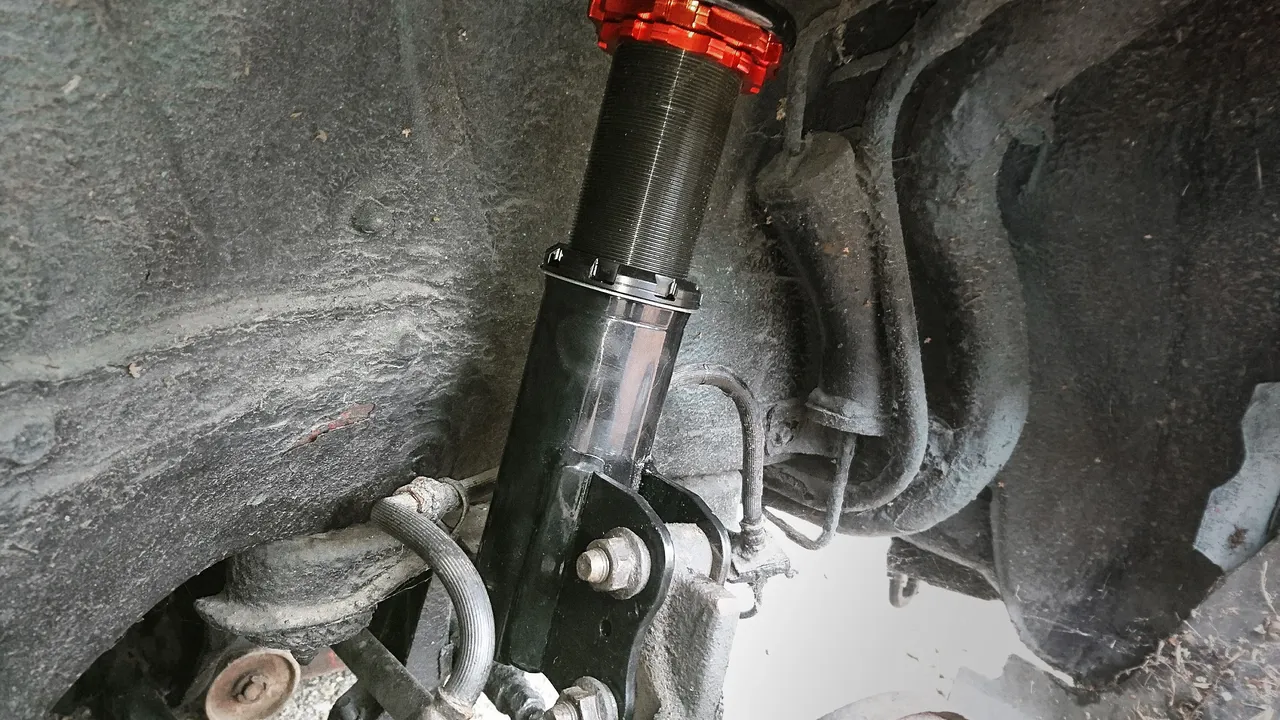
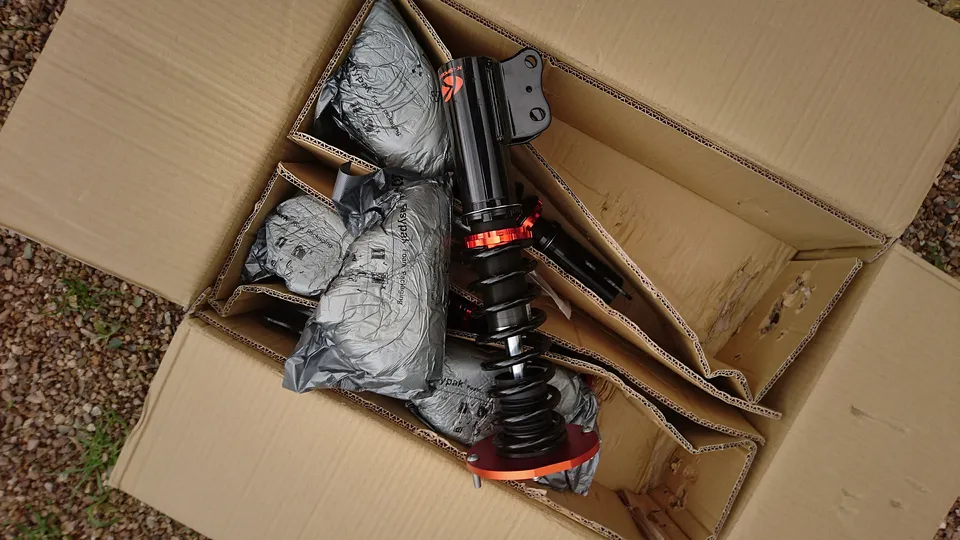
The "ouch, that's money I didn't really have" K-Sport suspension is, finally, here. I expected it to take a while; these are made to order in Taiwan, and then are shipped to the UK on an actual ship, and I am okay with that.

First impression: Crikey, these things are heavy.

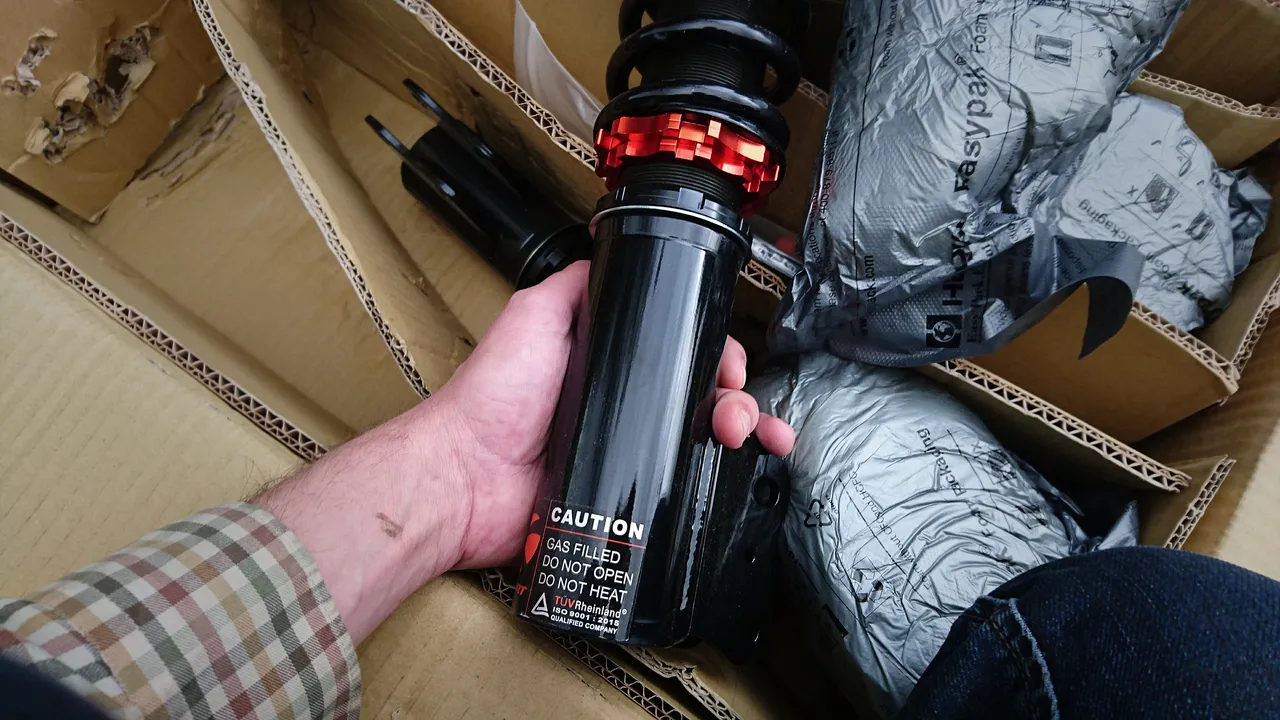
Second impression, after getting them out of the box: Crikey, these things are actually really heavy. The size of these things!!

Yeah, maybe I should have had something more universal than my hand for scale; just trust me that these are beefy. They're so over-engineered that if I didn't know better I'd have guessed that they came from a Toyota factory. I'm actually a tiny bit worried that I might get some clearance problems. We'll see; I'll get them fitted this weekend, and if all goes well I'll spend a week with them and write a proper review of them.

Onwards!