Fitting the K-Sport coilovers, episode "the front"

Fitting new coilovers (to old cars, at least) is dead easy; this job was four bolts on each shock, everything comes undone easily enough, everything fits perfectly and just works and ha ha just kidding you know that wasn't going to happen on this car.
Actually, part of that was true; the old coilovers came off with only minor hammer persuasion, and the new coilovers themselves fitted fine. But on the front coilovers, there should be some brackets to hold the brake pipe in place, to prevent it from hitting the wheel or the tyre when it flaps about. The brackets supplied with the suspension were wholly inappropriate. One of them was purportedly intended to wrap around the body of the shock absorber, but did not have the diameter to do this successfully. One of them was a long rectangular steel band, which was flimsy (and also too thin, which I will get to).
Because the latter one was thin and flimsy, I could attach it to the back of the shock, bend it through 180 degrees with a hammer & Knipex grabs, then add another 90-ish degree bend with a hammer to make this work as an "I need to get to the shop before it closes" workaround. So that is what I did:
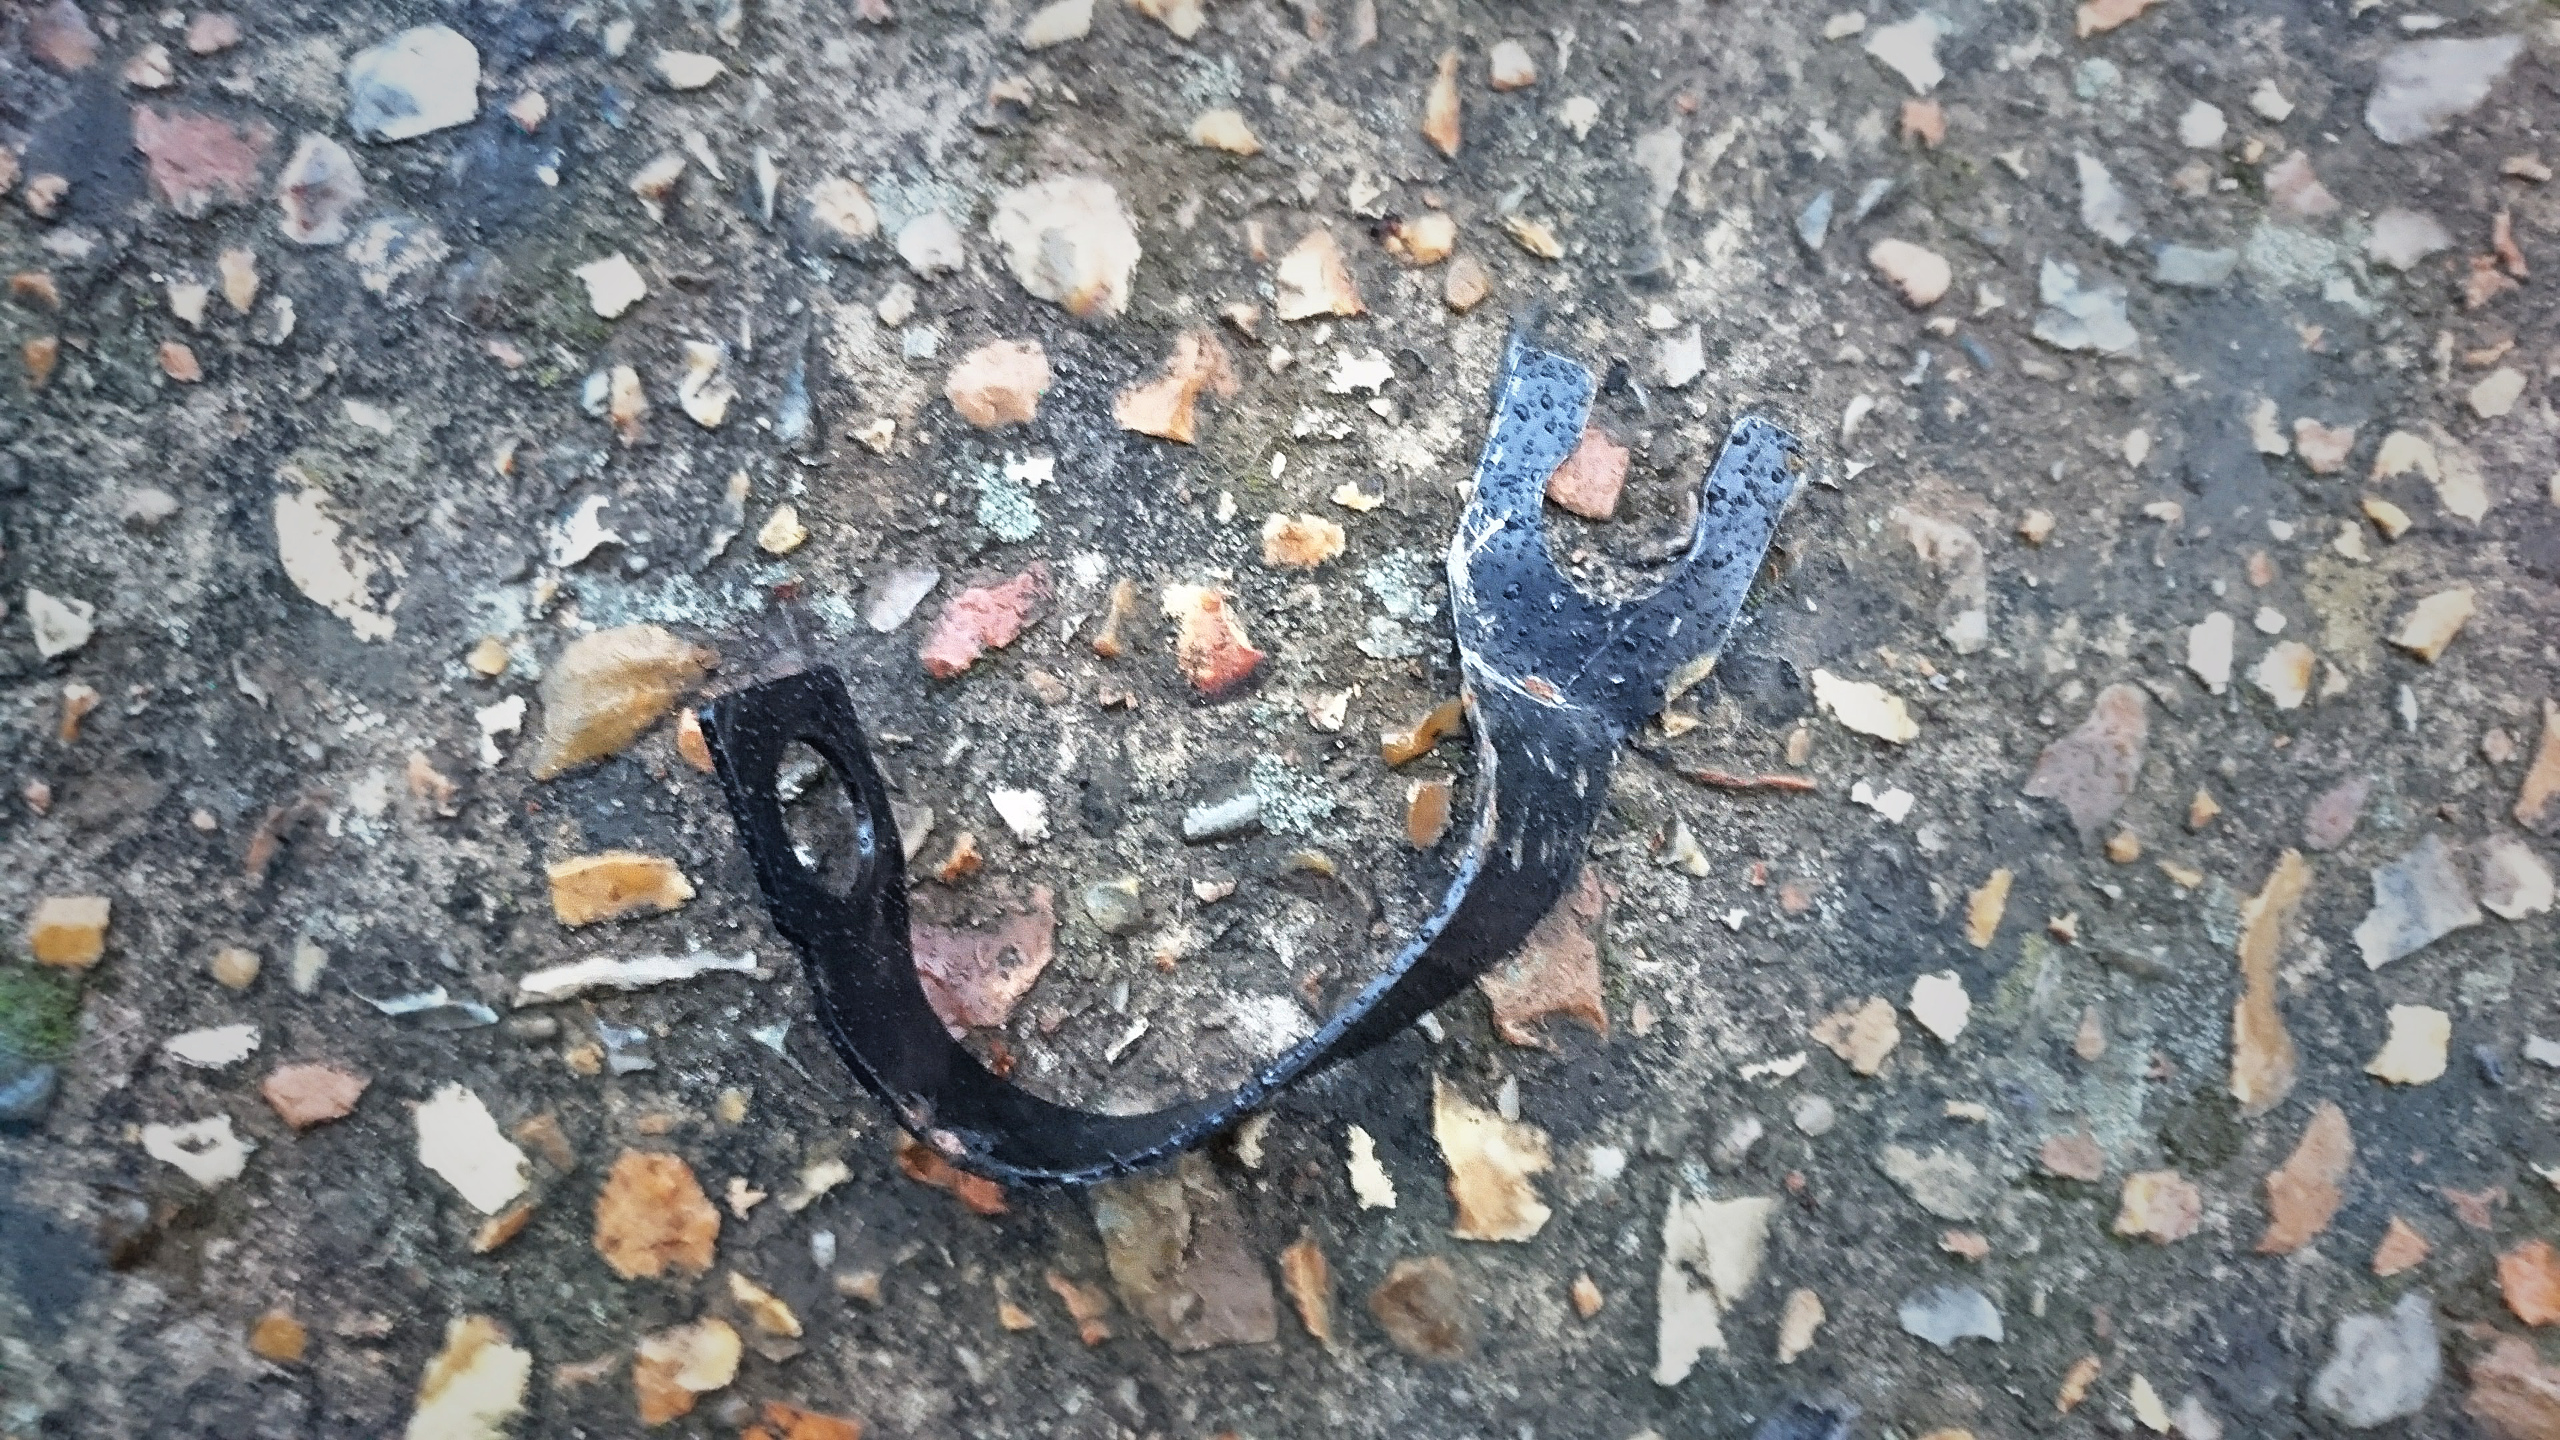
That's ugly. And because it's so thin, it would not hold the brake pipe securely using the standard clip without some more hammer-and-grabs "adjustment". It did, however, get me to the shop, and there's something to be said for that. But what was actually called for, was a proper bracket!
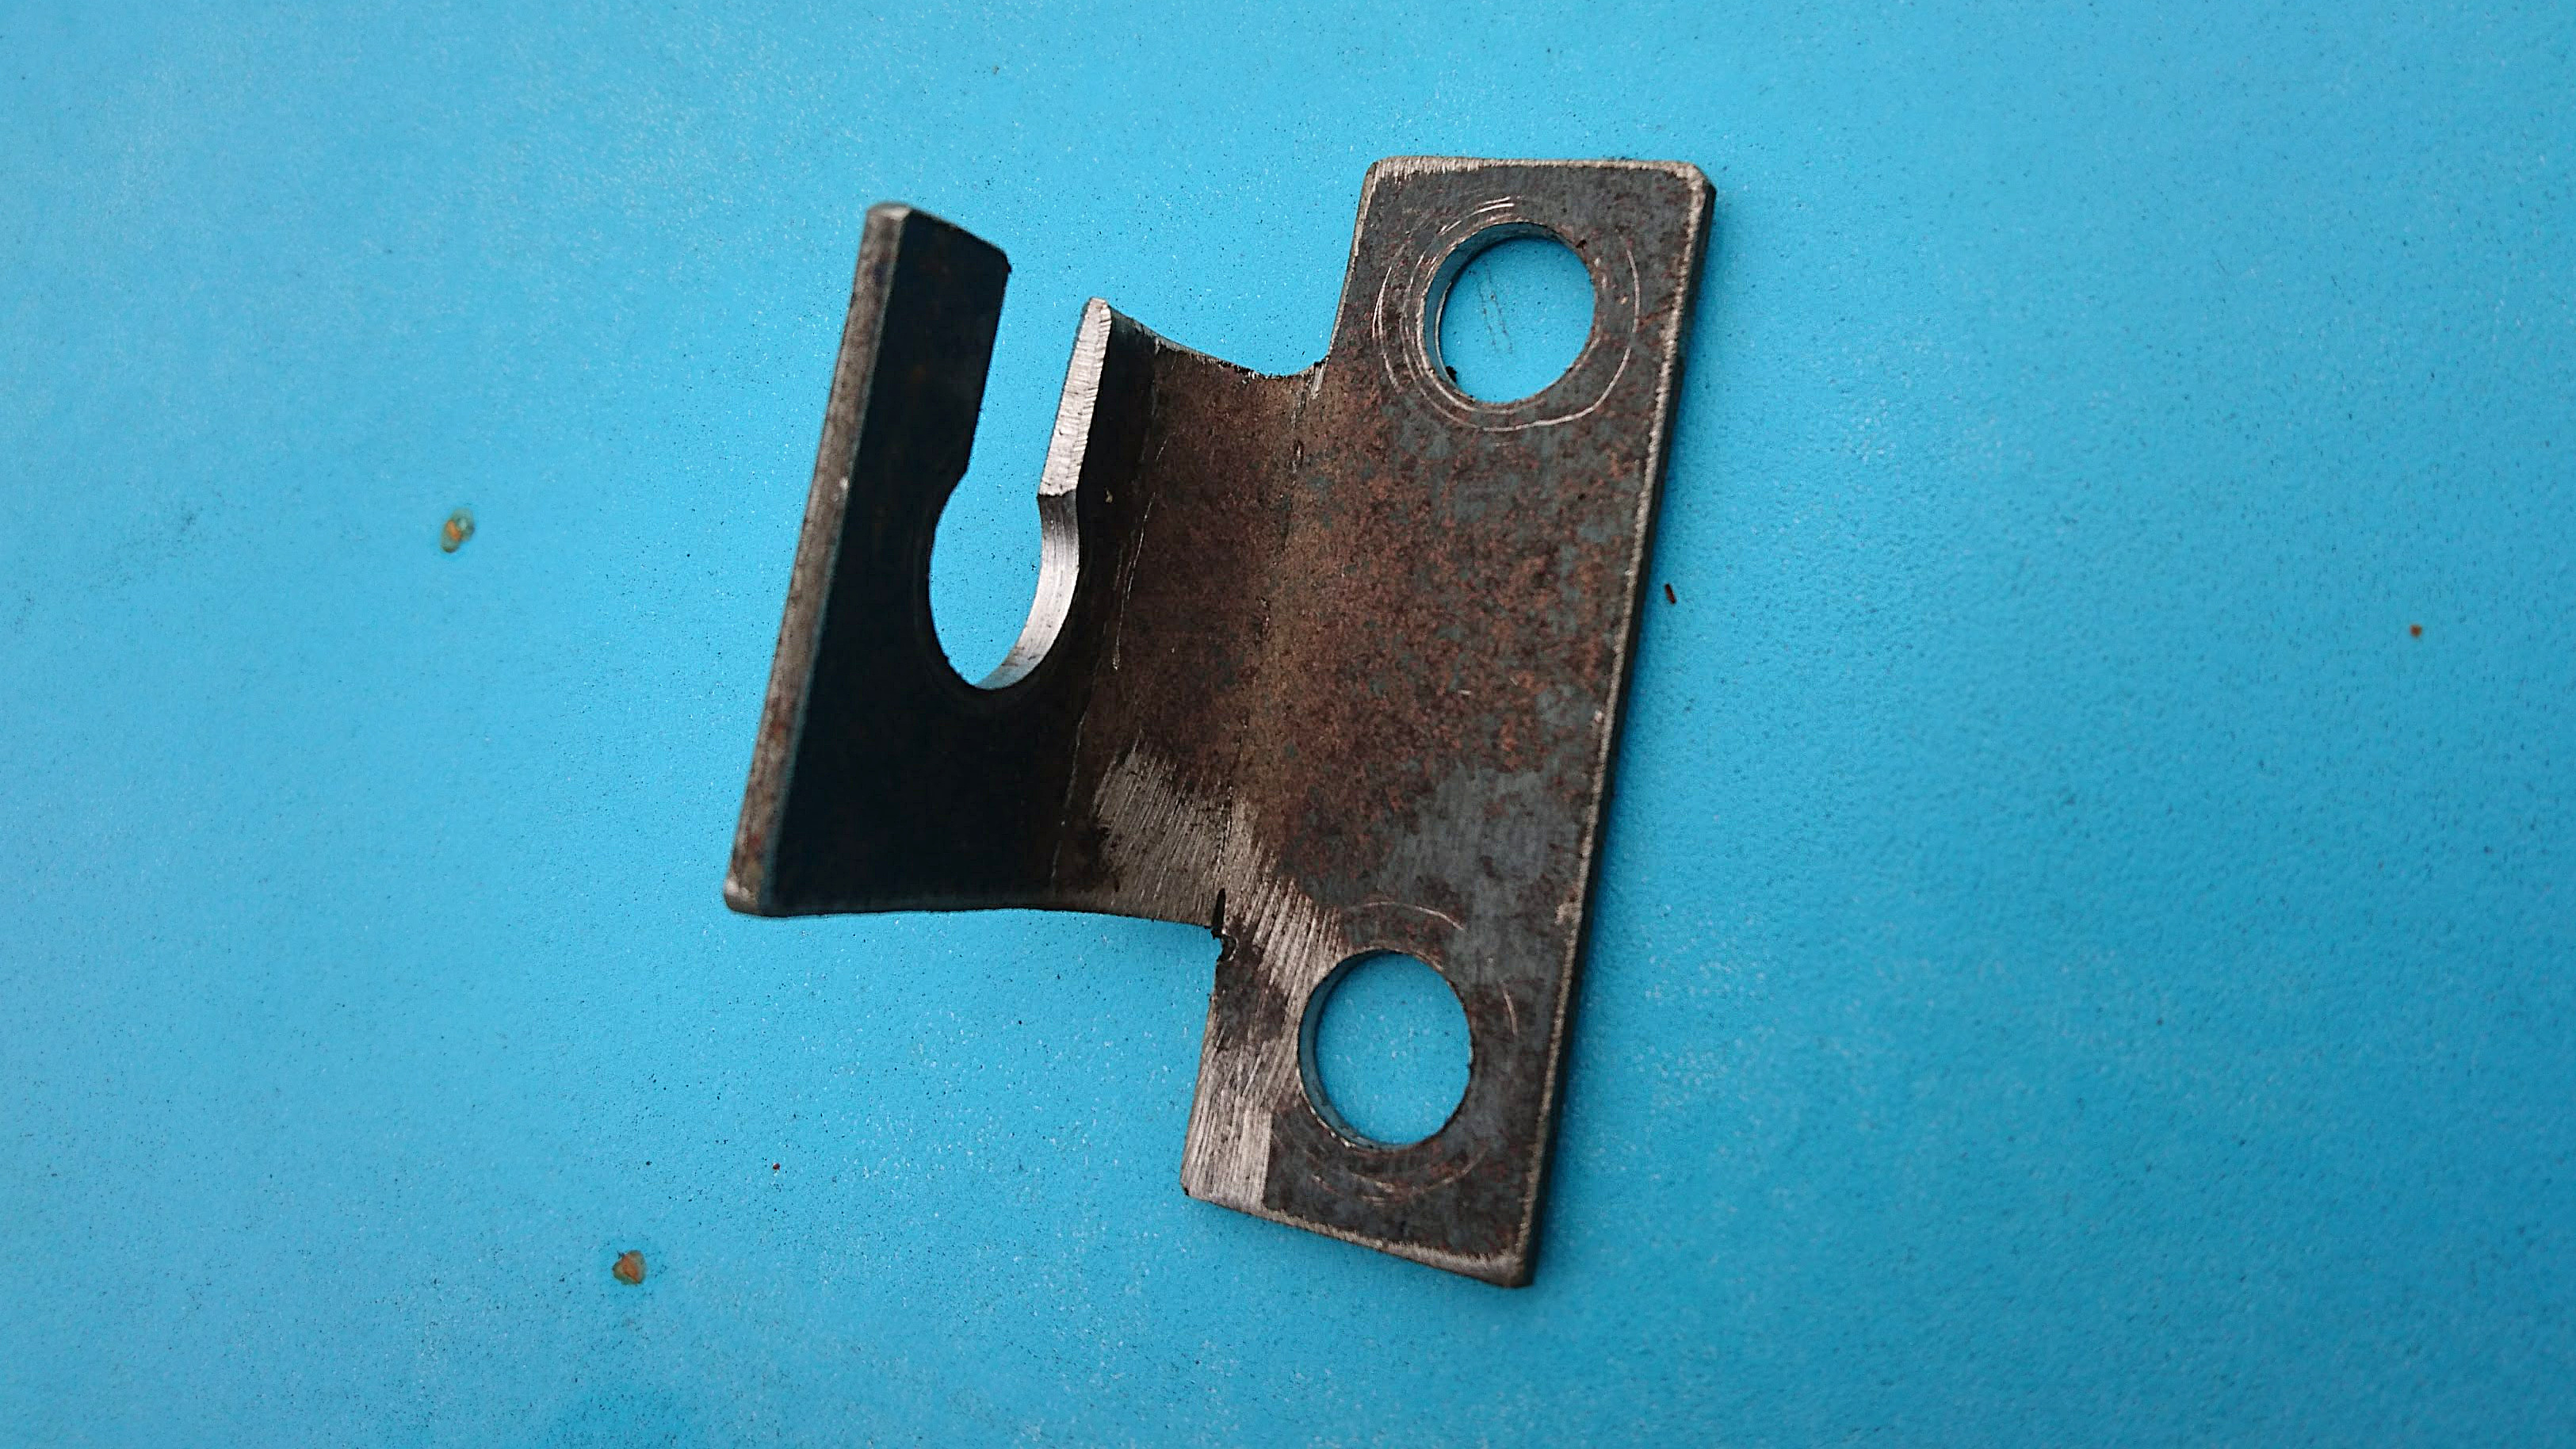
My old coilovers already had such a bracket (I think this would more properly be called a "hanger"):
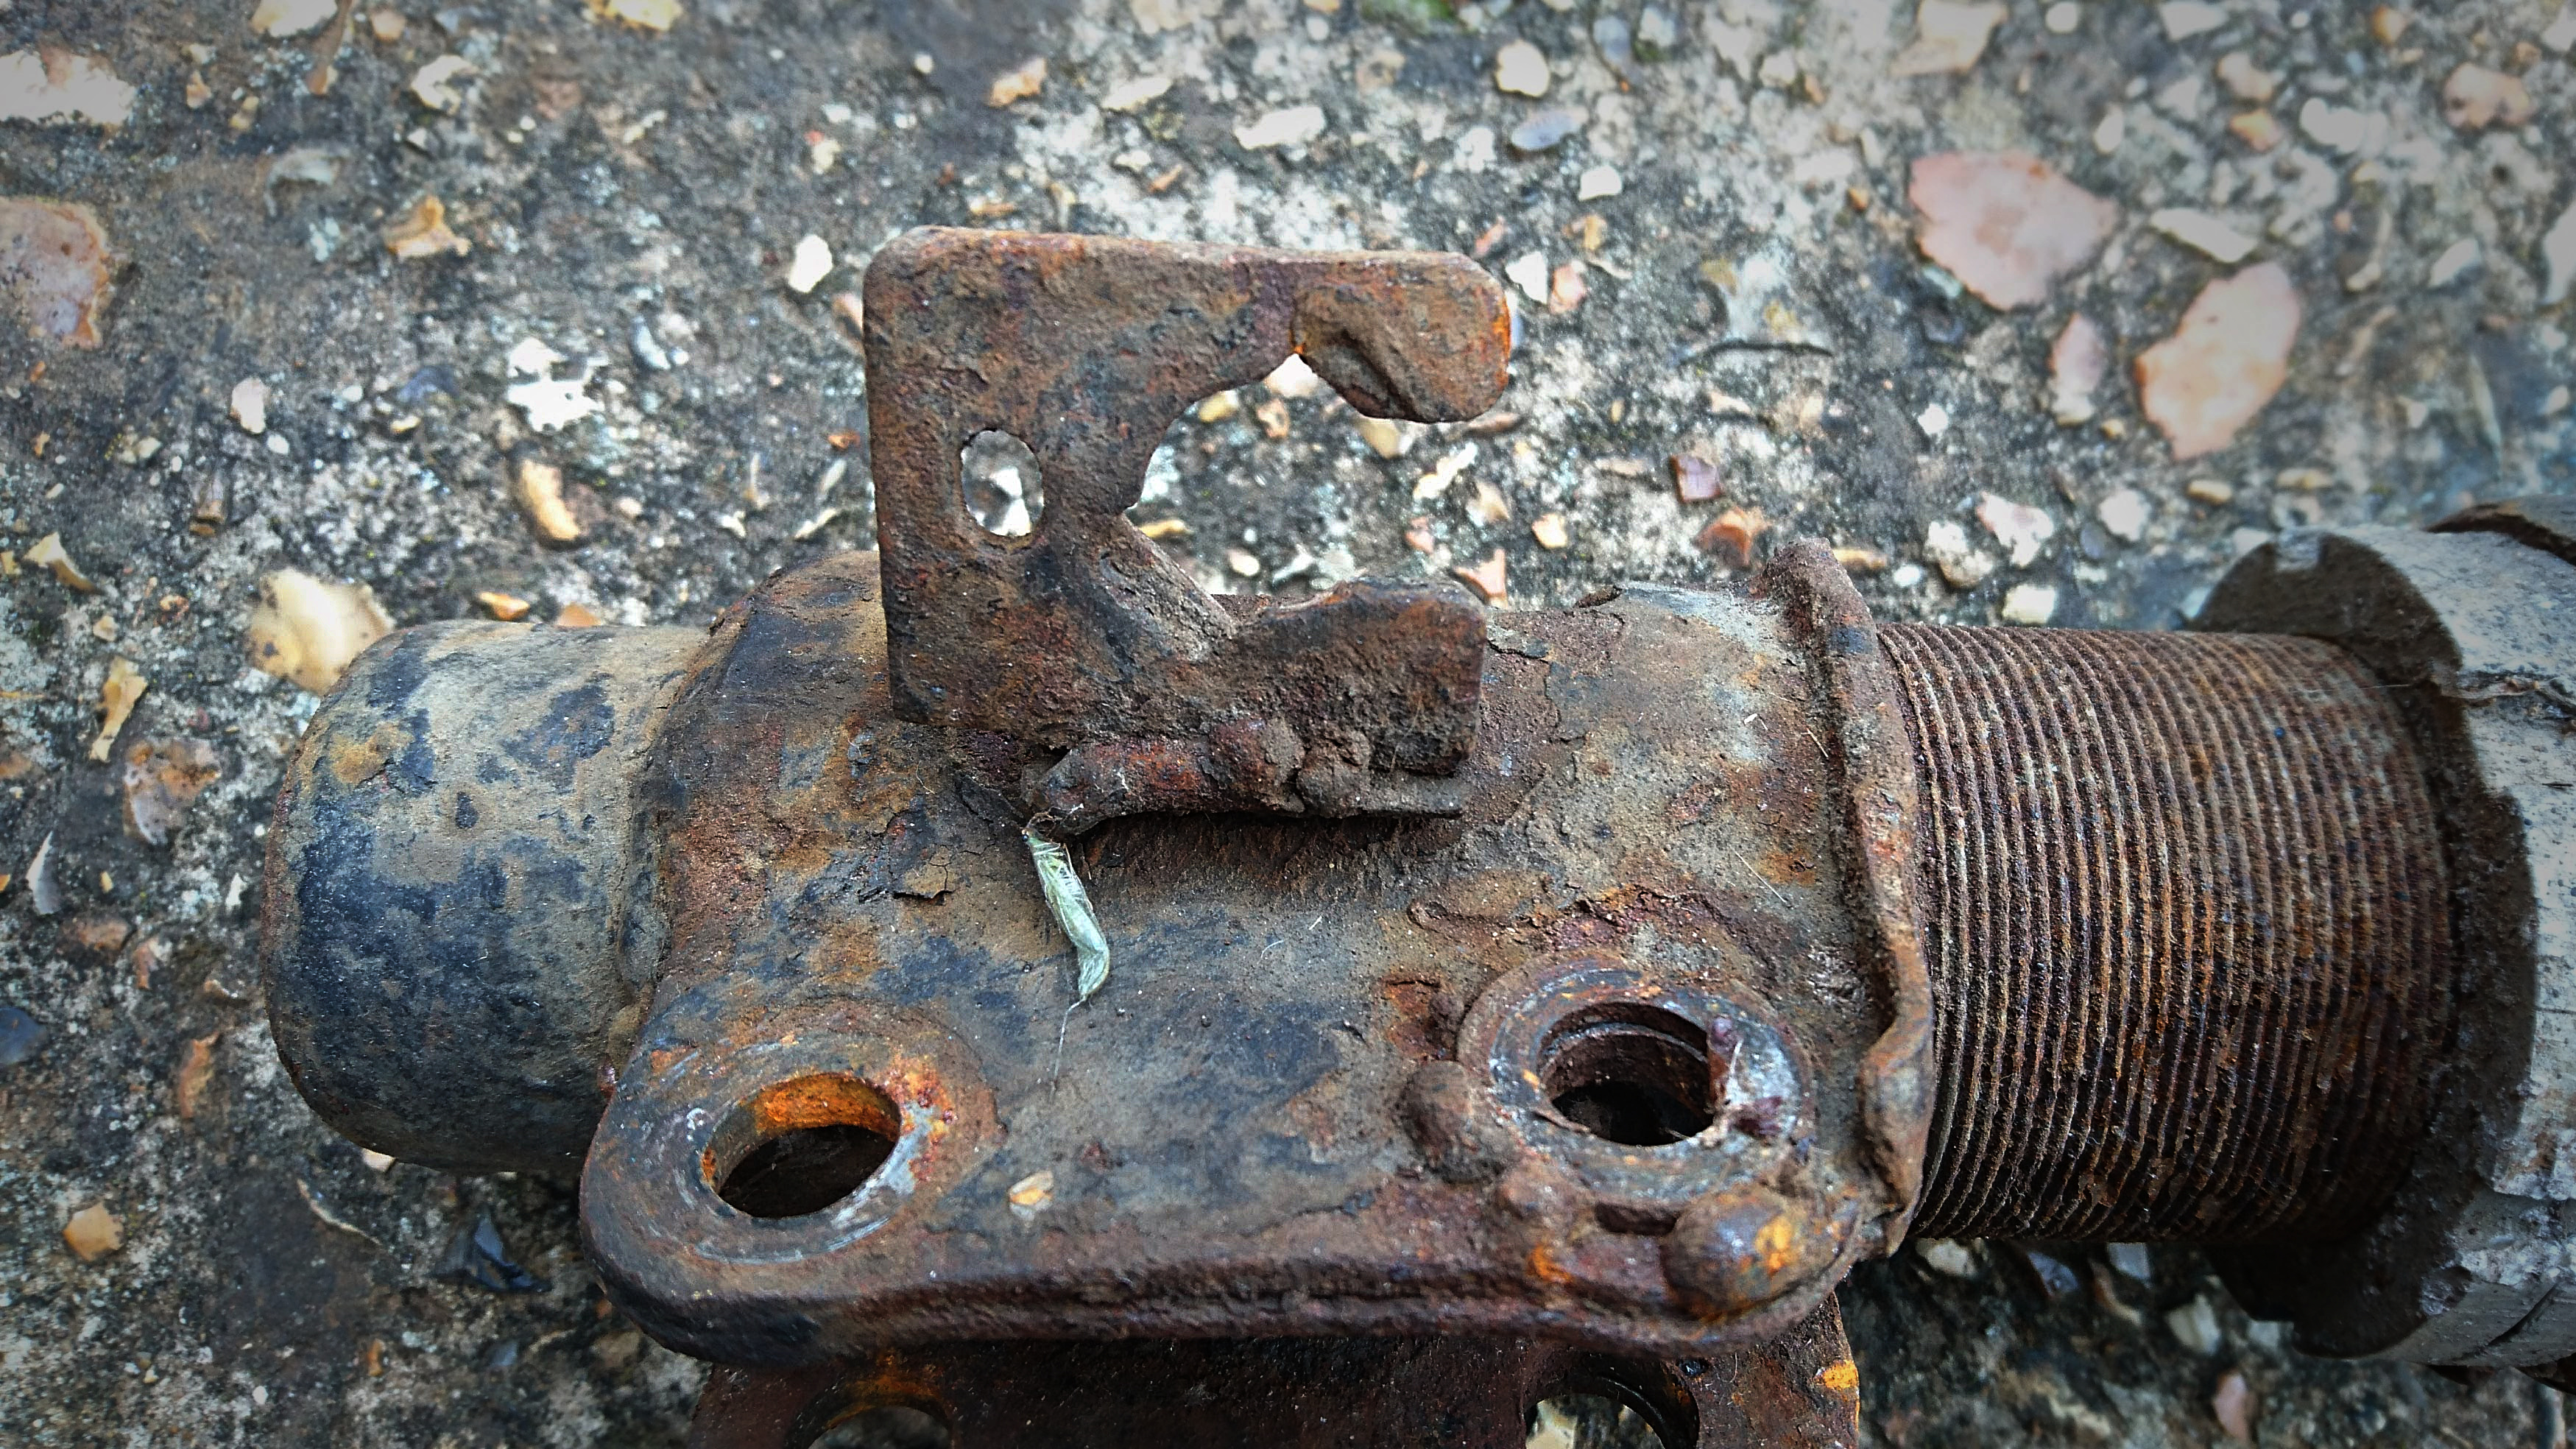
Yeah, that's the opposite of pretty, and would have been the opposite of pretty even before it went rusty, but it worked for years and I can't fault anything that works. And that gave me something to work with! Because the old shocks are about the same diameter as my new ones, I was confident that a bracket in the same position of more or less the same size would keep the brake lines from fouling anything.
So you start by making & writing down some measurements, then making a cardboard template:
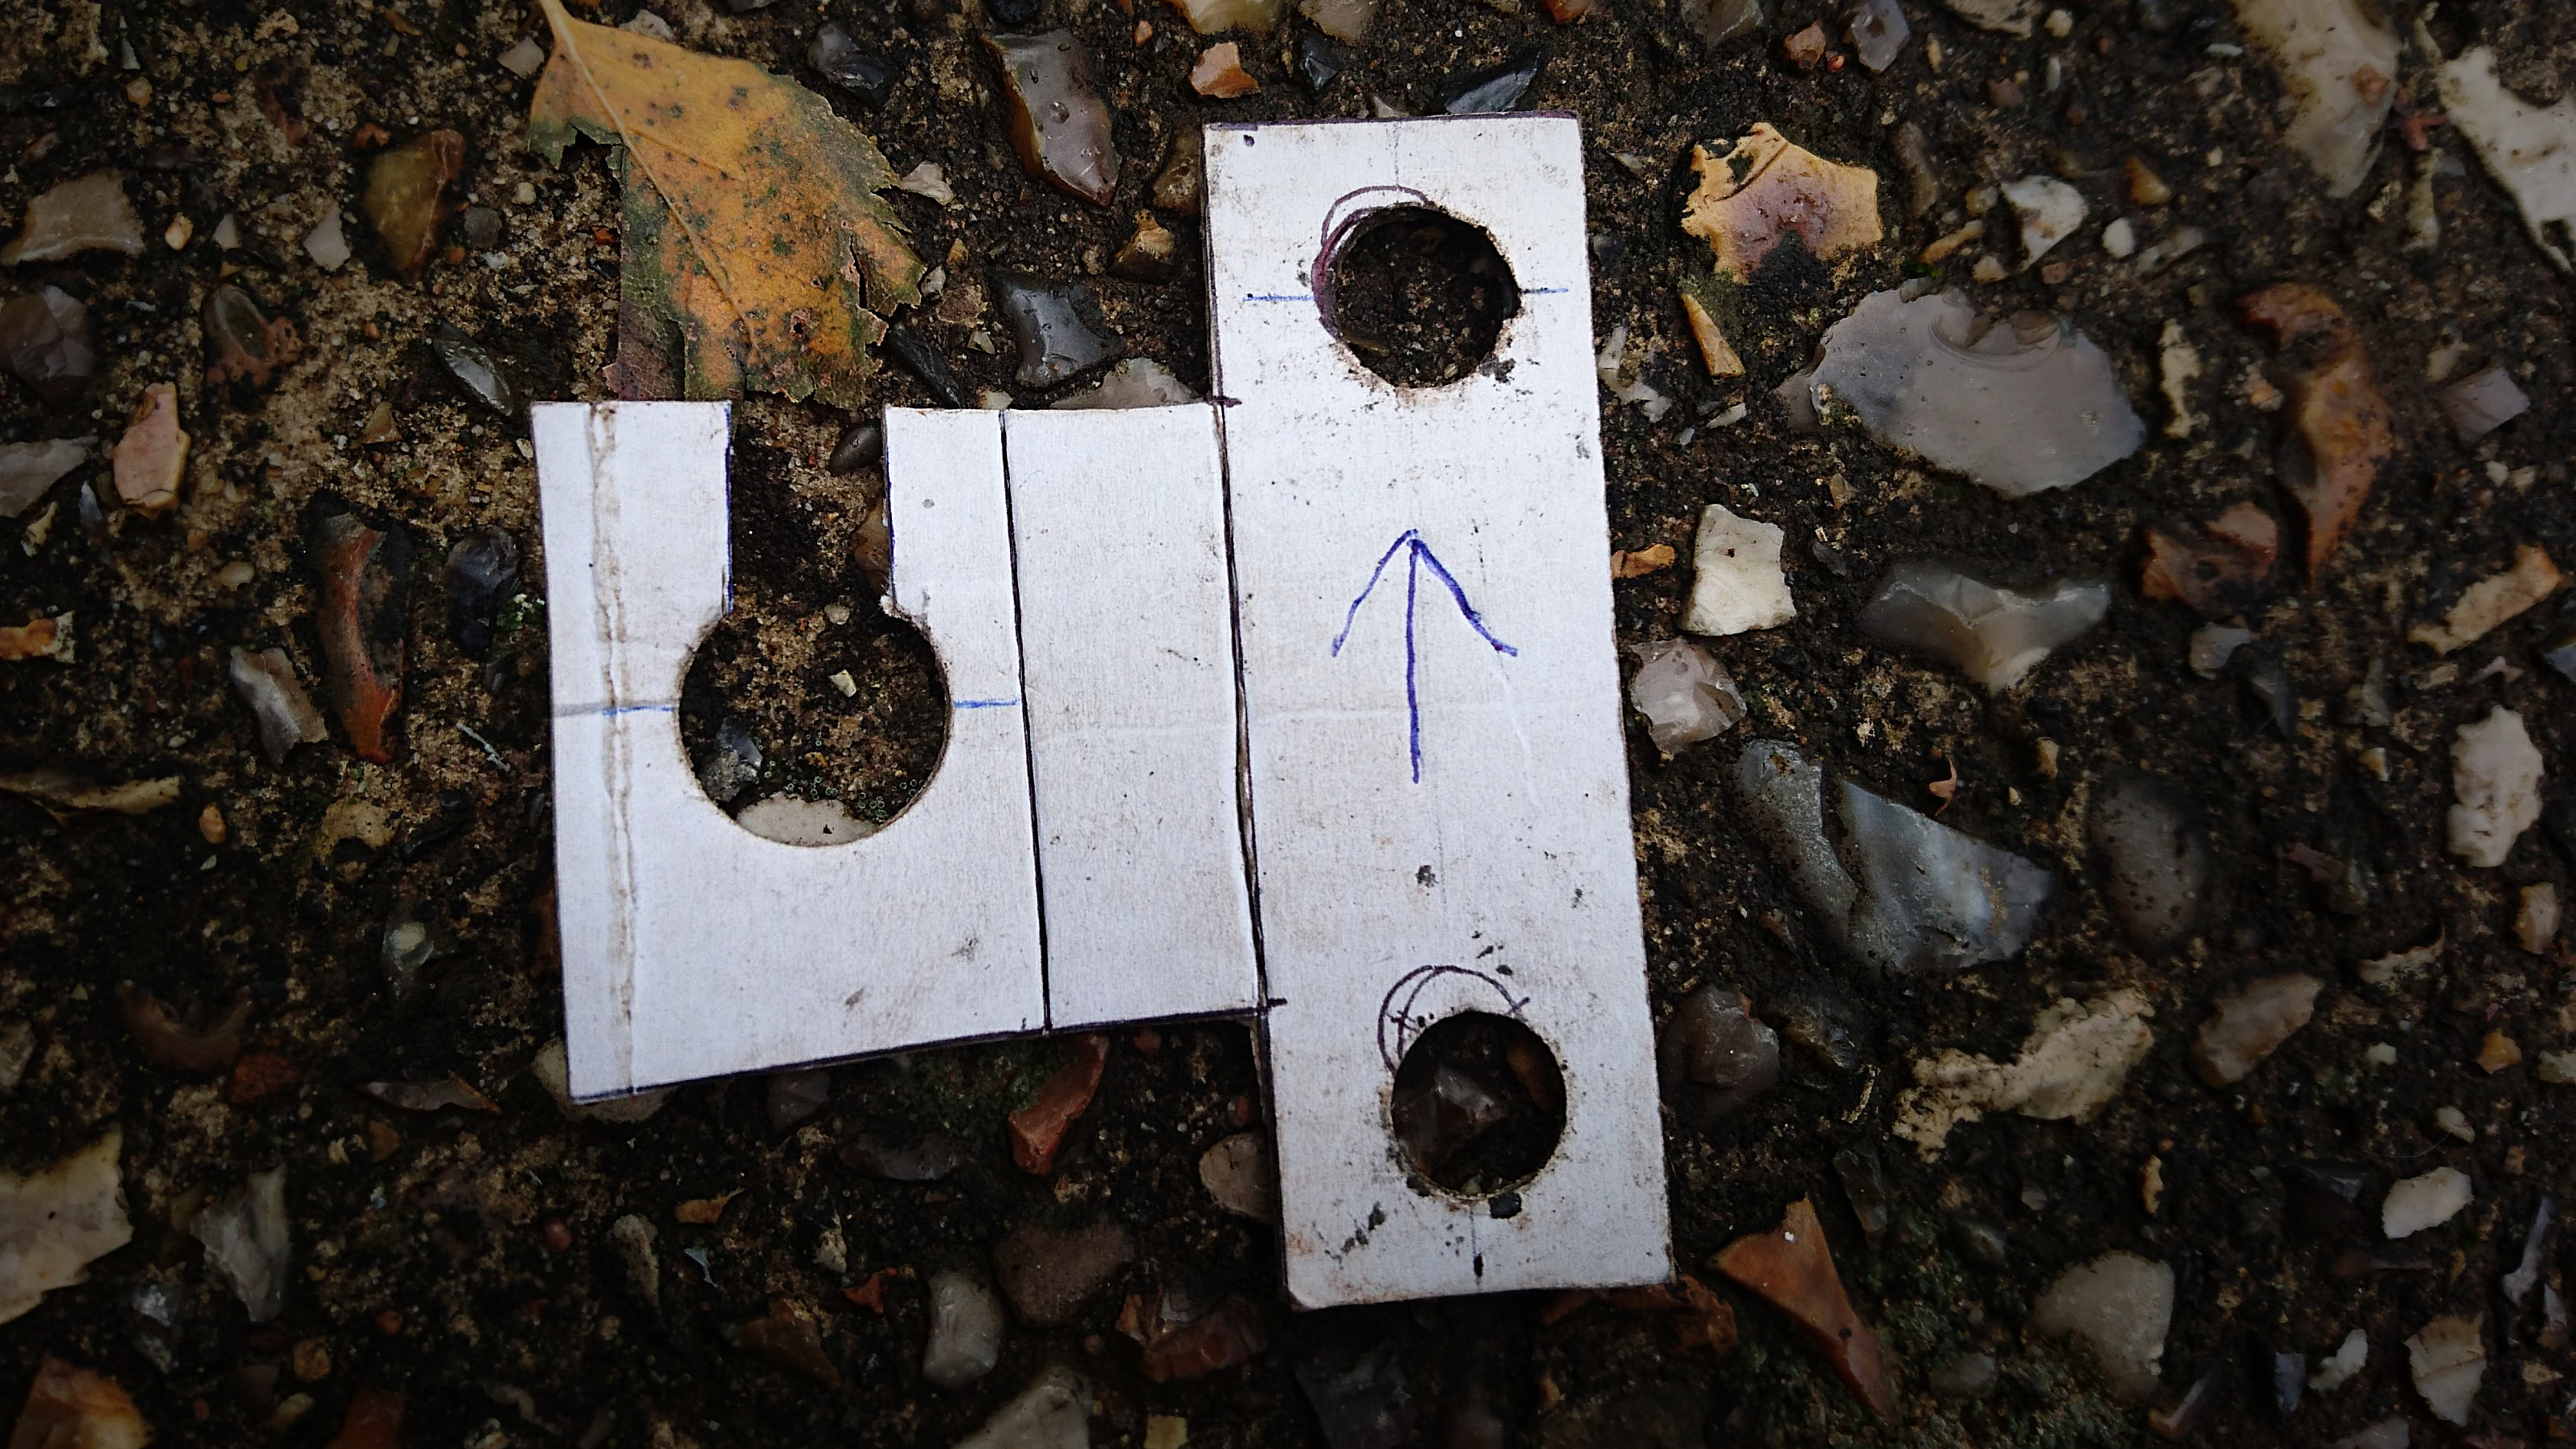
Rather than being welded to the shock (a fairly bad idea), this will pick up from the bottom bolts at the front of the shock.The vertical lines are where 45 degree bends are required; they are lightly scored with a Stanley knife to make the cardboard bend naturally along those lines when validating the design.
Always make things out of cardboard first! You can validate, iterate, and throw away designs very quickly, and you can do that at no cost because cardboard is free. The one you see was my second iteration; my first was unnecessarily elaborate.
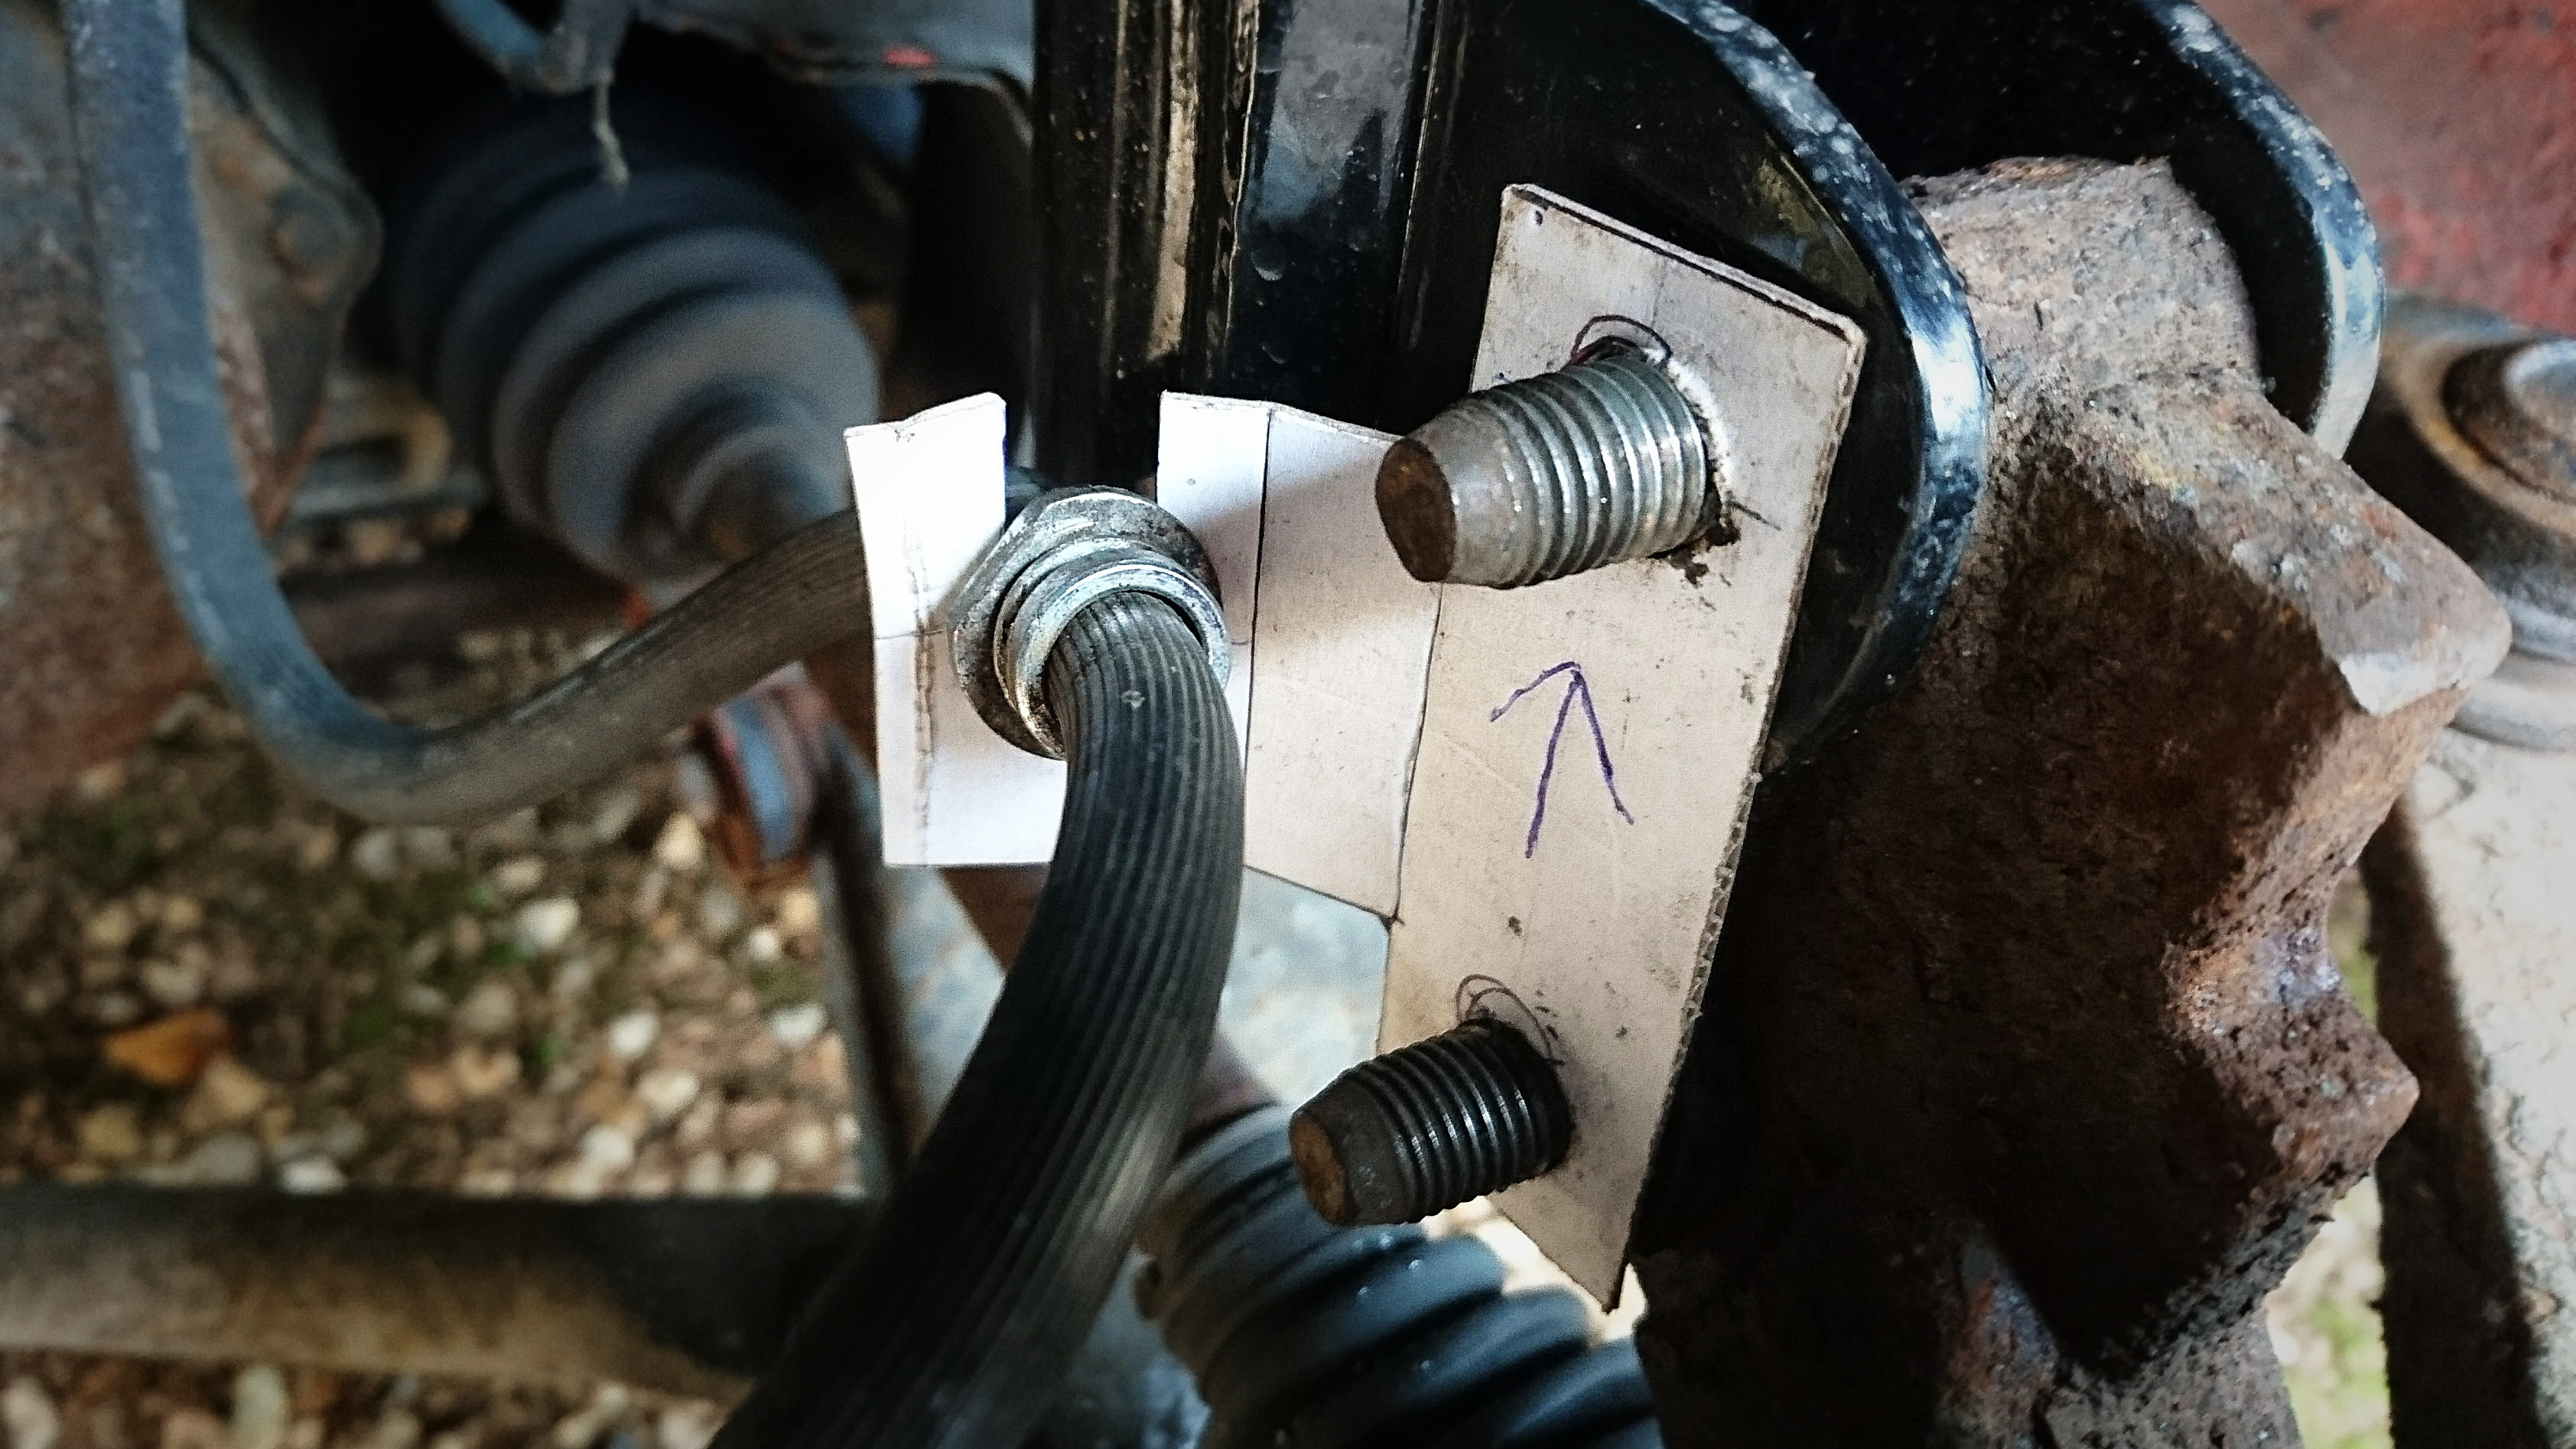
Validate your cardboard design in place:
Then transfer your design onto 3mm steel:
You might think that 3mm steel is excessive, but 3mm is the exact thickness required for the OEM brake pipe & clip to fit nicely. Other people have made these out of aluminium, but steel seemed much more appropriate to me given its safety-critical location. (It's safety-critical not just because it's holding the brake pipe; it's bolted up with the shock bottom mount, and if this cracks or breaks your shocks will be loose.)
Once you're done, you dry run that to be on the safe side, and probably find you have some minor fettling to do (this was the third dry run for me, after some small adjustments to the holes and the slot):

Then give it a coat of zinc primer and a coat of paint, and fit it for real:
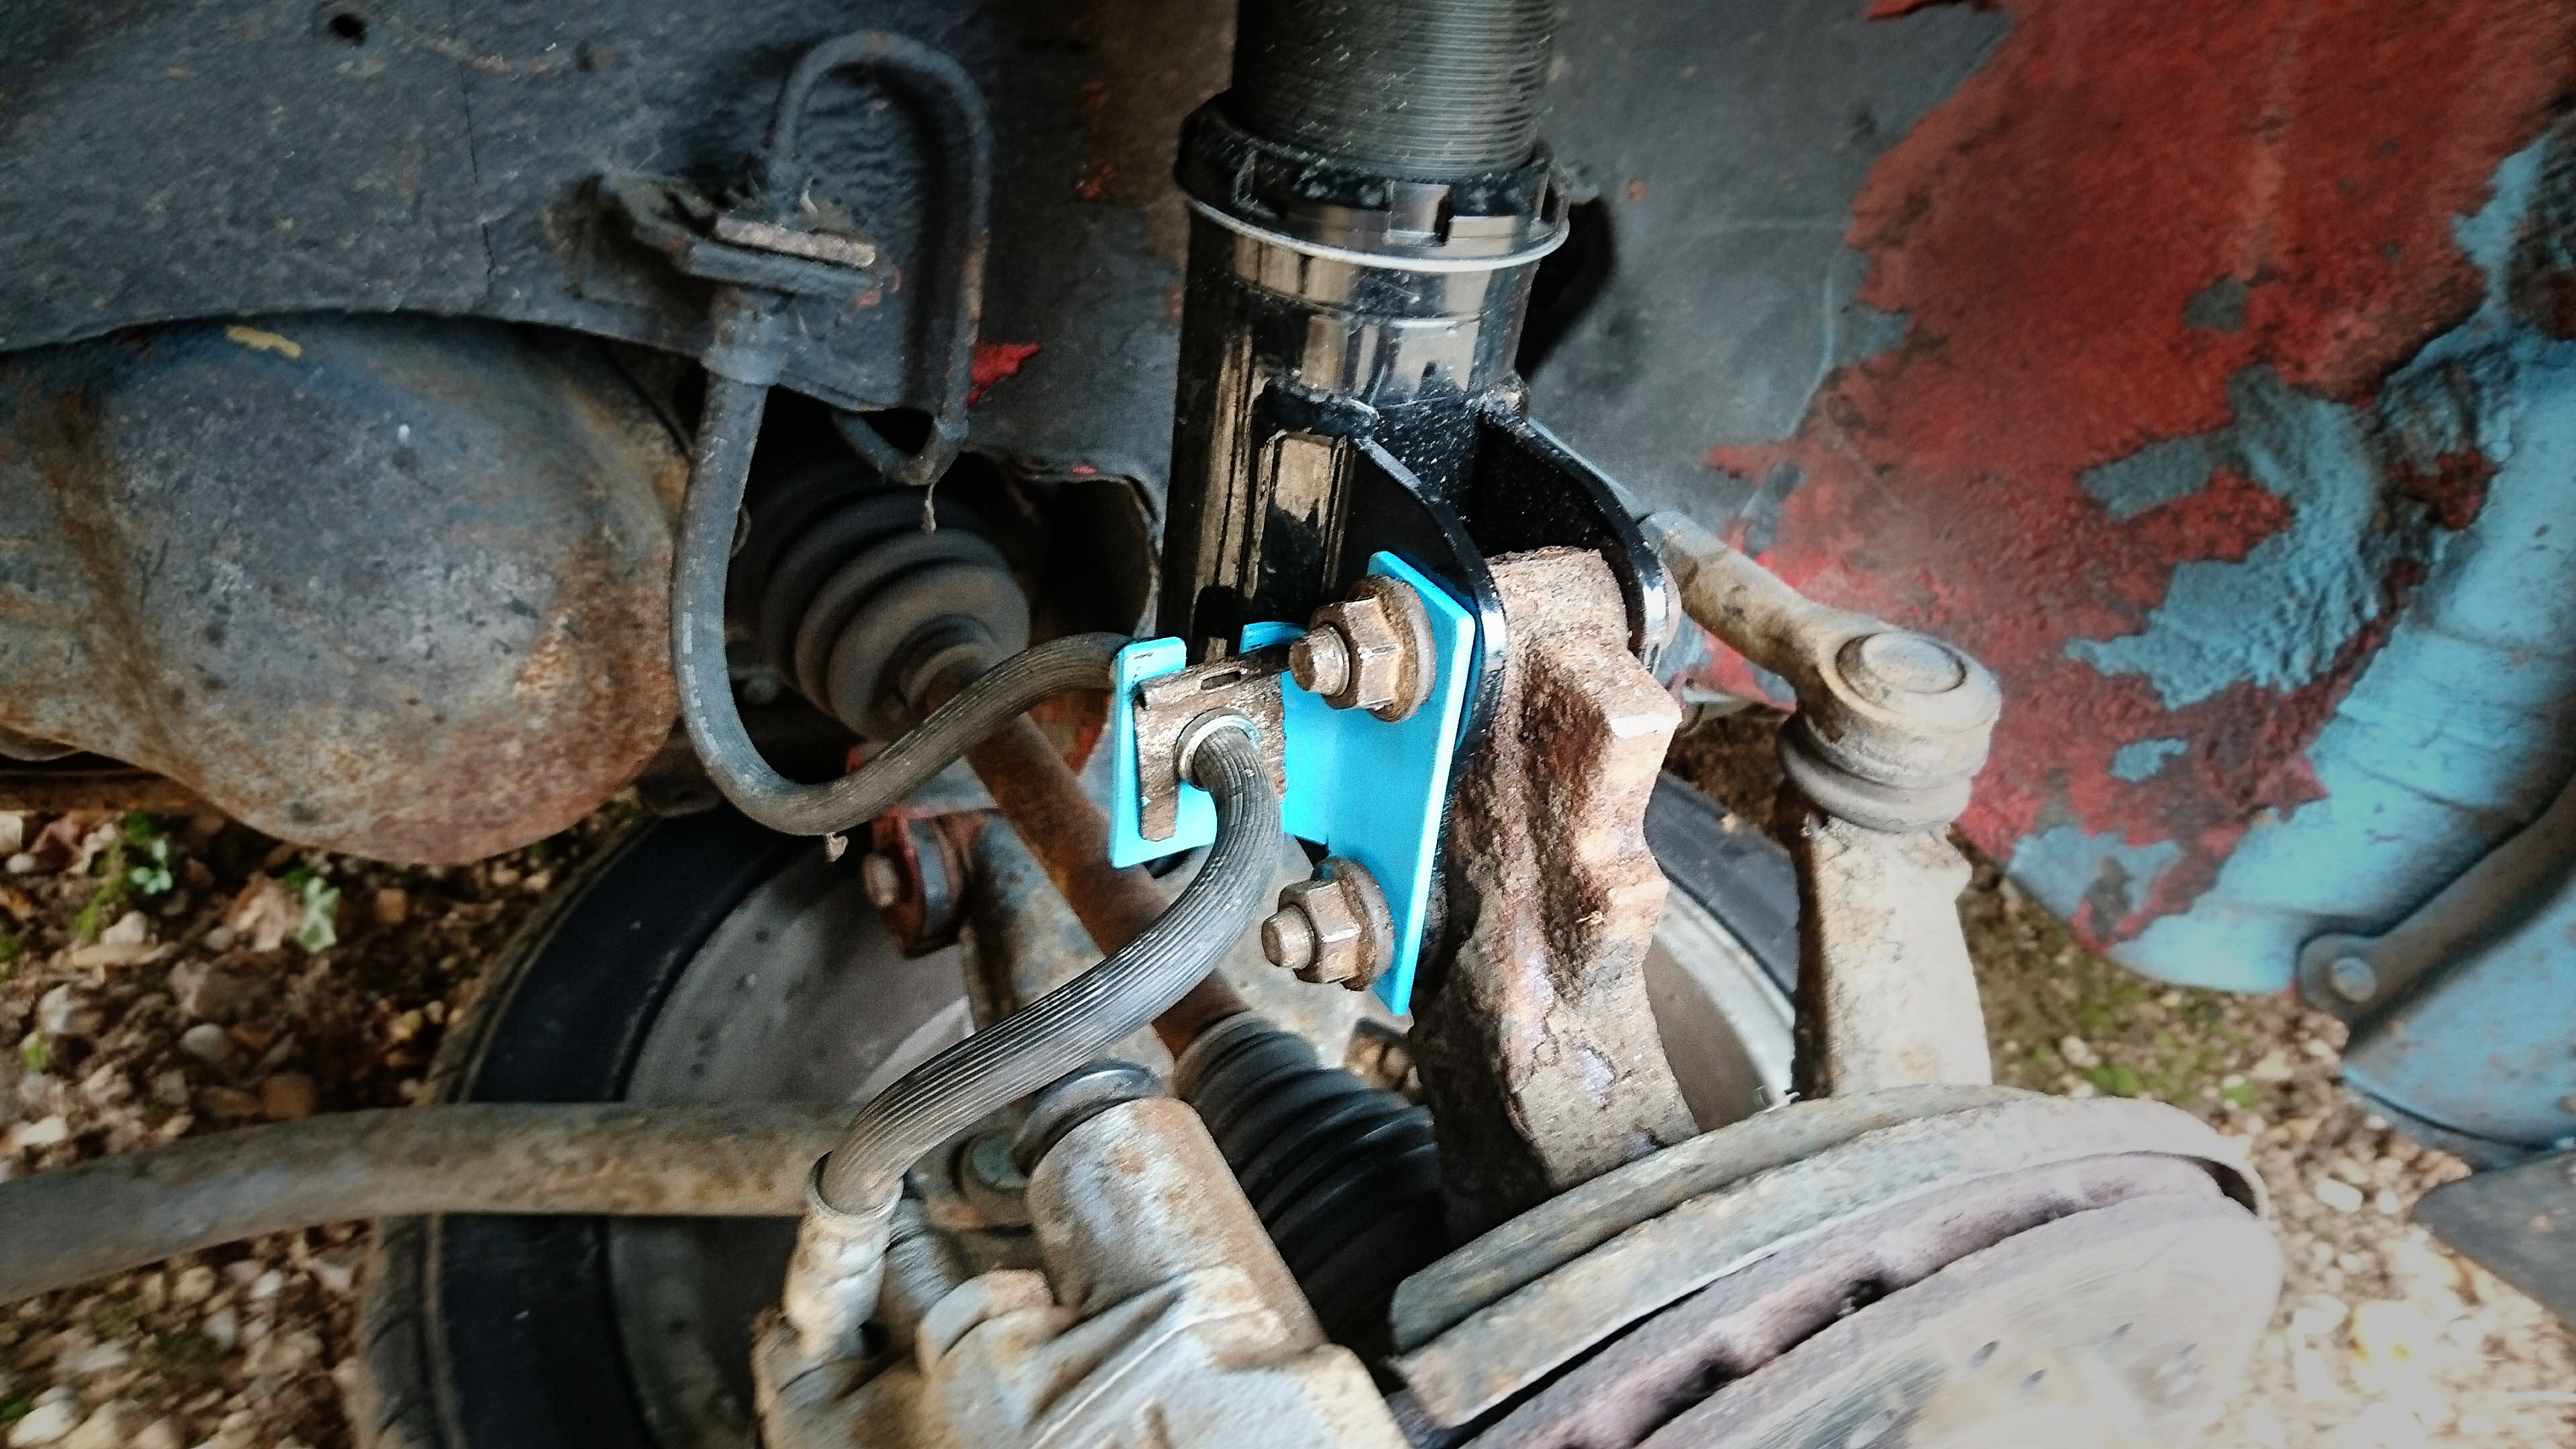
Don't judge me on the colour! They're loud cyan because I had a can of loud cyan paint kicking around, which makes it a much better colour than any paint I didn't have.
Now you have one possibly-overengineered brightly-coloured brake pipe bracket. Just like that! Do that one more time and you have two possibly-overengineered brake pipe brackets!
So that part is done (though I am possibly-irrationally nervous about there being only one "spare" thread on those bolts with the bracket in place, so I might swap them out for something longer to put my mind at ease).
In a short while, which means however long it takes me to work out how I make a pretty drawing in FreeCAD, I will publish my designs for this bracket to help anyone else facing this (very very niche) problem.
Onwards!