Rationalising the 323 GTX, part 2: the air filter
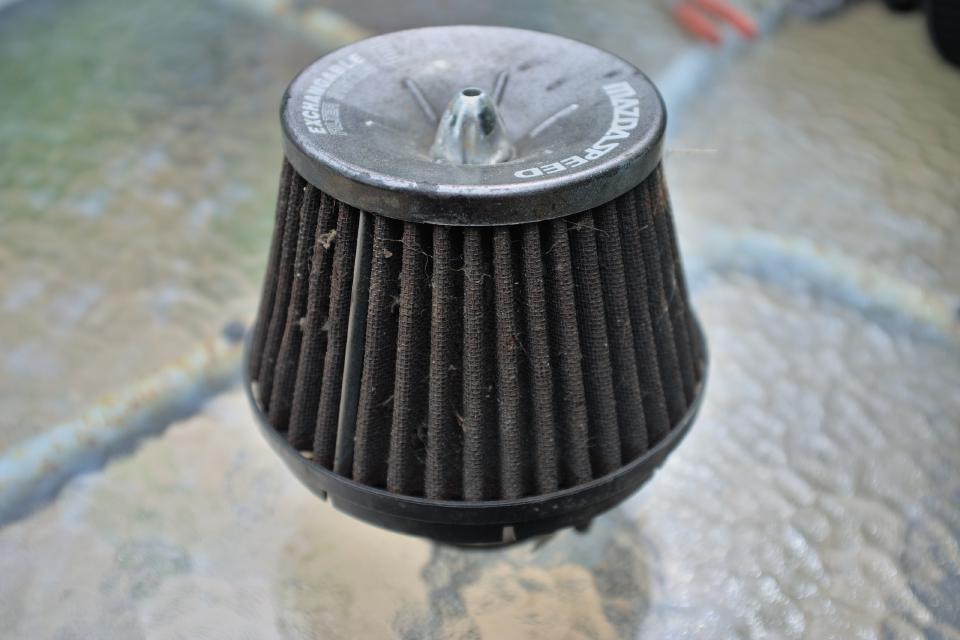
This was my air filter.
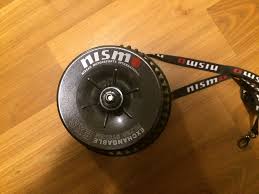
It has "Mazdaspeed" written on it. This would be kind of cool, but Mazdaspeed never made a generic 3 inch cone filter like this. There was, however, a company in the early 2000s taking generic 3 inch air filters and putting the names of manufacturers' performance divisions on them, along with fancy-sounding text like "EXS" and "EXCHANGEABLE FILTER SYSTEM". You could get one with NISMO written on it, if you wanted.
That is OK, because with a clean and an oiling this would probably remove particles from air as effectively and sound as loud as any other cone filter. It goes into the "badly modified" category I spoke of in the first part of this series because of how it was attached to the air flow meter. (Actually, it should go into the "badly modified" category because this setup sucks hot air straight from the engine bay and as such is probably less effective than the stock airbox, but I digress...)
There was an adapter on the air flow meter made of two parts that didn't fit smooshed together to make something that somewhat worked:
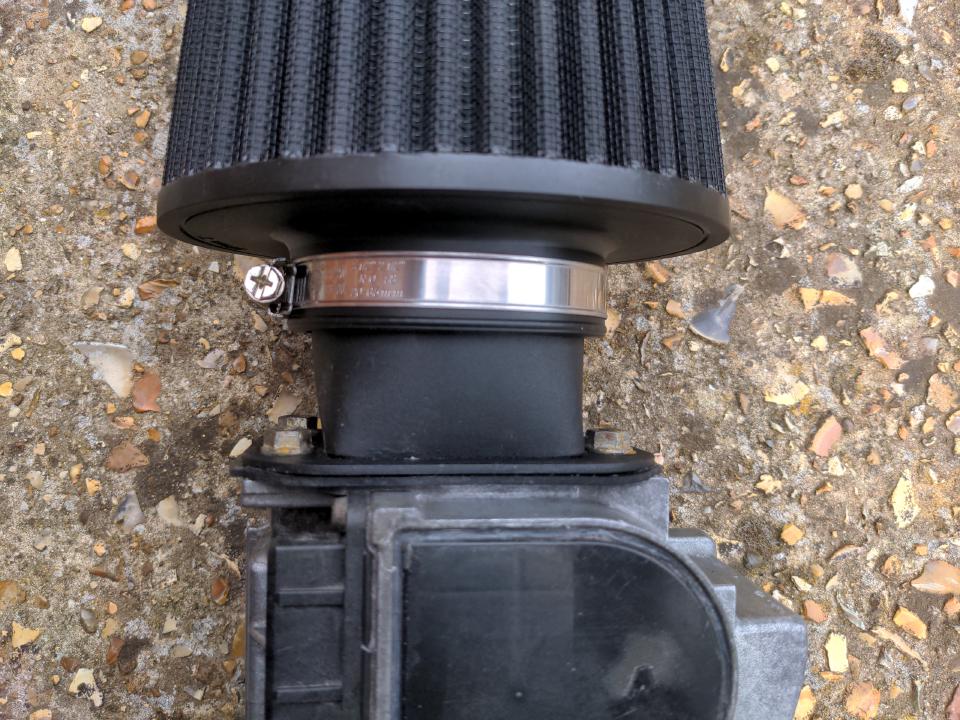
I did not like that, but worse than that, a low-quality rubber coupling hose went over the body of the air filter, attaching like this:
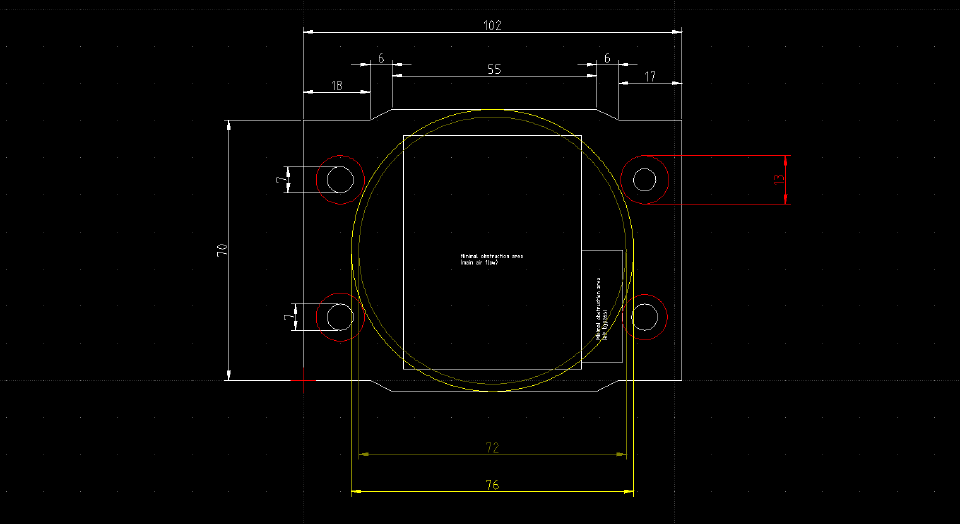
As the splitting of the rubber coupler hints (also the fact it kept falling off), this did not work very well. It was mostly through good will and fortune that it never disappeared altogether. This wouldn't do, so I set about designing a new, better, single-piece air flow meter adapter for any standard 3" air filter, spent quite a few hours on some meticulous measuring and initial CAD work...
...then found out that I could buy such an adapter off the shelf for about 30 quid. So I did that instead! It was only available off-the-shelf, unlike almost everything else for this car, because the 323 GTX shares an air flow meter with the early 1.6 litre Mazda MX5s. There are trillions of those still on the road, and there is a very healthy aftermarket for them.
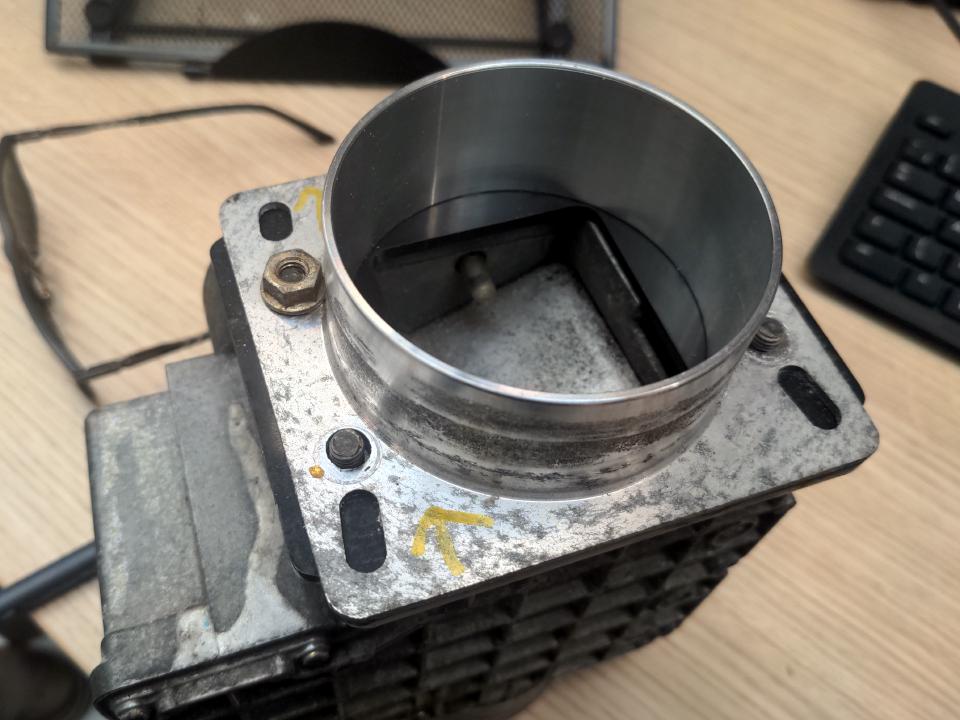
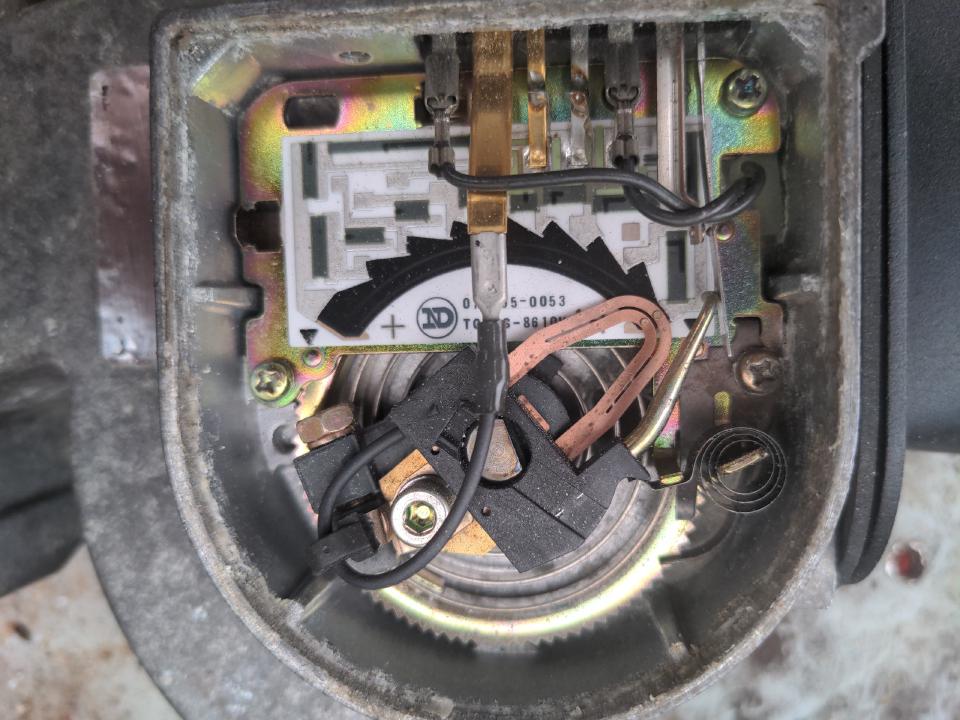
While handling the AFM, I noticed that the vane seemed stuck, which certainly wouldn't help the car run properly. After pulling off the cap, it turned out to not be the most common problem with these air flow meters. Because that was not the problem, chances were that a sharp prod would probably get the vane unstuck. It did! So I gave everything a blast of electrical contact cleaner (nectar of the gods), gave the hinge a little bit of WD-40, and it worked freely and squeak-free after that. I sealed the cap with silicone sealant this time around, because the previous person who took it apart neglected to do that.
I took a photograph of the internals when I had it apart, in case anyone wondered what that looks like.
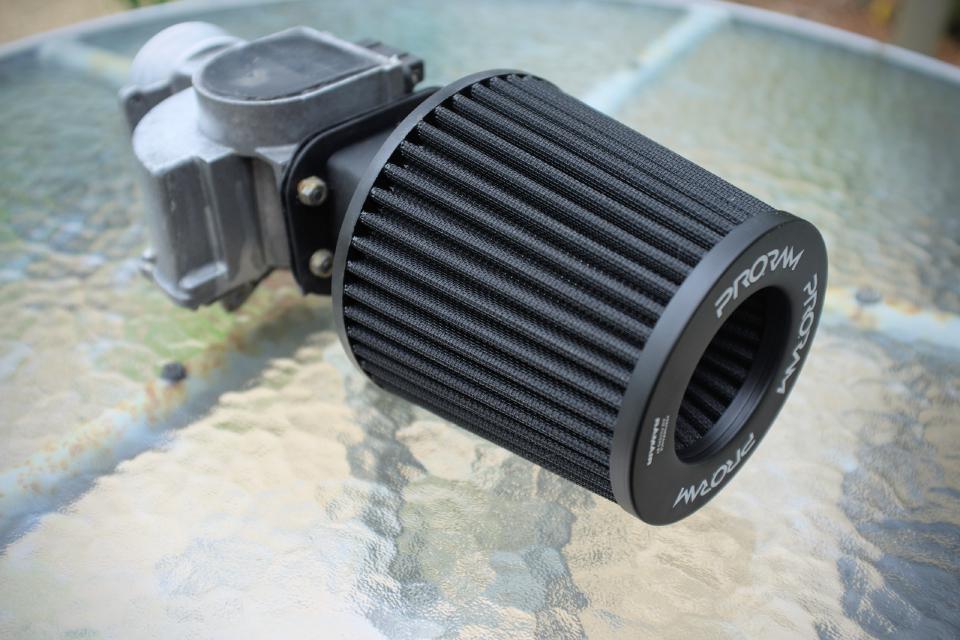
Anyway, the new adapter is much neater, because it is made of one piece of metal and any generic filter attaches to it like every other filter does.
I gave the exterior of the AFM a good clean with a Brillo pad. It did not come up shiny, but it did remove some of the surface corrosion and crust. It now has a PRORAM universal 3 inch filter attached to it, because that was quite cheap, not blingy like the really cheap ones, and will work exactly as well as any other cone filter. The whole assembly looks much neater than it did.
And that, to make a short story long, is that. It was all very easy and I don't know how I got six hundred words out of that! Next up, though, things get a bit more involved...
Part numbers:
- AFM-to-3" filter adapter: Jass Performance 5401
- Air filter: Ramair PR-CC-150-76
