Fitting the K-Sport coilovers, episode "the rear"
So I joked at the start of the previous episode about things going smoothly and as expected until they do not go as expected, but the rears really did go as expected. There's no follow-up joke about this not going as expected this time! And not even the smallest hint of a bracket on this one.
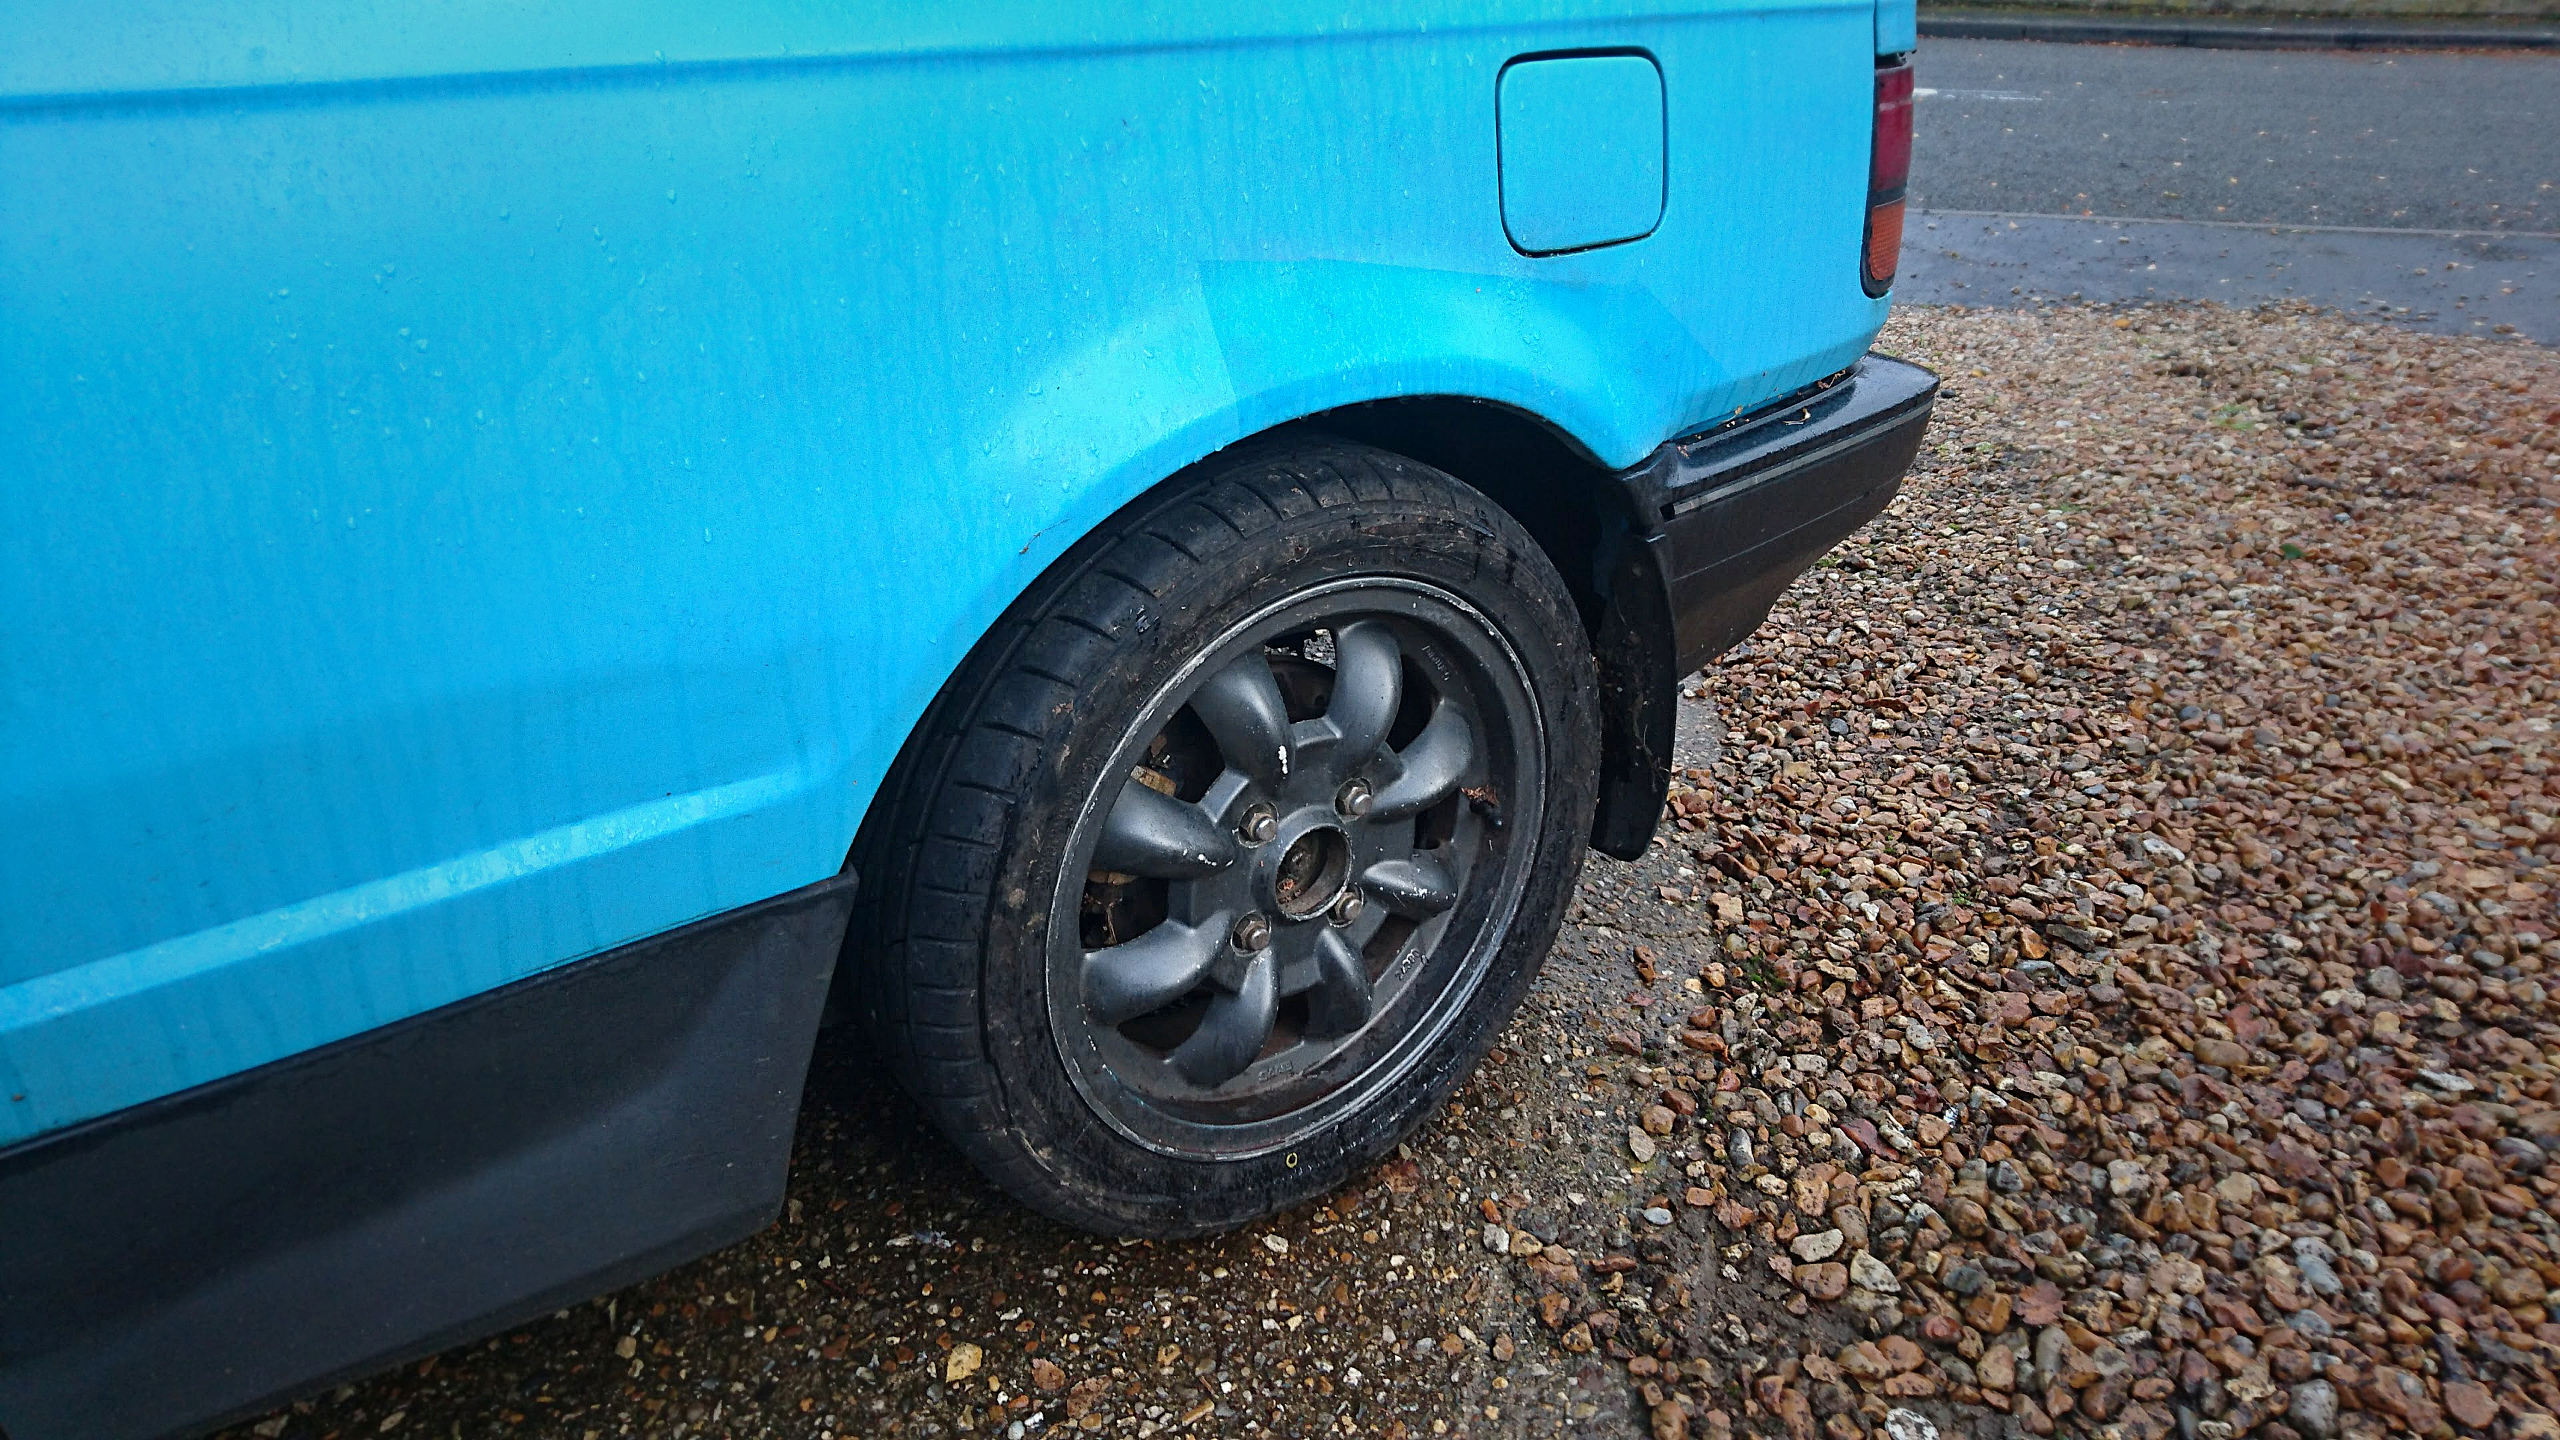
Yeah, that probably would have been a more interesting photo if I had used my phone in portrait orientation but I refuse to do that for weird reasons. But they're on! It was rather uneventful, so I will visit assorted tangents while I talk about fitting them.
The downside with the K-Sport coilovers is that they do not have any instructions other than generic ones for no particular vehicle. That is expected, because they're specialist parts that assumes a specialist is fitting them. Which I am not! I'm just an idiot learning stuff as I go from an old car that consumes an alarmingly high amount of my disposable income.
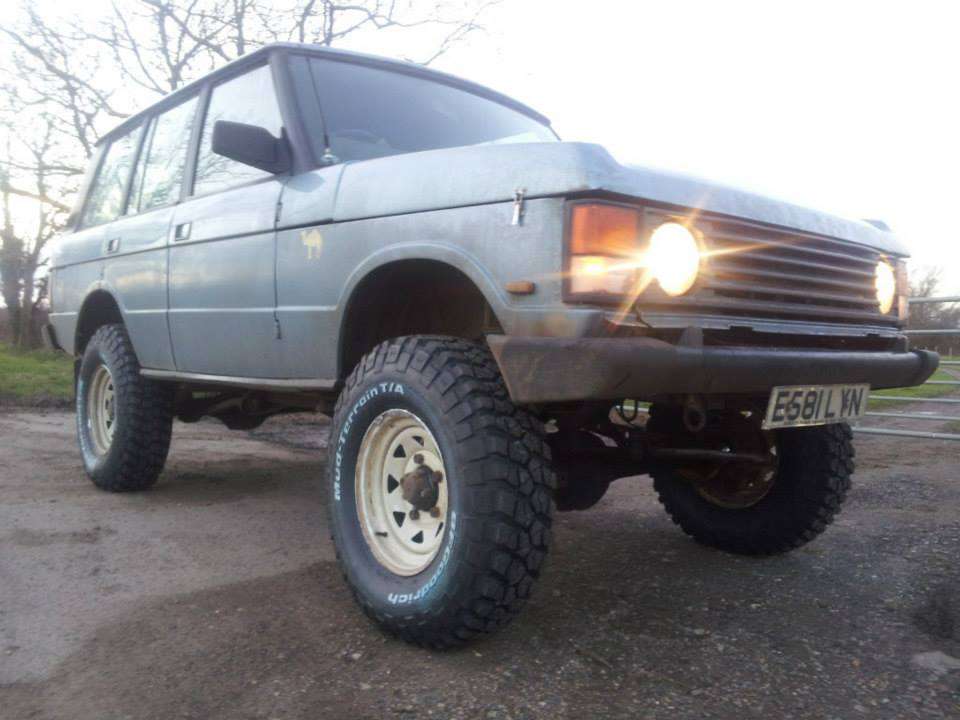
One thing I learned is that when setting up the ride height it's not necessarily valid to offer your new coilovers against the old ones and match the heights; that only works if your spring rates on both the old and new ones are similar. It so happened, i.e. it was a coincidence, that this worked for the front shocks. When I tried this on the rear it left that corner sitting absurdly high. Alas, I did not think to take a picture of just how absurdly high it was, so I had to pay some mates of mine from Hollywood a lot of money to make a dramatic but very authentic CGI recreation of how this looked:
That required some fiddling, and by some I mean about two hours. After much fiddling I found out this: A good baseline is to have the bottom of your coilovers screwed in by about 85mm from the bottom of the thread. To illustrate this, your bottom nut should be in about this position:
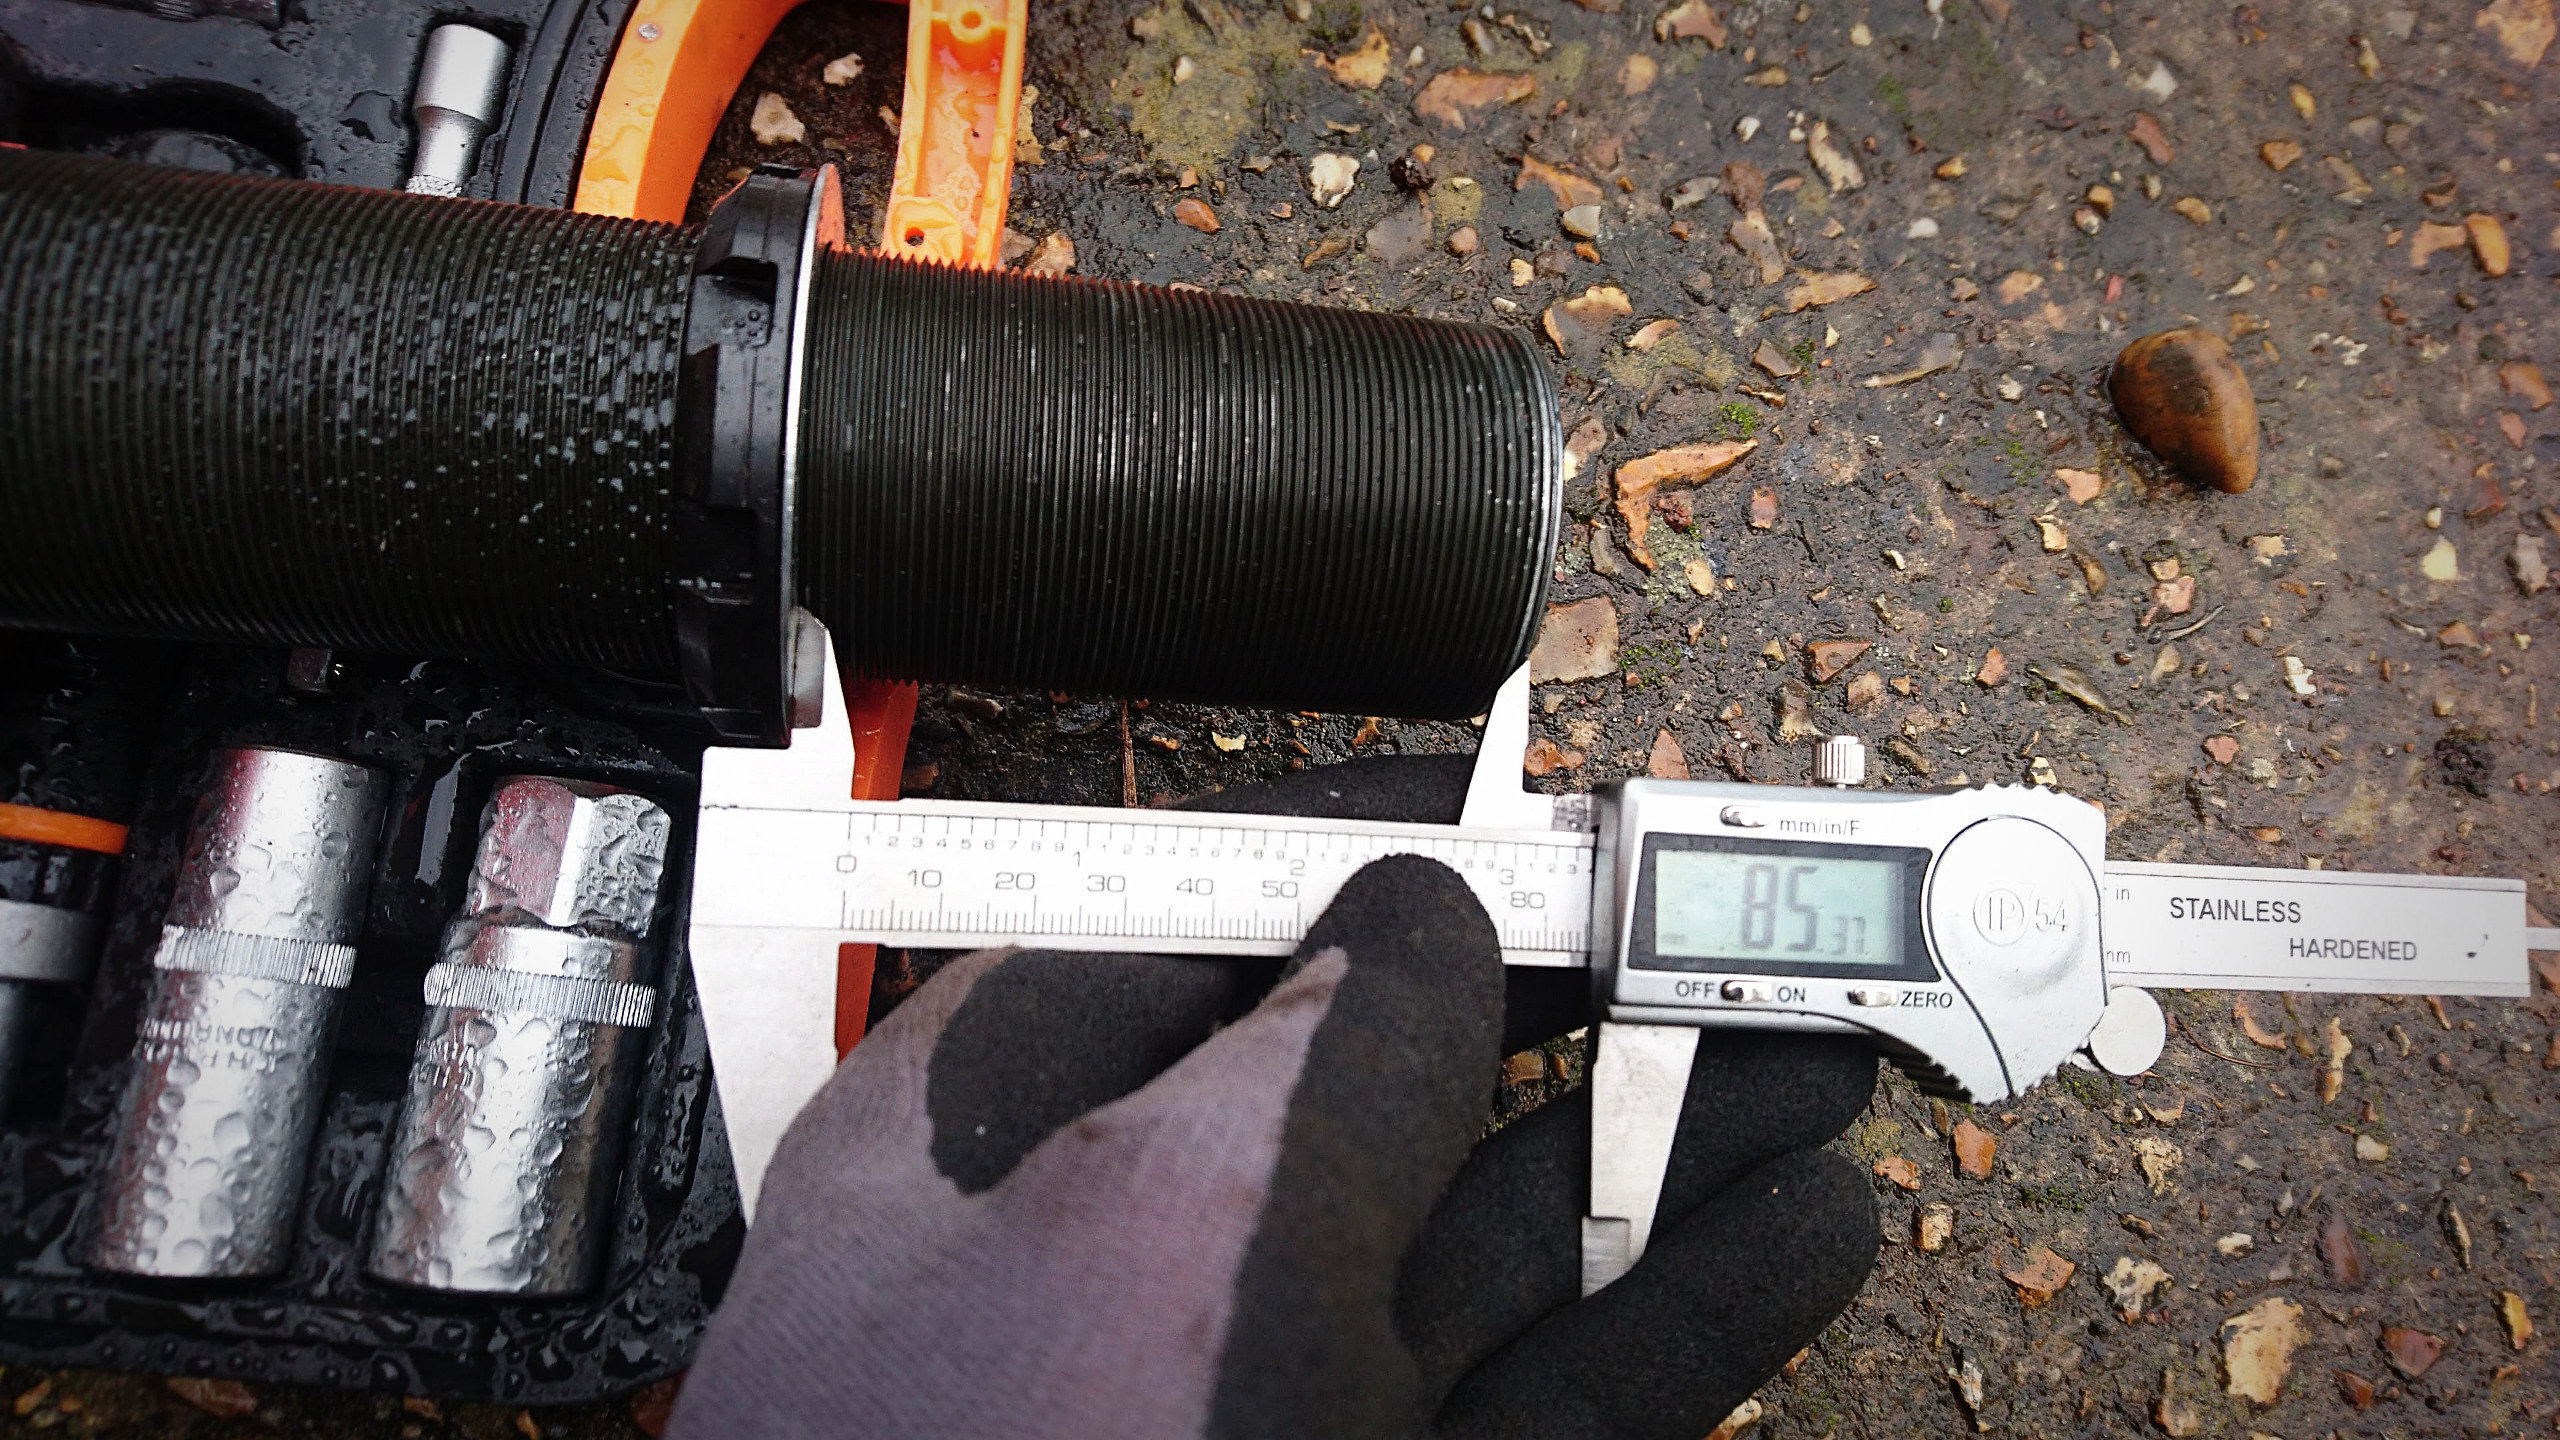
Time for one of those tangents! The cheap Vernier here is one I bought off t'internet the other day, just because I much prefer measuring things with one of these vs tape measures or rules whenever I possibly can, and I needed one that was cheap enough that I wouldn't mind using it in the drizzle (which is basically all but a month or two a year around these parts). It seems that the cheap ones are almost exactly as accurate and, other than lacking the nicety of a "hold" button, about as good for my purposes as much more expensive ones.
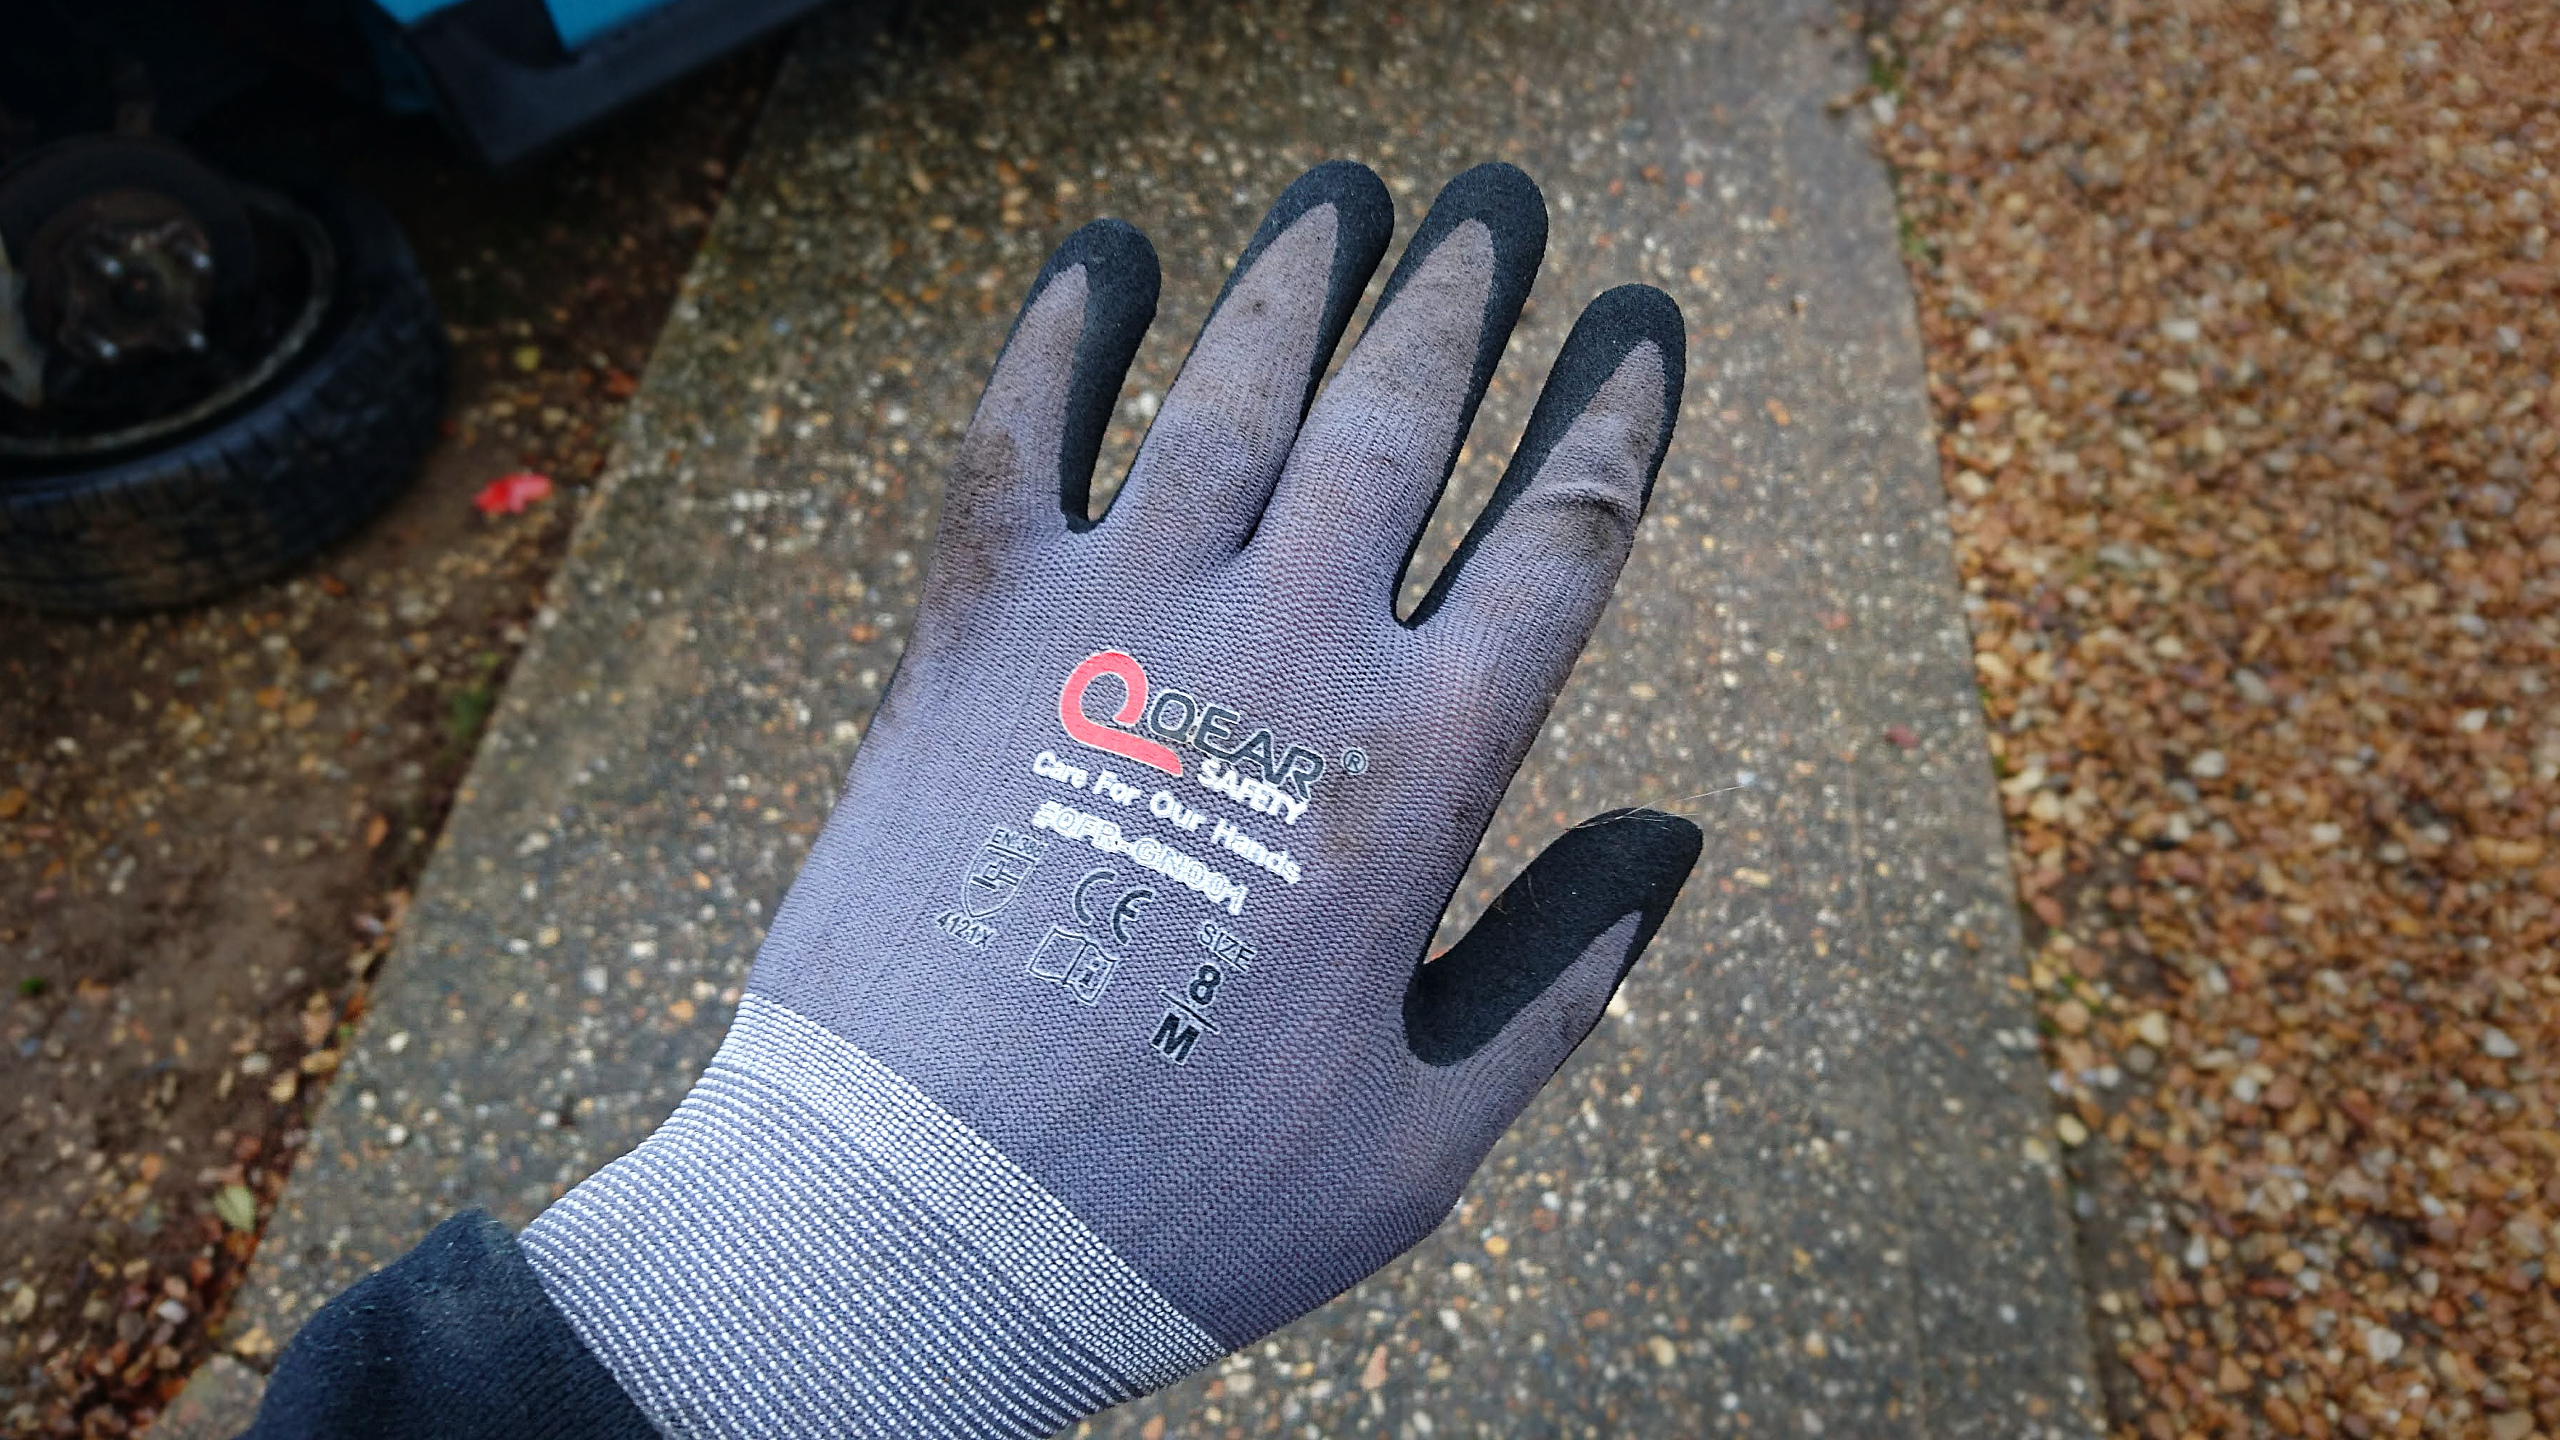
Also, I am wearing gloves. I've only had my own car on the road for a few months, but I've actually been working on cars (i.e. other peoples' old shit) for over 15 years. and why had I not tried wearing mechanic's gloves before?! It's so nice to finish up a day without random nasty abrasions, and without a coating of grease and dust and assorted old-car mank on my hands that takes multiple cleanings with a nail brush to remove. These cheapies, with their curious "Qear" name, worked great:
Anyway. Remember that 85mm? About that 85mm! That will give you a ride height that looks something like this (which will be a bit lower after it gets used and settles):
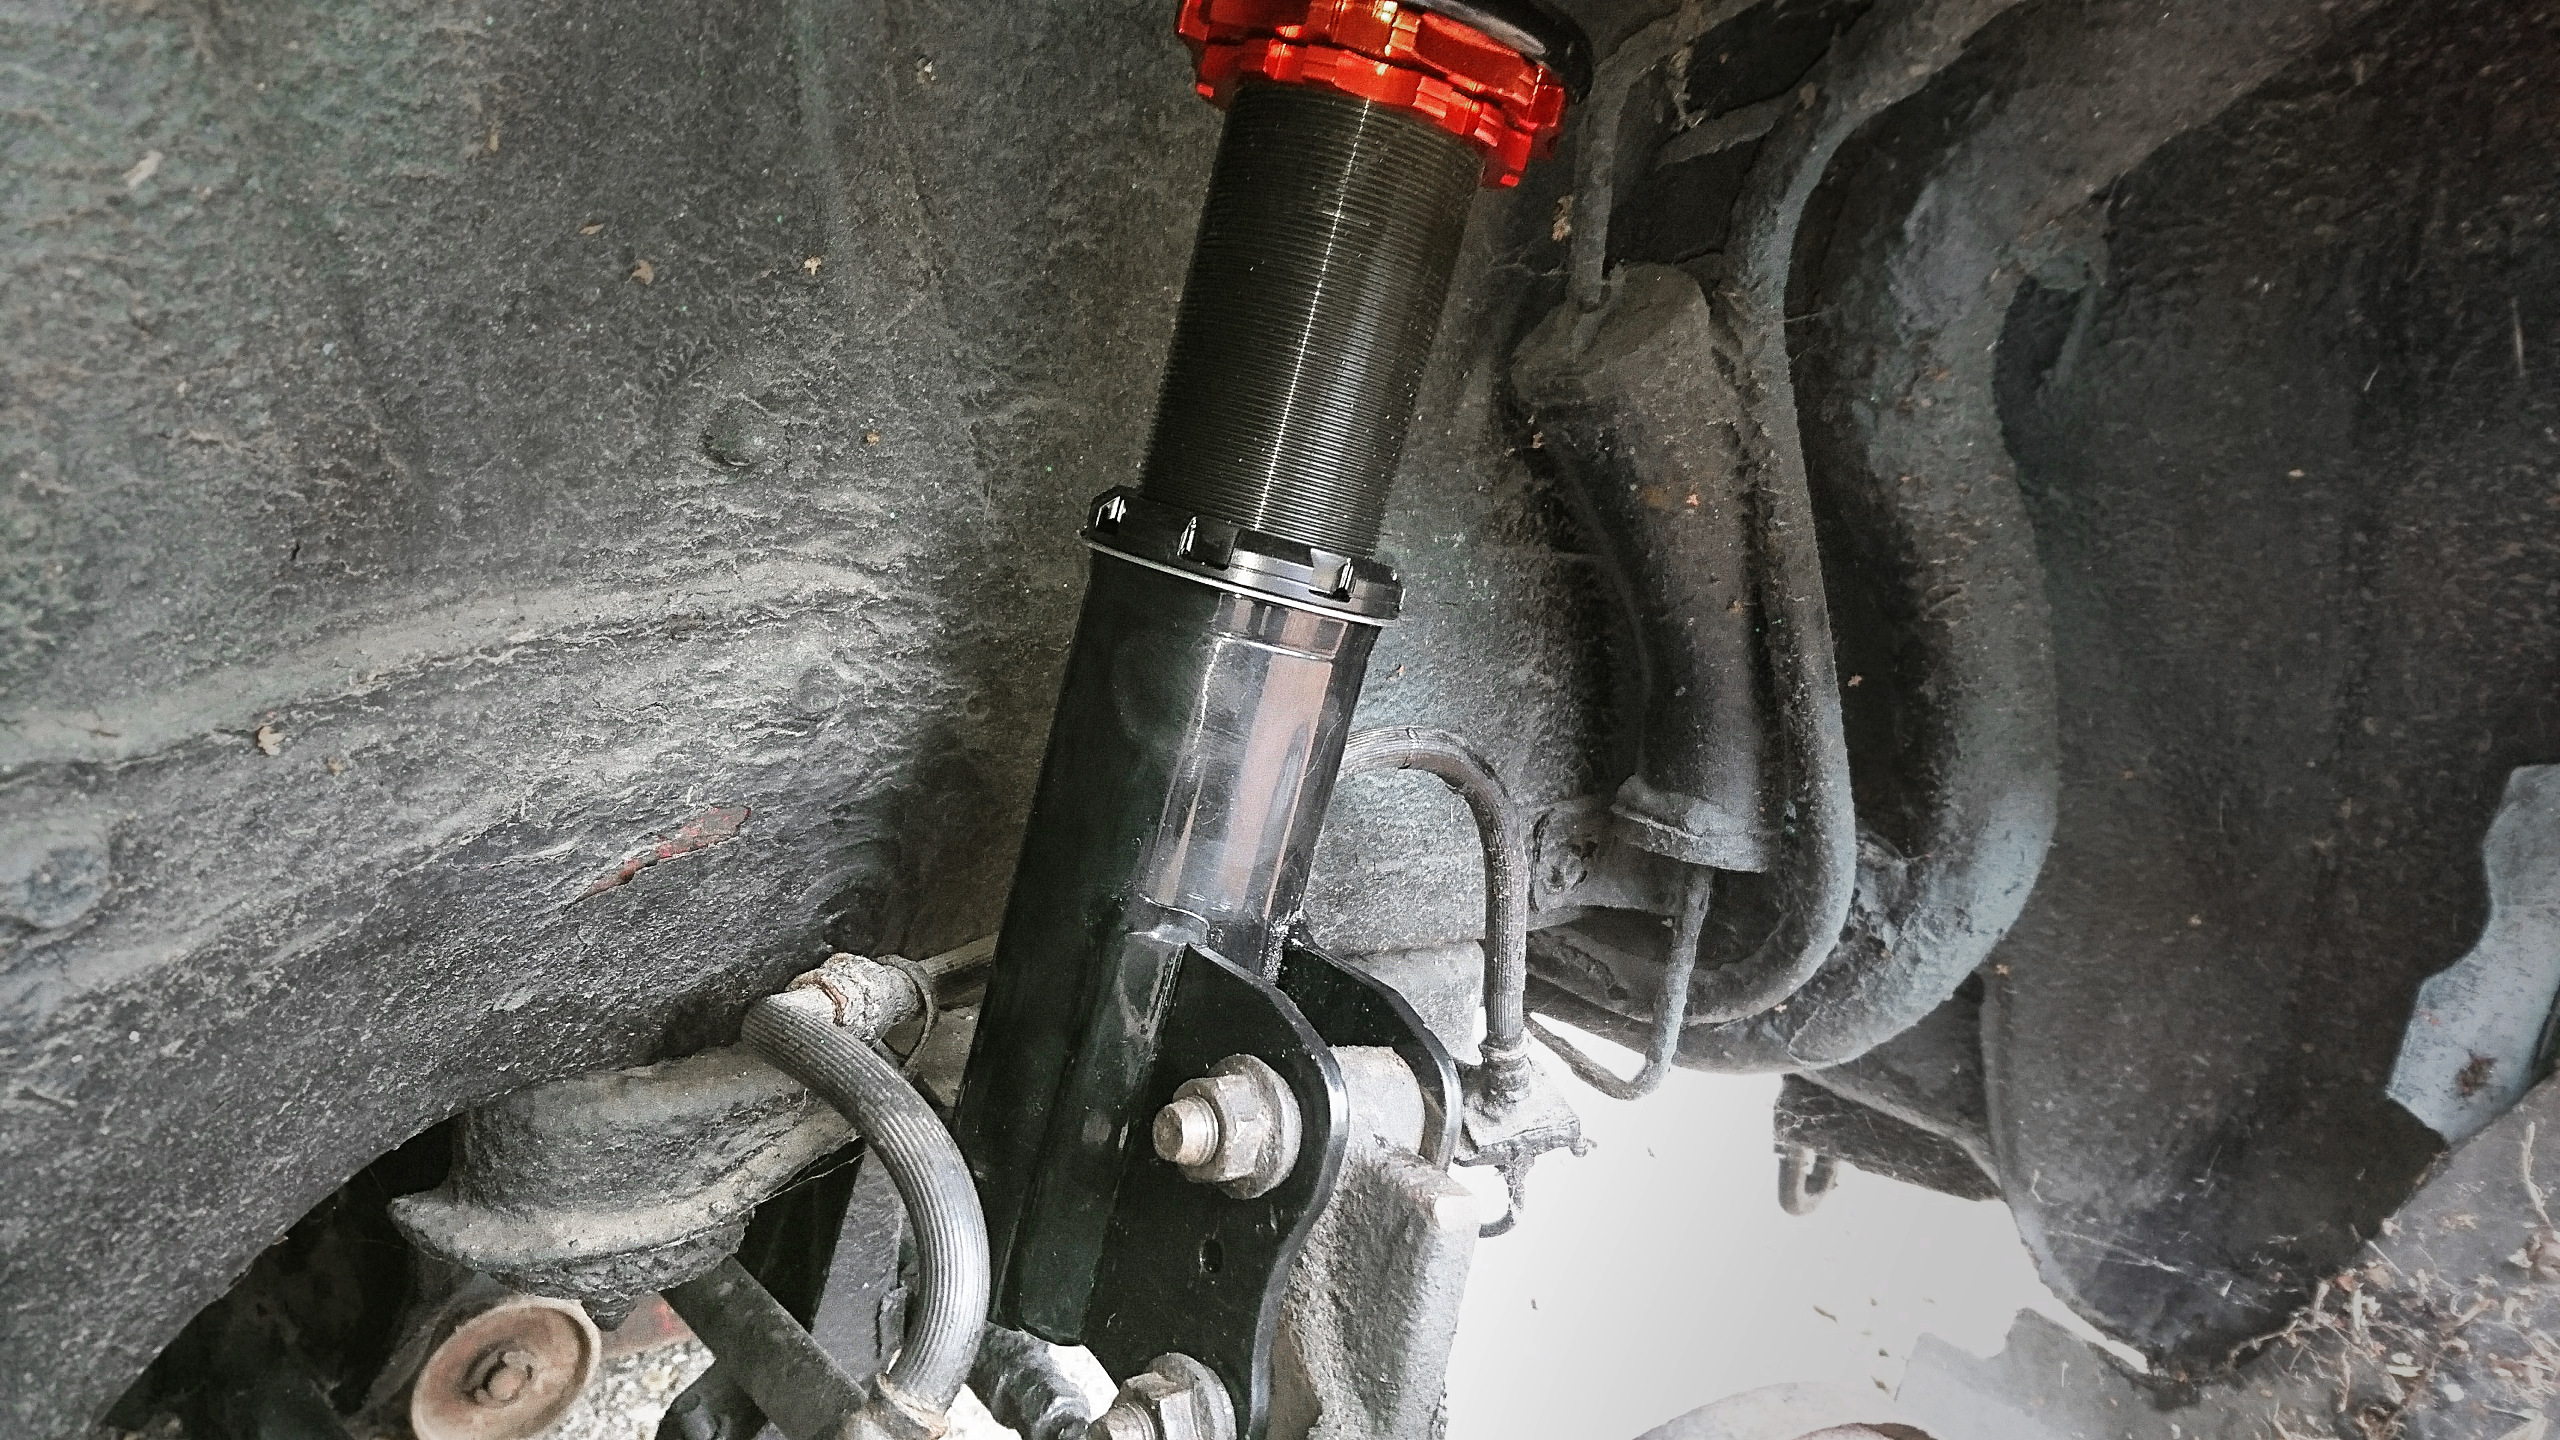
...which is close enough to the ballpark of where I want it to sit. More on the ballpark in a bit; just bear in mind I'm on 15 inch wheels and 195/45 tyres; adjust your baseline accordingly depending on the size of your own wheels. One of the other lessons I learned in doing the first side, which was one of the things that made the first side take nearly three hours and the second side take about a third of that, was this (and forgive the terrible photo, as I am incapable of taking a picture with a phone):
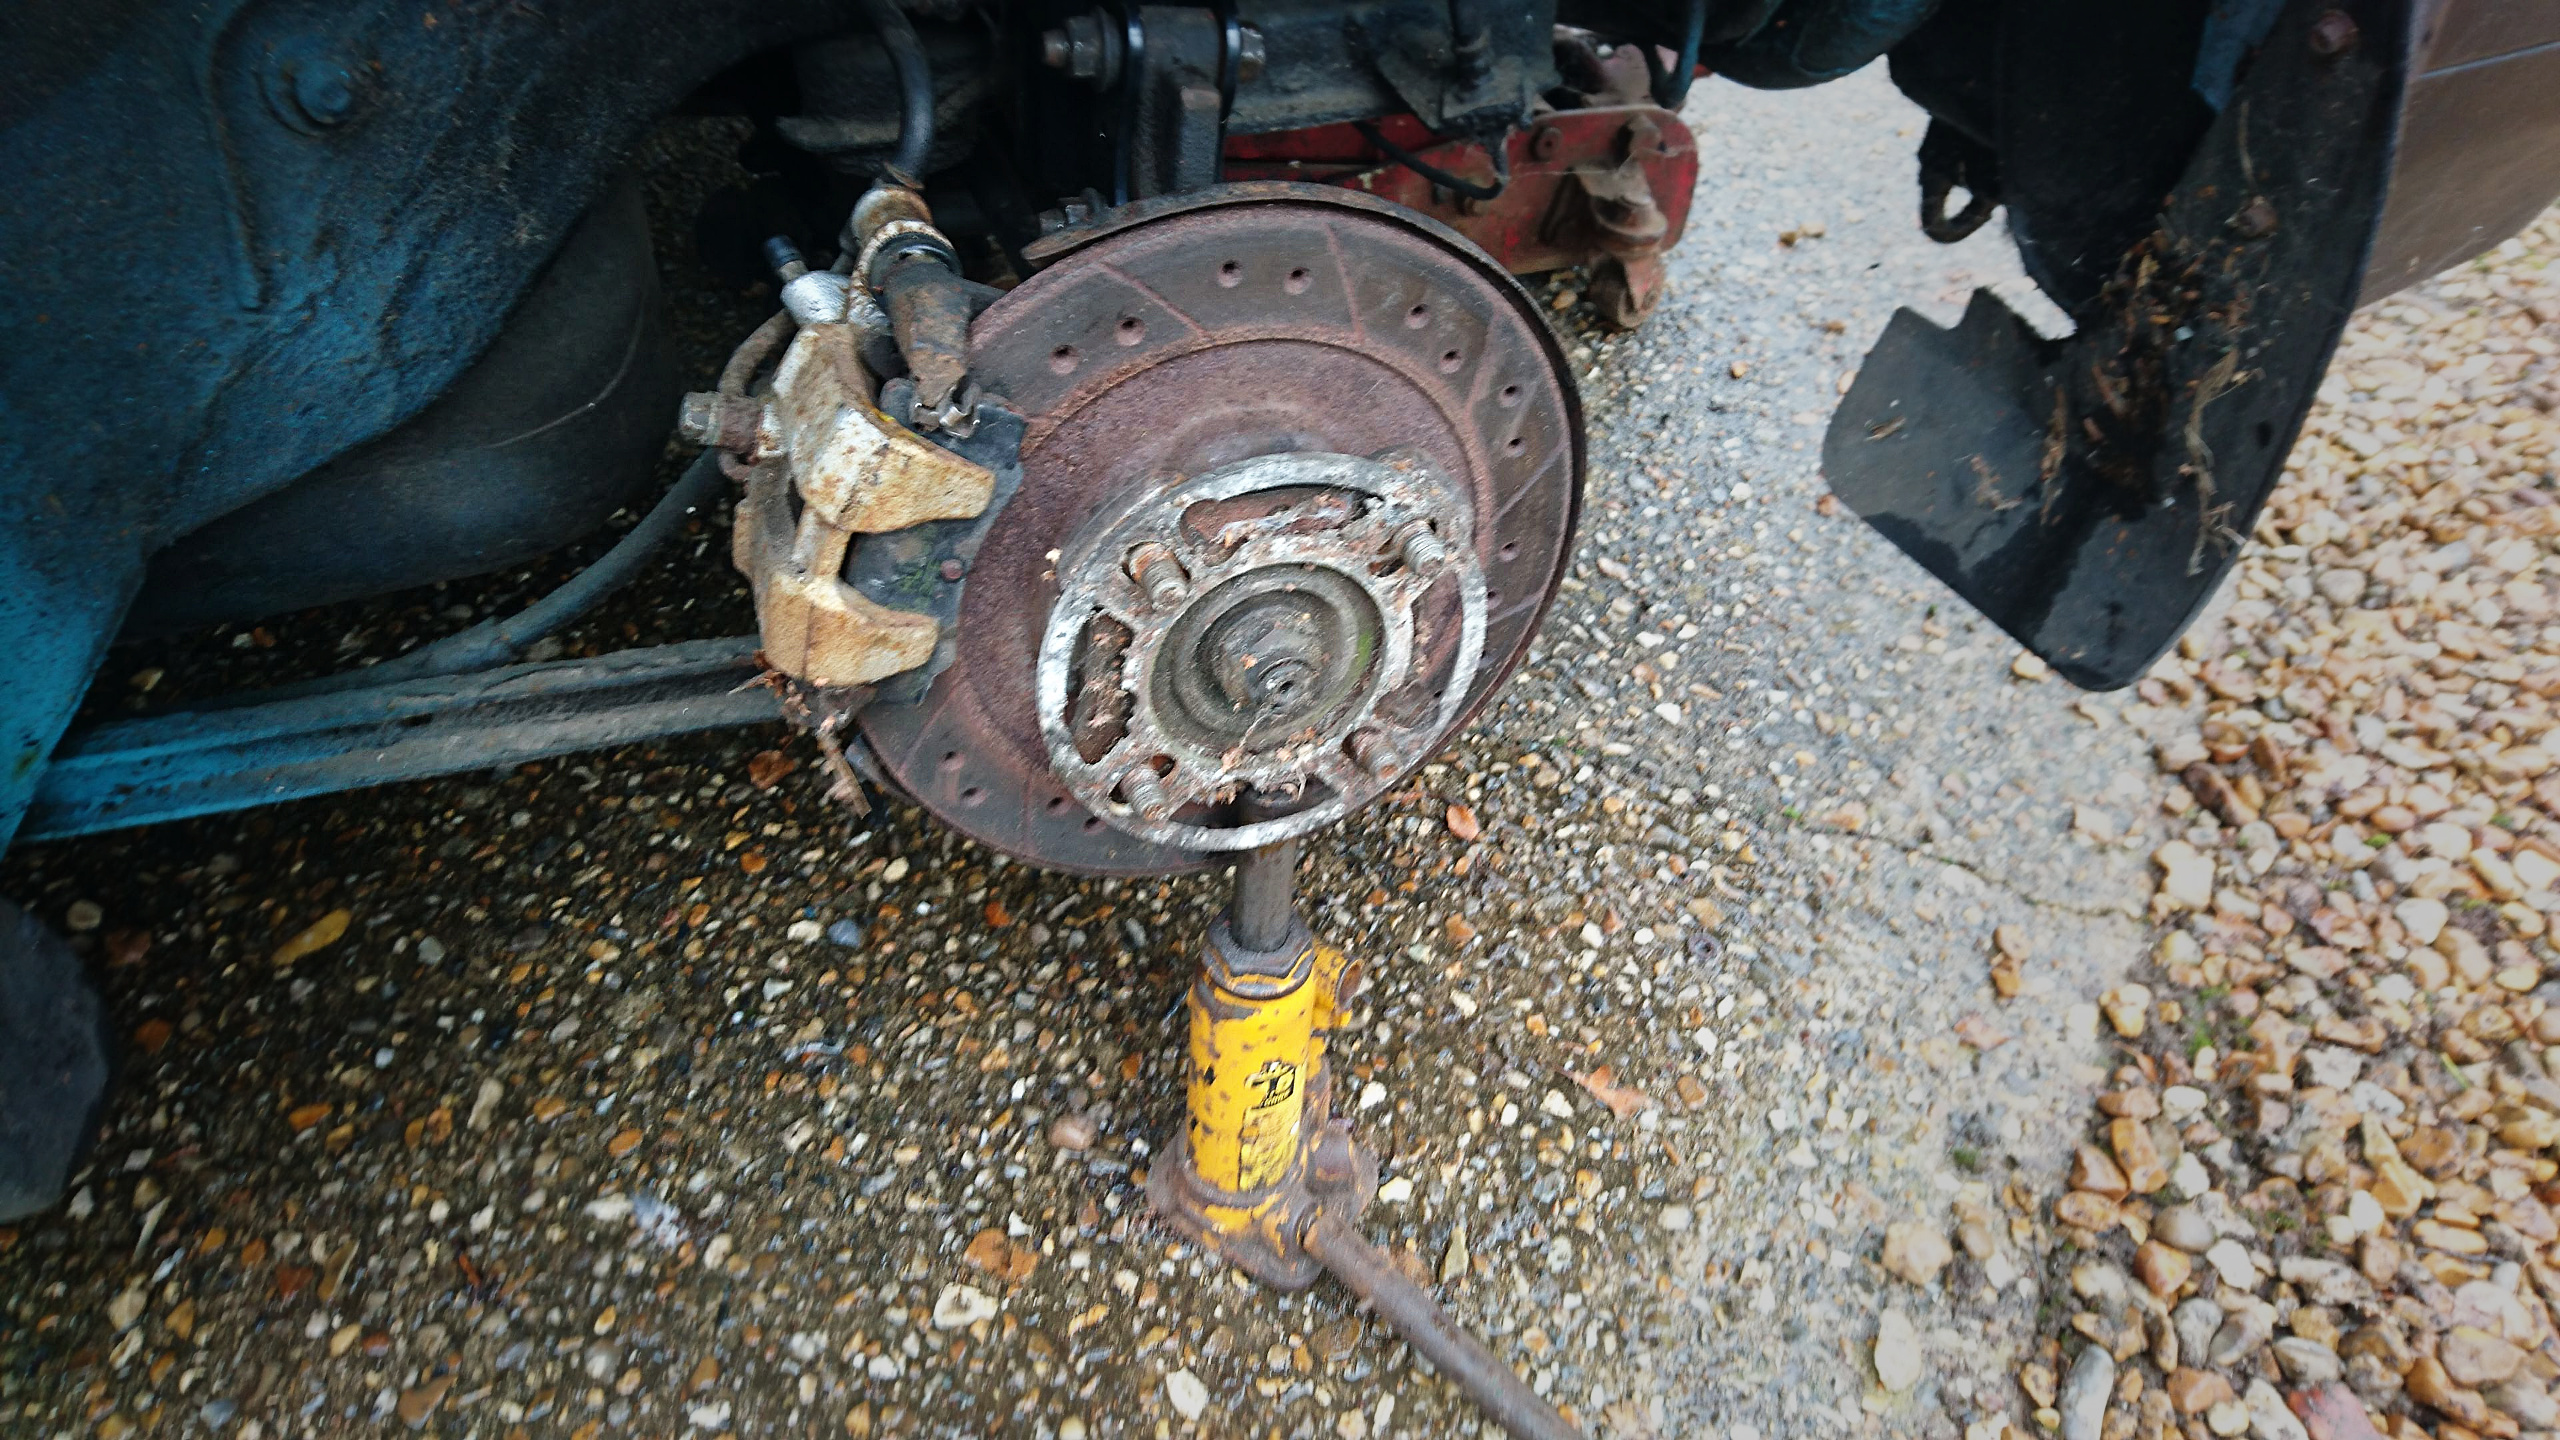
Which is to say: it is vastly easier to get the bottom bolts in if you have a small jack to hold up the hub. That way, you're only fighting to get the holes lined up in one dimension, rather than two; I lost at least twenty minutes struggling to man it out in two dimensions (and by "man" it out, I mean if a woman was doing it she'd have gotten this job done about eighteen minutes sooner by working smarter than me). As the main jack was in use because I'm too lazy to set up axle stands, this little bottle jack worked fine, but in a pinch I'd have used one of those dodgy scissor jacks if I had to.
ANYWAY, about that ballpark! Everything is sitting in the ballpark of where I want it to be, and close enough that I am happy to declare any small adjustments NMFP. And as soon as I source an appropriate set of bottom bolts for the front shocks (I hope you didn't think I'd drive the car any non-trivial distance with just one "spare" thread) she is going to have a visit with to people who have actual level surfaces to work on (and niceties such as hydraulic ramps which make working underneath cars less of a hateful experience than it is for me).
Yeah, this suspension change has completely ruined my handling for now; it has horrific bump steer and alarming amounts of understeer. That is entirely what I should have expected; replacing old and probably half-collapsed suspension with brand new stuff is of course going to substantially alter the geometry and it takes professionals with much more equipment than I have to get everything set up nicely. Something approaching a review of this suspension will be the next episode of "Lewis spends too much of his money on a 33-year-old hatchback".
Onwards!