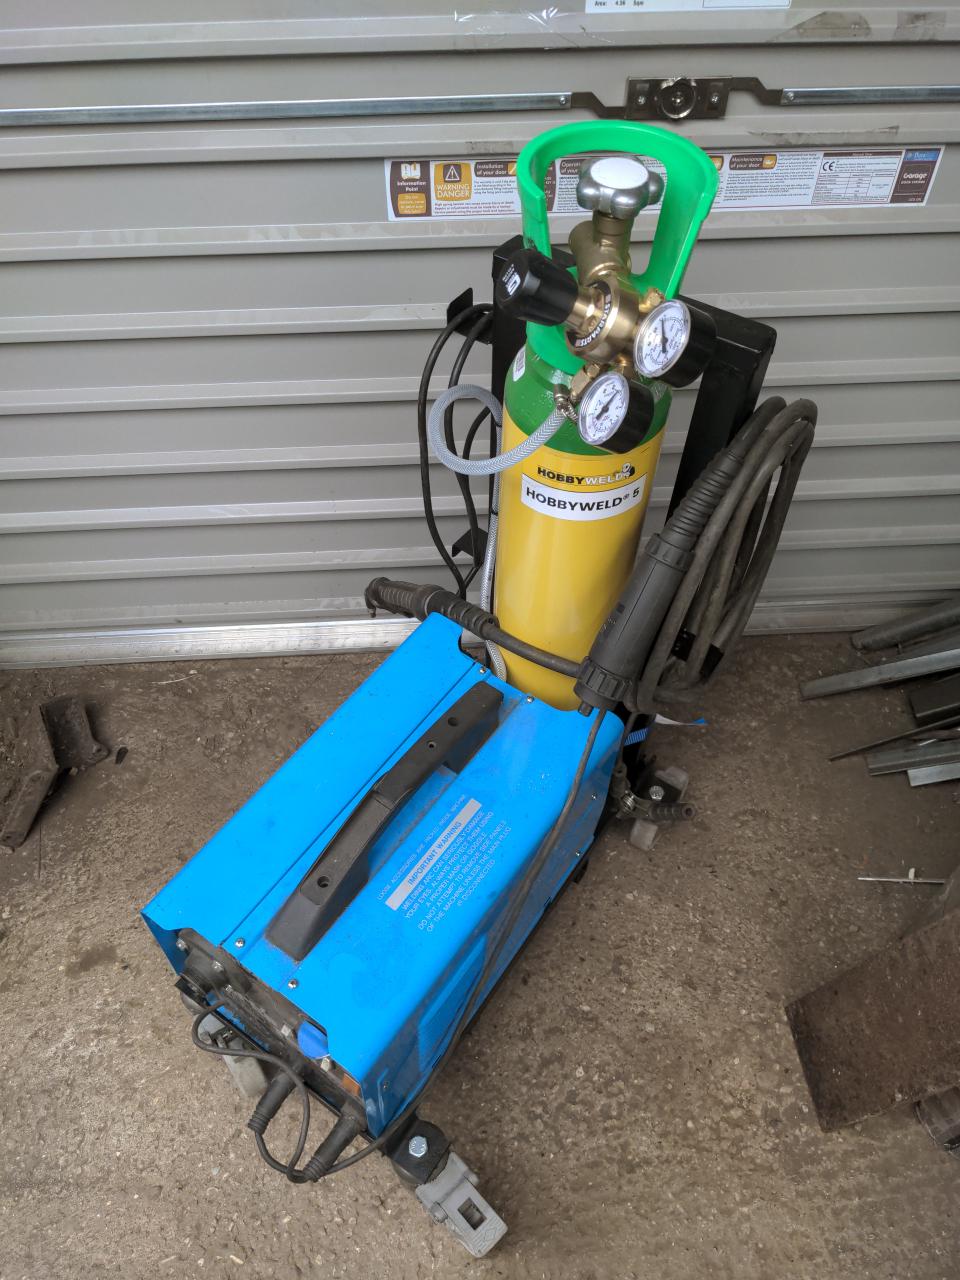
I made a cart for my free MIG welder
I built a welding cart. It was fun and it kept me out of trouble. It probably should have been my first project when I got the welder, and it wasn't. Maybe it could be yours though!
I built a welding cart because of this:
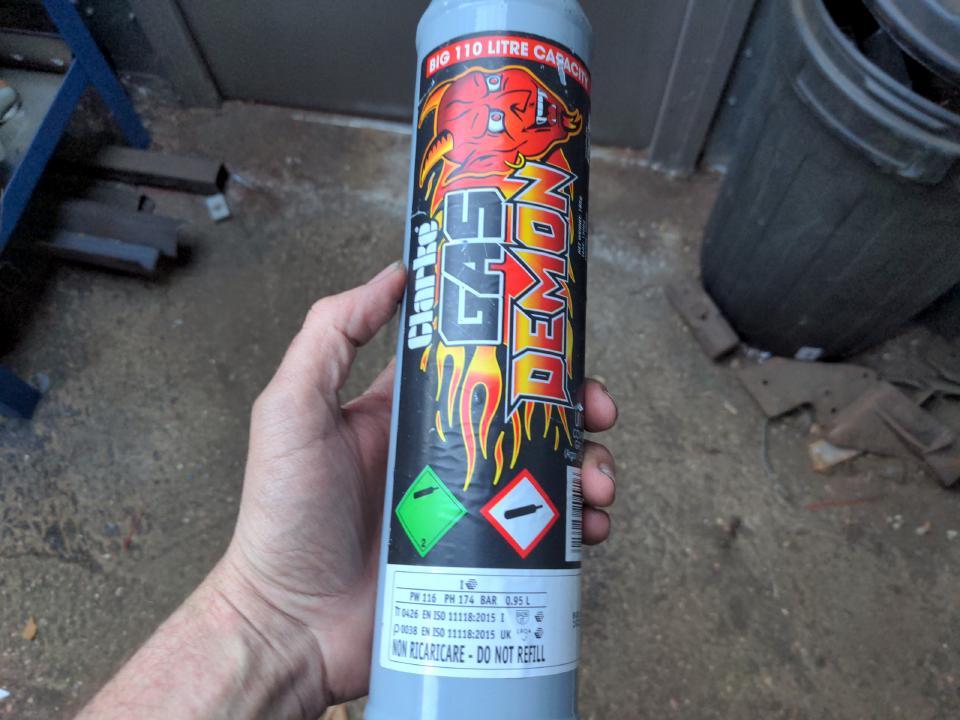
I know, the size and the branding looks like something from that special section of the booze shelves, targeted at a certain kind of drinker, whose promise is to get you smashed quicker and somewhat cheaper than the posher stuff. What it actually is, though, is a disposable Argon/CO2 gas canister for a MIG welder.
When I converted my free MIG welder to use a gas solenoid I bought a couple of these to prove the concept. I was told and I read, from people who have attempted to use them, that these disposable canisters are bollocks and a waste of money. But I thought I'd try my luck for a bit with these bottles, because telling me things does little good; I have to learn every lesson I learn the hard and stupid way. Once in about 50 times I end up with something that challenges the conventional wisdom; the rest of them I find that conventional wisdom is formed because of other people learning things the hard way so I don't have to.
Anyway, I found out that they are in fact bollocks and a waste of money. I ran the first of mine out very quickly in the middle of one of the P5's subprojects. That quickly soured me on the idea of continuing to buy these bottles, which of course escalated to a Side Quest.
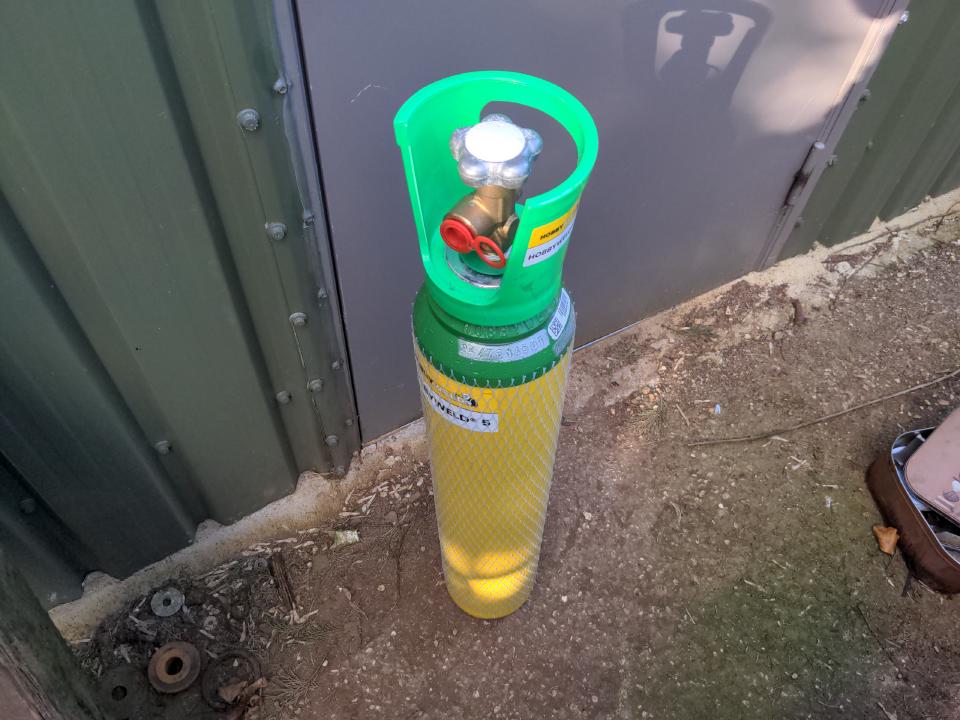
This is a bottle of mostly the same Argon/CO2 gas. It is also a lot bigger, which is why I am not holding it in my hand; it has about 20 times the capacity of the disposable bottles (despite the disposable's extremely creative "110 litre" claim). This comes from Hobbyweld. When it runs out you get it filled it up again, rather than throwing it away. You never own the bottle (as with all bottles); Hobbyweld is responsible for maintenance and replacement.
Diversion: How much cheaper is it?
These bottles, as said, have the capacity of about 20 of the disposable ones. I'm using the "Original" (small) size. As I write this, disposable bottles are £15.80 from Weldequip; I'll use that cost. Each refill of the Hobbygas bottle costs about £75, but you would have spent £316 on the disposable bottles.
You have a one-time deposit to pay on the bottle, which is also £75, which eats into the savings you might make on your first Hobbygas bottle. That means:
- After you have exhausted your first reusable bottle, you have already saved £166.
- Every time after that, each Hobbygas bottle you use will save you £241.
This is hardly nickel-and-diming! It's a massive saving!
Alternatively put, even factoring in the deposit, your initial bottle will cost less than a third of the cost of the equivalent number of disposables. With that cost paid off, your next bottle will cost you a quarter as much. It's kind of a no-brainer if you don't mind the initial deposit.
None of this factors in transportation costs, because that's quite variable from person to person. Either you will buy the disposable bottles online, in which case there might be shipping costs, or you will have to go out and buy them, which costs money each time. The latter is fine if you're within walking distance of somewhere that sells them or if you're already there buying stuff, but it adds up if you're making a special trip. Refilling a Hobbygas bottle means taking one trip; in the case of me and the £600 Fiesta that'll cost about £3 and one lunch break.
I don't like that the small bottles run out so quickly. I do like that they are extremely portable; you can just cable tie them to the back of your machine or duct tape them to the top and you'll be fine. I did not want my welder to become a static rig. And that means I needed a cart that could hold the bottle and the machine.
Welcome to the point! You can trust me that I'll get there, eventually, sometimes.
Let's start with some wheels, because like any good hot rod build, it's all about having the right wheels.
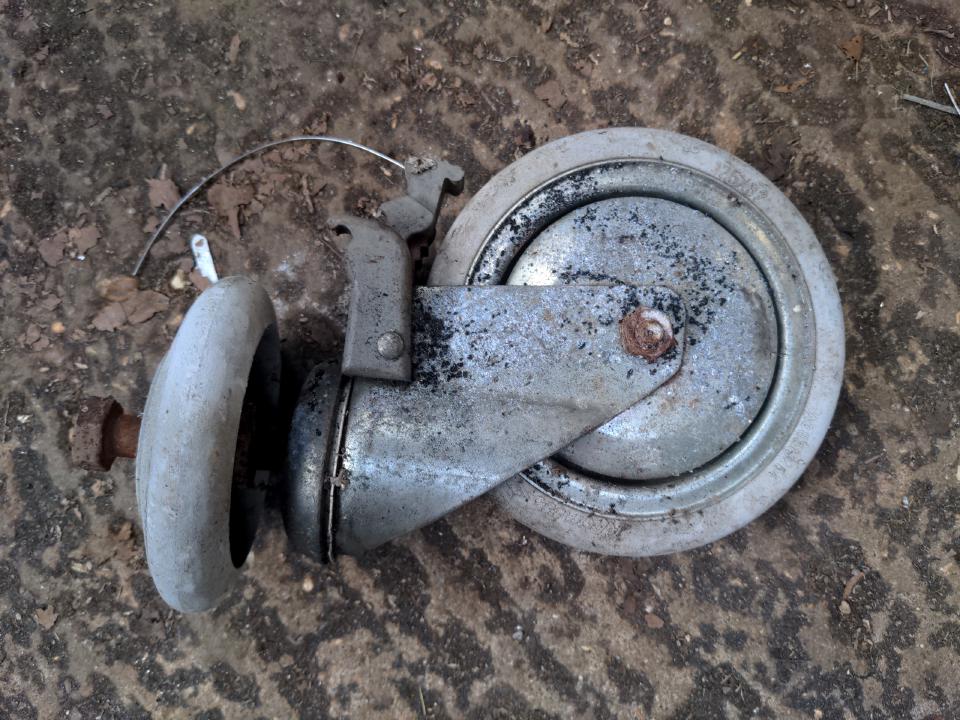
I paid nothing for four of these. My old man scavenged them from somewhere or other (I know not to ask too many questions), and he gave them to me for the project. They'll do the job; I don't care much how they look. Most likely they ended up in a pile of things my old man scavenged stuff from because one of the brakes on the two braked wheels does not work anymore. That's fine, because I don't work on any surfaces smooth enough for lack of braking power to be an issue.
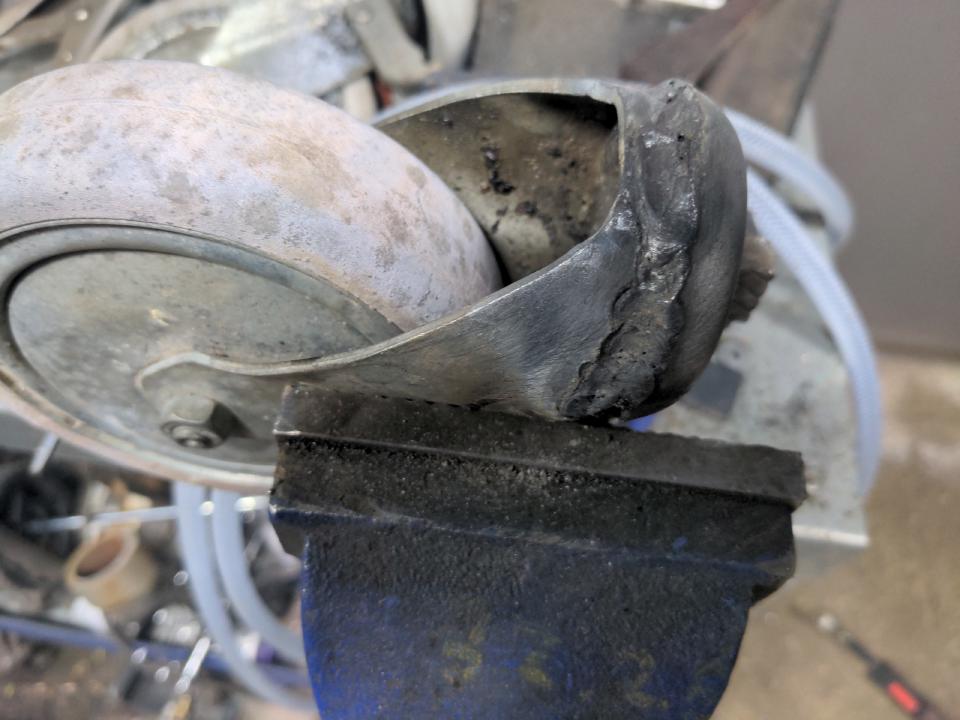
Two of these wheels - the ones at the gas cylinder end of the cart - needed to be welded such that they didn't pivot. That makes maneuvering a little more awkward, but I'll deal with it.
And that's something I will miss about flux core welding, which I used for almost the entirety of this project, because I ran out of gas. I didn't even bother to try and clean the grease out of the pivot; I just blasted it with flux core wire at full power on the welder and things stuck together (also set on fire briefly). Flux core is rather less fussy about cleanliness of surfaces.
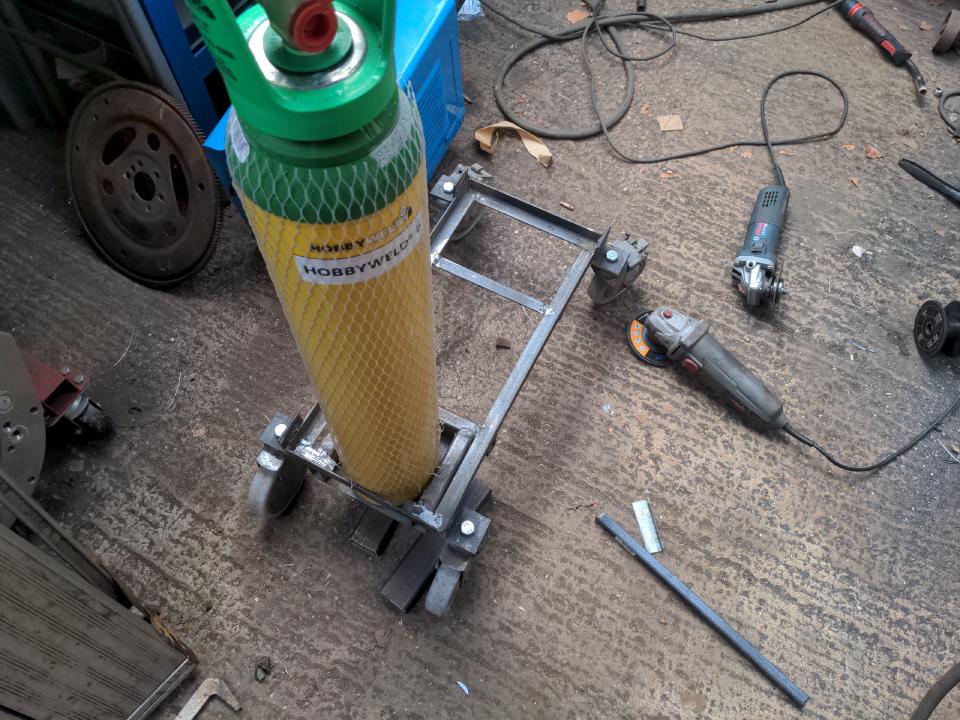
Next is the initial version of the chassis.
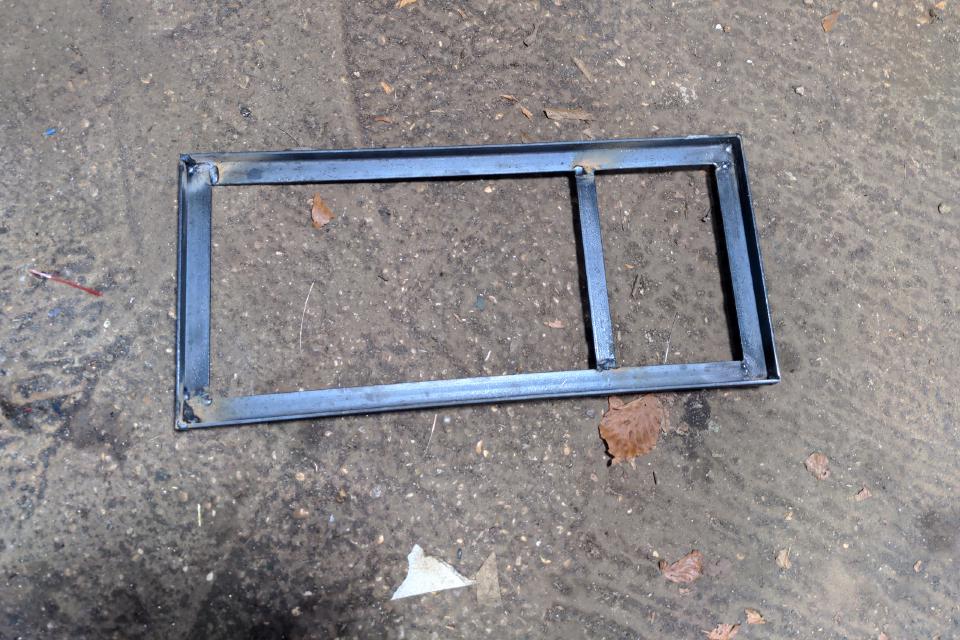
It is made of four pieces of one-inch angle iron, because I usually have a few metres of that kicking around. There is also some 20mm angle iron underneath towards the front, to give a little more rigidity. That was an offcut from something else I made.
The welder will sit on top of the horizontal flanges of the angle iron. The horizontal flange at the rear, where the gas bottle will be, will be cut off. The inside width (from the vertical parts) is just a tiny bit more than the width of the welder; I wanted this to be a snug fit. The length is the length of the welder, plus the diameter of the bottle, minus one inside flange width of the angle iron.
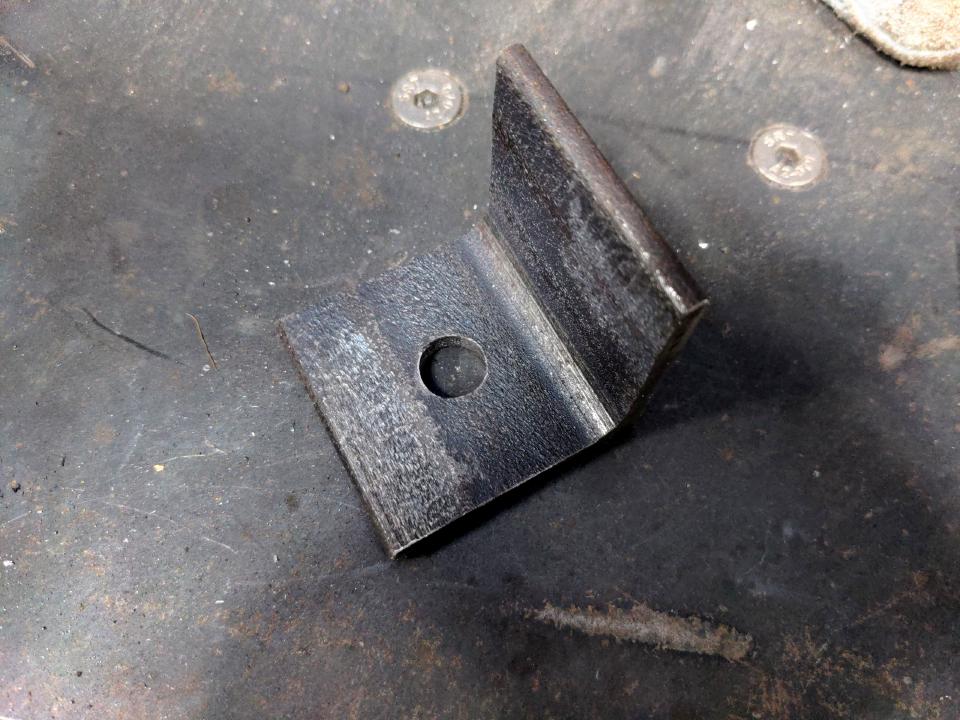
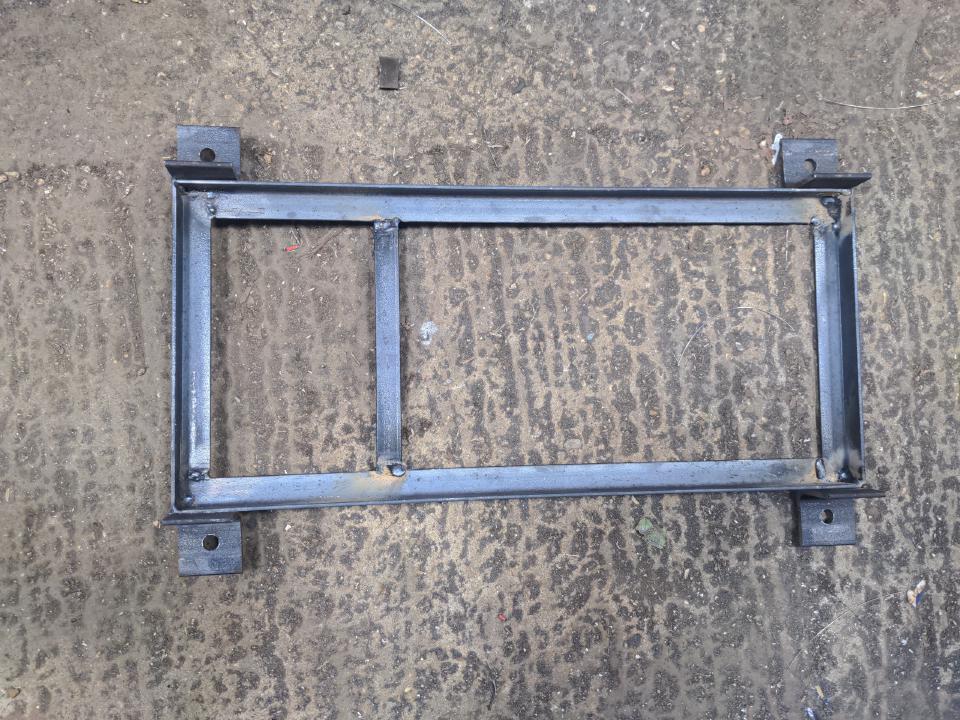
The wheels attach by four little pieces of 2 inch angle iron, about 2 inches in length, with an M12 hole drilled through it.
Those get welded on to each of the corners, on the outside. That's to give it all a little extra stability.
Aaaand the rest of this is going to be a bit like
because I took a day off work with the goal of completing it. With about eight and a half hours to complete the whole thing I was not even stopping for food, let alone taking pictures often. But that's fine; it's not a tutorial, it's just some stuff I did that I thought was cool.
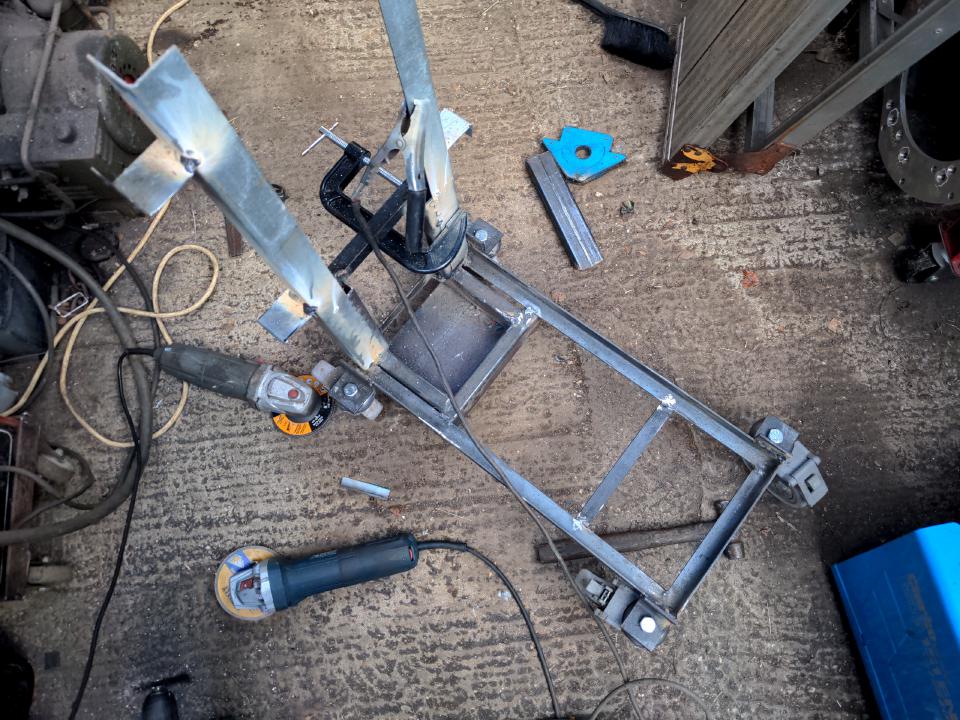
I decided that the gas bottle needs to sit slightly below the chassis. That is partly to lower the centre of gravity a little, making it more stable on the quite-tall wheels; I'll tell you the other reason later. So next was building a cradle for the gas bottle.
That was made out of some 2 inch by 1 inch box section with some 3mm plate on the bottom. The box section was out of some offcuts that I bought by the kilo from eBay for welding practice. The 3mm plate is something that I always like to have in the workshop, because it is useful for a lot of things. And now you can see why I welded the castors on this end shut; because the bottle is sitting below the chassis line, they would not have been able to pivot through 360 degrees anyway, and having wheels that can pivot some of the time would have been more annoying than the small impact on maneuverability.
Next up is a handle-like thing on the rear near the gas bottle. I'll call it the "pram handle".
This is only partly to give me something to push it around by. The bottom half is made from some more 2 inch by 1 inch box section, reinforced with another offcut of angle iron across the top. This is where the bottle will be strapped to. The cradle was tight enough on the bottle that it was rather stable by itself, but I like being on the safe side. In the end, I used a ratchet strap on the bottom (a dubious-quality one that I got for free; my gearbox was strapped to its shipping pallet with it).
The rest doesn't need to be very strong, so I used some 1mm-thick galvanised angle iron that I got for free off my brother, who saved it from a skip. The bits sticking out of the side are made from the same free angle iron. They are for wrapping cables around when the welder is stowed. It's neater than wrapping everything around the bottle.
A dry run shows that everything worked out more or less as I thought it would. You'll notice that there's a capping on the top of the pram handle now.
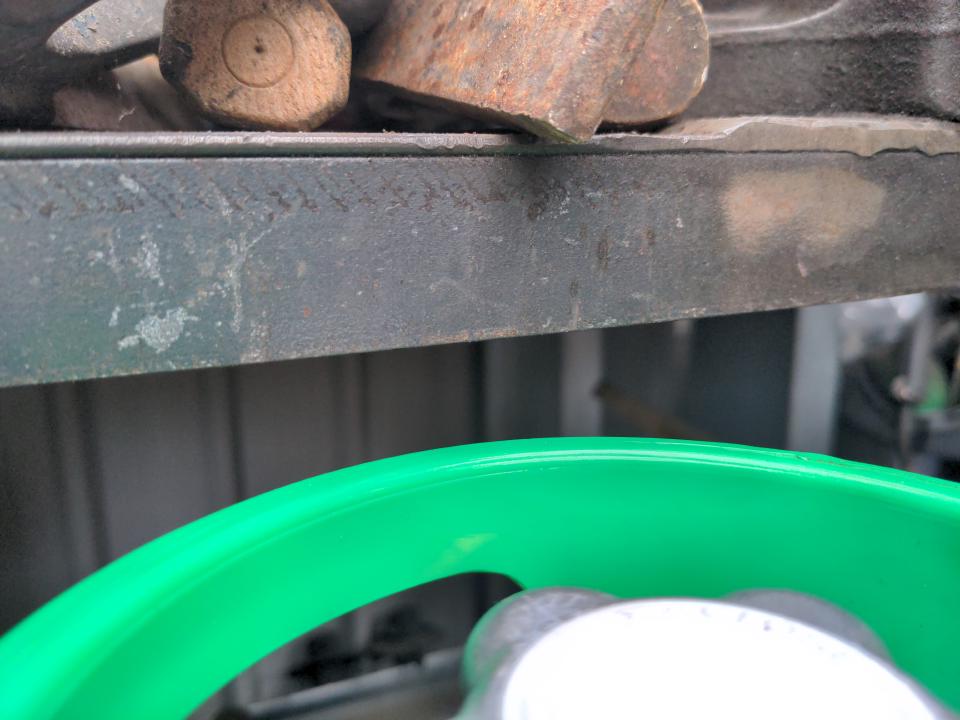
The most important part of this was to find out whether it would fit under the workbench in the workshop.
Of course it does, and now you know the other reason I made the cradle to drop the gas bottle slightly below the chassis.
:)
And that was the fabricobbling1 part done; I completed it on my day off, and then I needed a kebab unlike I have ever needed a kebab.
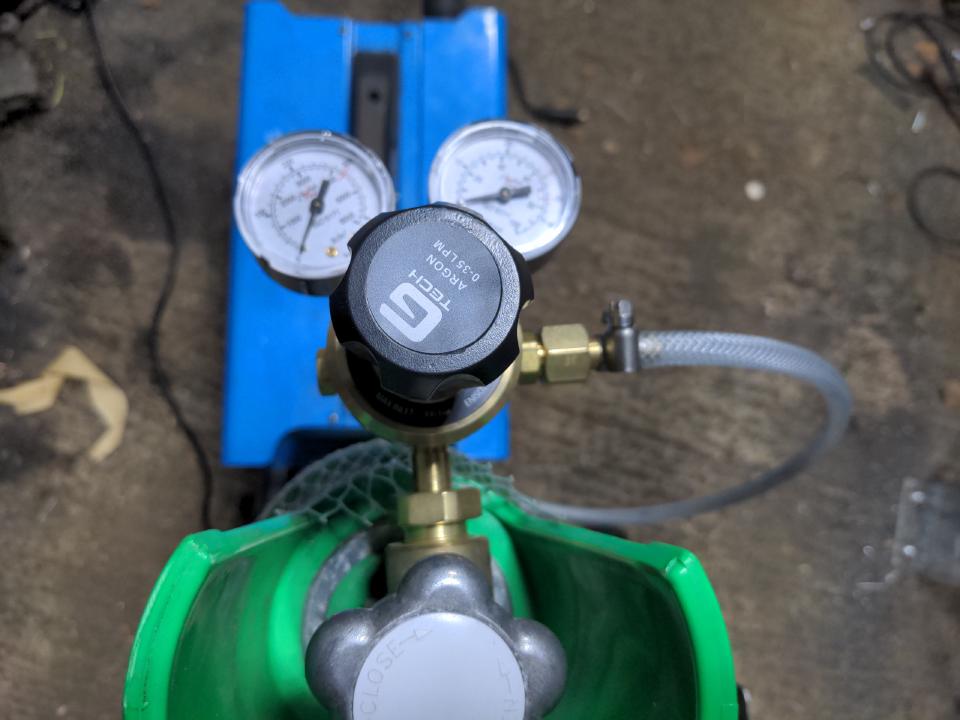
The rest moved into evenings after work. I fitted the regulator, which just screws in; no surprises here.
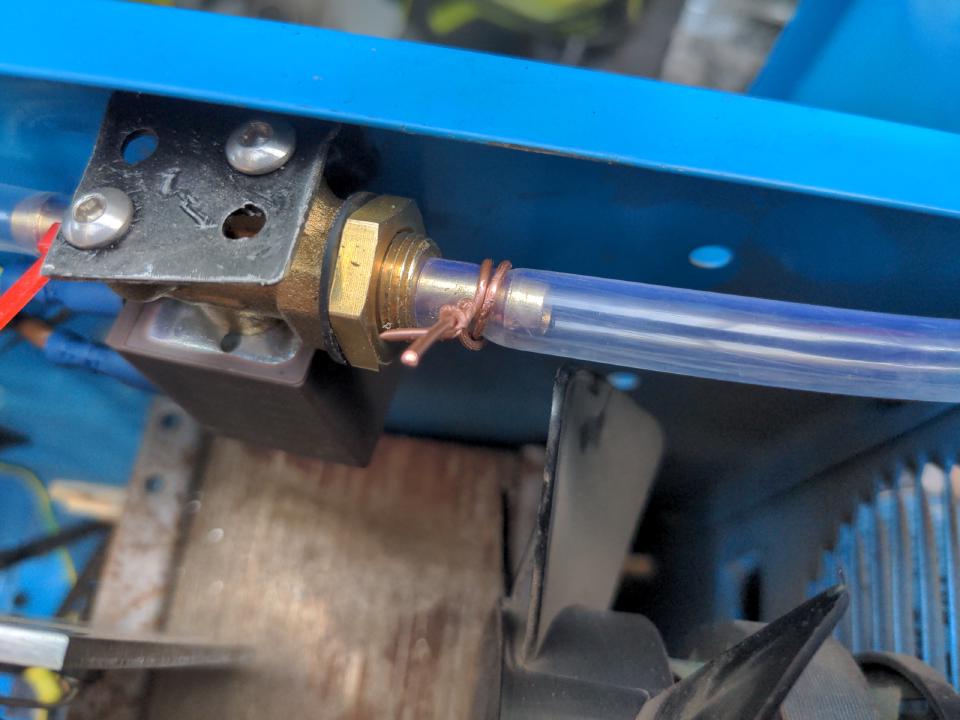
Because I needed to make the pipework into the welder longer, this gave me the opportunity to upgrade it. The old pipe worked fine, but it had an overall diameter of about 9mm. It is hard to get hose clamps that work with tubing this small; my brother fixed my initial leaks with the "piece of copper wire" expedient:
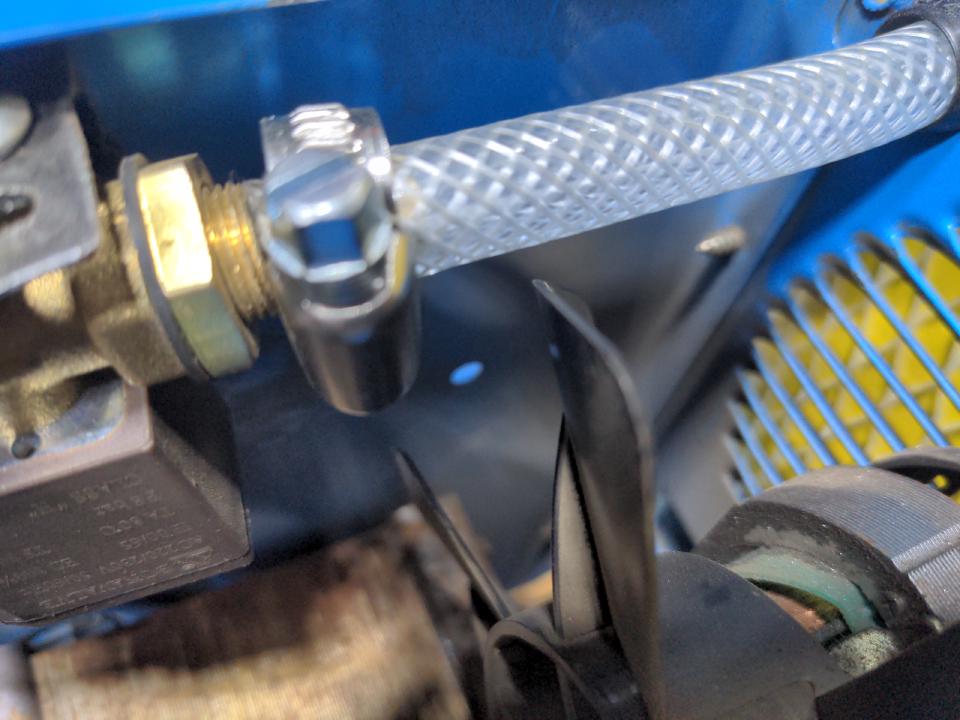
I tried a couple of clips that nominally would work down to 9mm, and they just didn't work. Thicker-walled tubing meant a larger outside diameter, which meant that I could use proper Jubilee clips. The thicker walls also mean it should be harder to crush, which might be significant given that much more of it is exposed than before. The extra thickness made it rather tight on the cooling fan...
...but that's another way of spelling "it still misses".
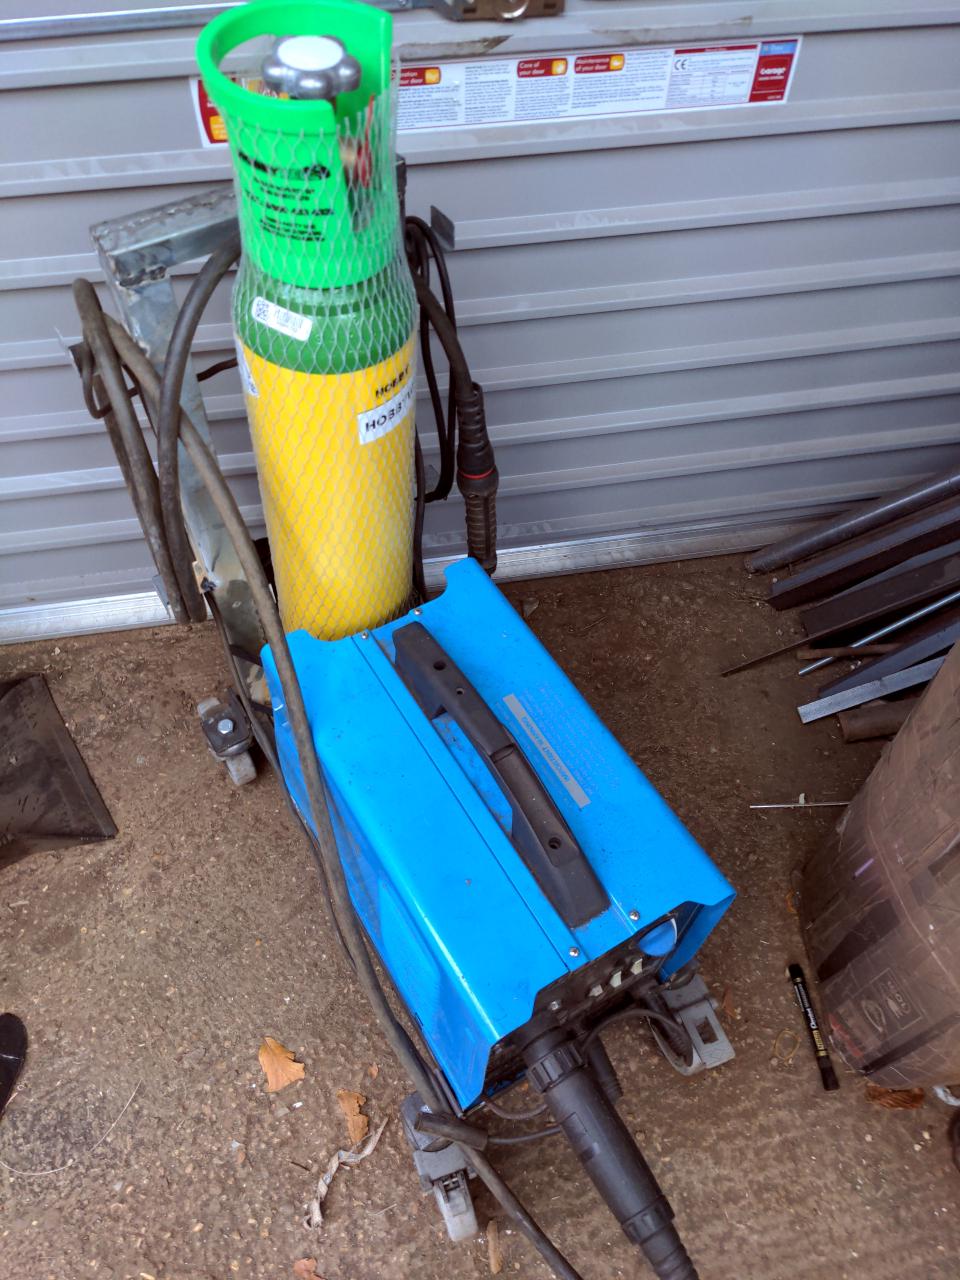
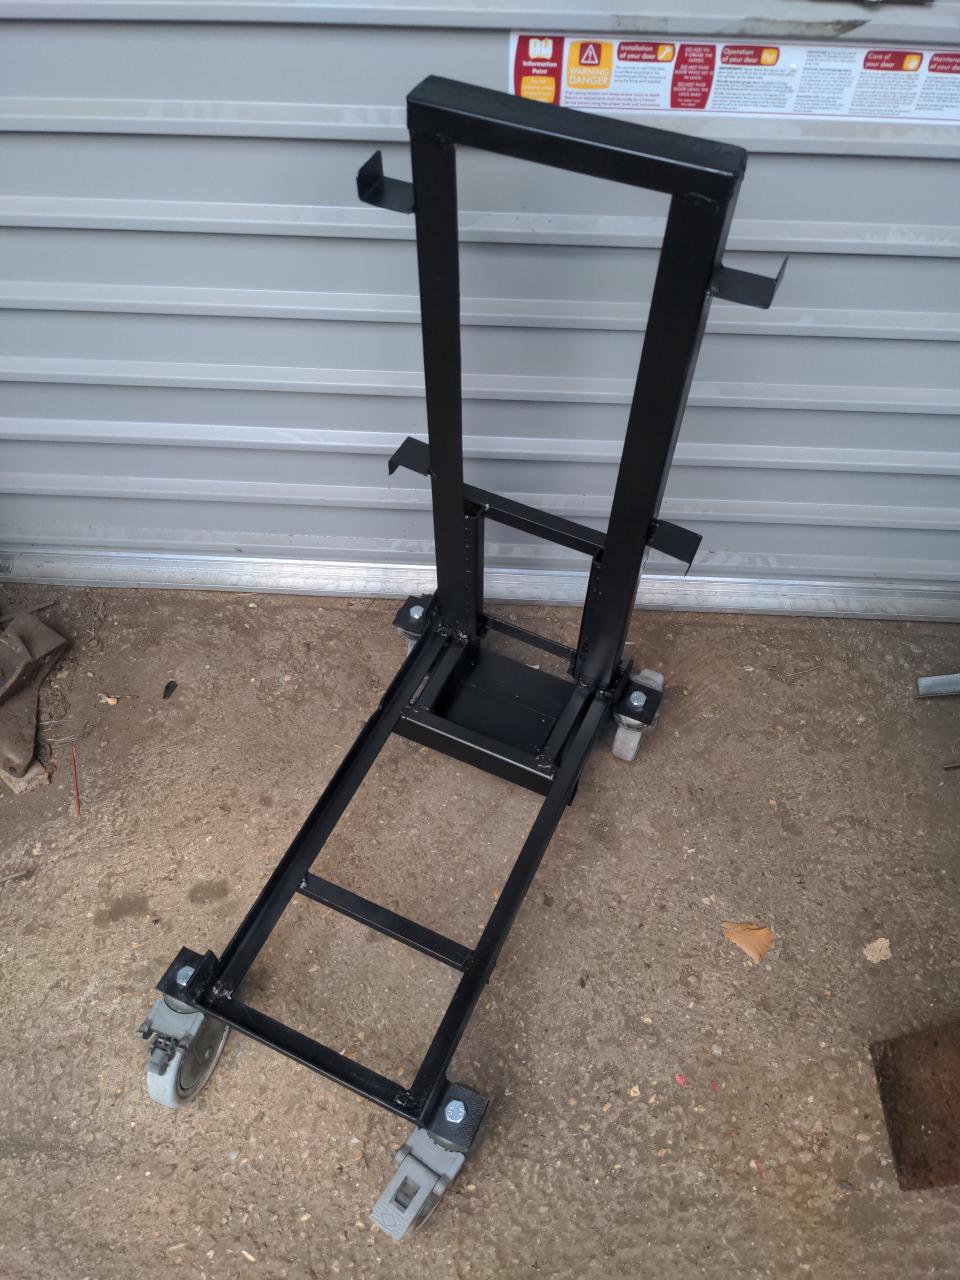
A lot of tidying up of welds and a couple of coats of Jenolite satin black paint made it look less like a bunch of random bits of steel stuck together, which it is, and more like a proper welding cart, which it also is.
Finally, with everything in place, the gas feed hose neatly routed (enough), and the cables all stowed, I have a welding cart that I'm pretty proud of. If hobby welders had dreams, this little Clarke that I got for free is living them.
And so, about a week later, that's the end of the side quest. That means I can get to the job I actually wanted to do when my MIG welder's gas ran out.
See you next time. :)
How much did it all cost?
I don't actually know! And it's not easy to work it out, either.
I can't price the gas bottle and its regulator into it. I built the cart because I wanted to use a big reusable gas bottle, not the other way around.
The angle iron and 3mm steel plate is stuff I had already. It wasn't exactly free, but I didn't really go to any expenses here either. When I visit my local metal stockist I usually pick up far more than I need for whatever project I am working on, because angle iron and steel plate always comes in handy.
The box section I used had a similar story. I bought 25 kilos of random offcuts for welding practice, and it costed me £32 shipped. I've used them for all sorts of things over the last year or so; I still have lots of it left after completing this.
My castors were free. I think if you couldn't find a place to scavenge some, you could get something similar new for about £20. All of the bits made from thin galvanised angle section were free too; my brother knows to save this sort of thing if he gets the opportunity.
So like, you can read that as "basically free, but only if you are me in very specific ways", and that isn't an entirely uncharitable reading. But the fun of this sort of project is that there's not really a wrong way to make it! If I only had bits of box section and steel plate, I'd have found a way to make it with box section and steel plate. If I didn't have free thin galvanised angle iron, but did have some tube, I'd have made those parts with tube. If I didn't have really big thick bits of angle iron to bolt the wheels to, I would have made those with steel plate and gussets. Scavenge whatever you can and make it fully yours!
-
A phrase I have stolen from Sarah -n- Tuned. ↩︎
