Posts filed under “Project Amy” (page 2)

Stories from the recommissioning of a 1987 Mazda 323 GTX. The GTX is the incredibly rare four-wheel-drive, turbocharged hooligan edition of the Mazda 323.

This particular one came off the road in 2007, I purchased her as a rotten restoration project in 2015, and she finally returned to the road in July 2020.

RSS feed for this category

One more job from the giant pile of necessary jobs

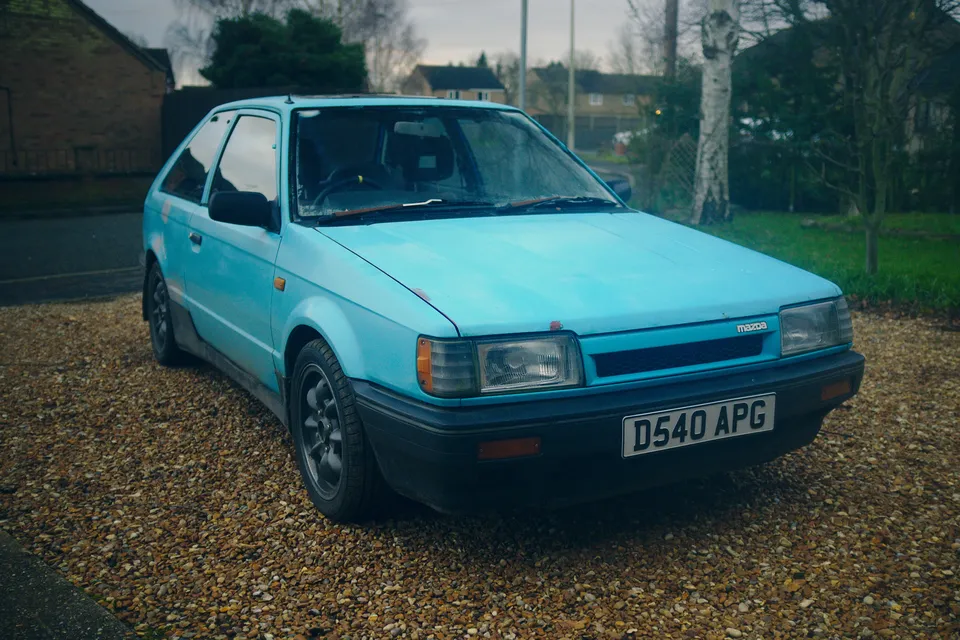
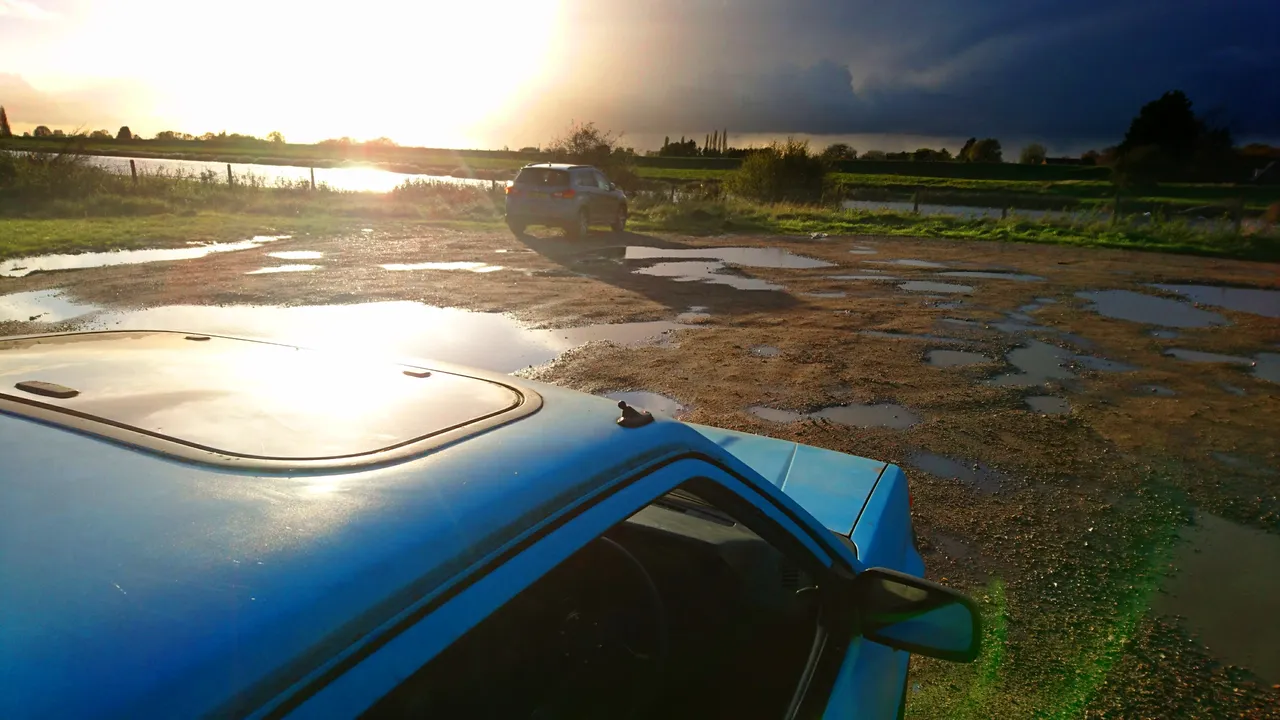
Mazda Amy has a new windscreen. This could have happened several months earlier. More about that in a moment.

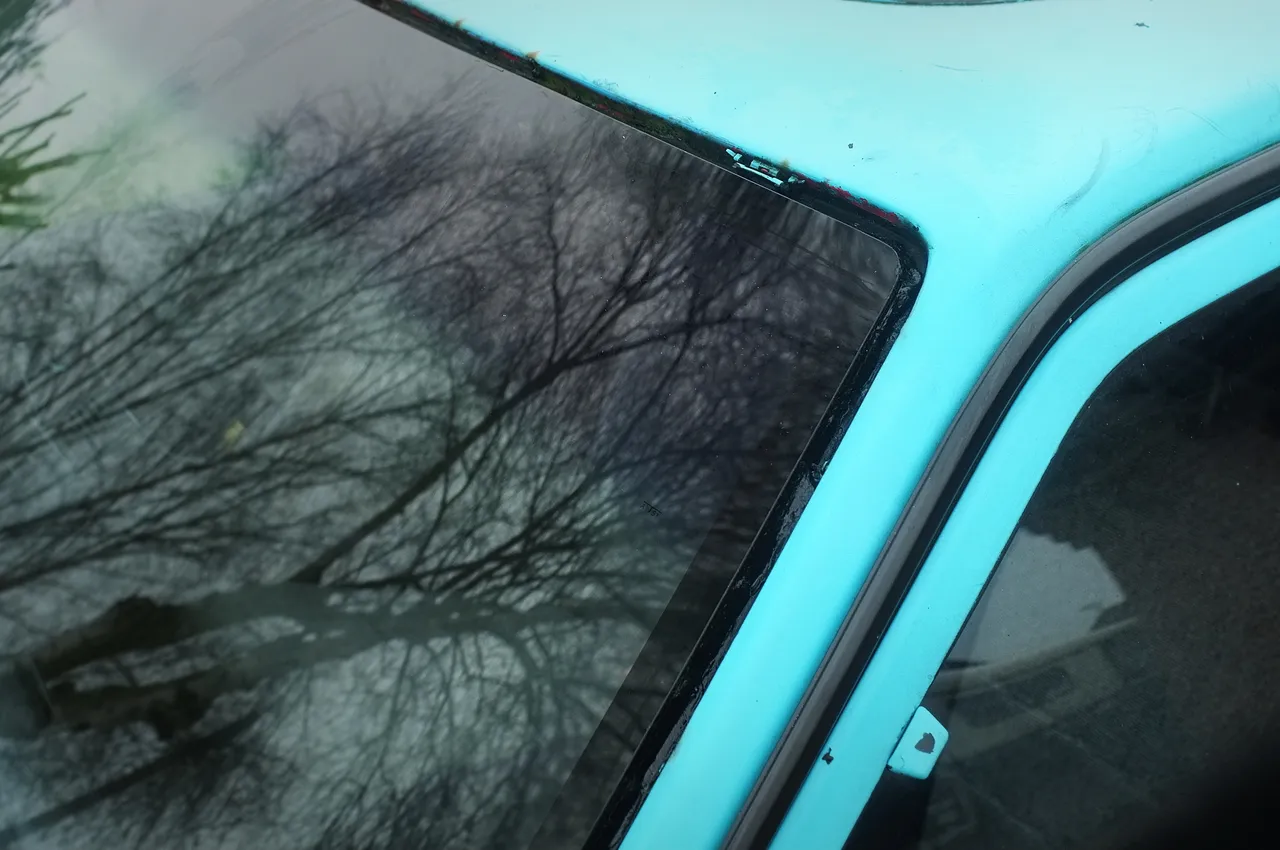
My windscreen was not broken. It was, however, severely fogged in the corners, where water had made its way into the laminates and had started to separate them.

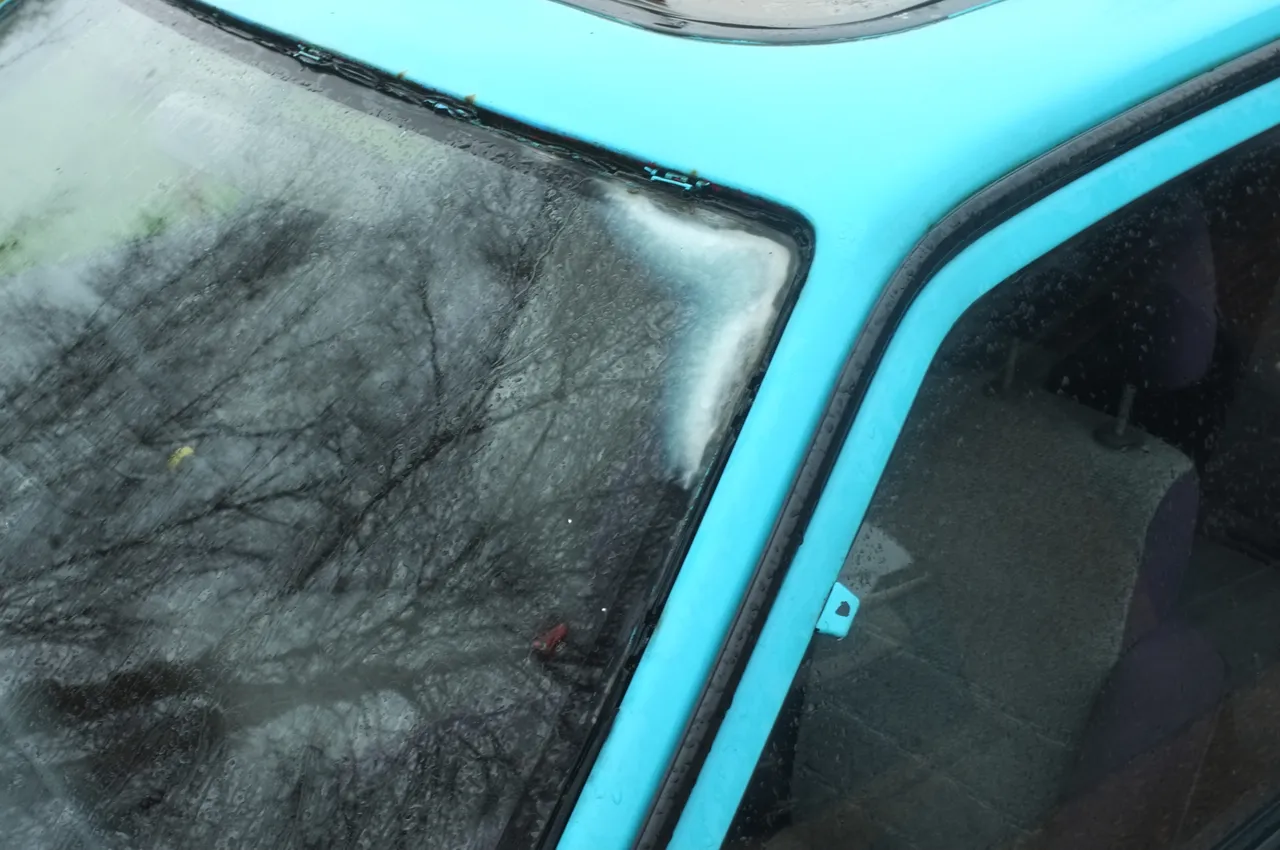
This is not an MOT failure right now, though it may have become one in the future as the fogging spreaded. It may have weakened the glass in the corners, though for many other reasons I'd be so completely doomed in an accident with the modern artillery tractors 4x4s half the country drives these days that I don't think it'd make any practical difference in an accident. I was not convinced that it was watertight. It definitely looked terrible, and was for some time on my list of things to fix.

The used market for vehicle glass is tricky. Whenever I've stripped a car for parts, the glass has always been nearly impossible to sell (and for windscreens, that can only happen if one manages to get the glass out intact, which only ever happens on non-bonded windscreens from very old vehicles). There's usually only a small time window available; you generally try to get rid of the glass at the very end, right before you send the shell off for scrap. That means when you're looking for glass you'll almost certainly not find it.

Not that I really wanted a used windscreen, but going used is often the only option for very old and/or rare cars. I certainly did not think that one of the mainstream glassmongers would be able to obtain one, so I did not try. It was as a last resort that I thought to try Autoglass, whose site claimed they were able to do a replacement. It seemed implausible to me at the time, but I rolled with it.

I originally booked this replacement in October. I heard nothing back for a couple of months. When I poked them last month the very nice lady on the phone explained that it entered their system, and then nothing happened, for unclear reasons.

Not to worry. Autoglass Lady quickly made things right, and Autoglass went about sourcing a new windscreen. When they got back to me, the same Autoglass Lady (or at least sounded the same) used the definite article ("the windscreen") in quite a precise fashion; a fashion that implied the windscreen they had sourced was the only one they could find in the country. So if you've come here from a search engine because you're trying to source a windscreen for your BF 323 in the UK: I probably took the last one. I'm sorry.

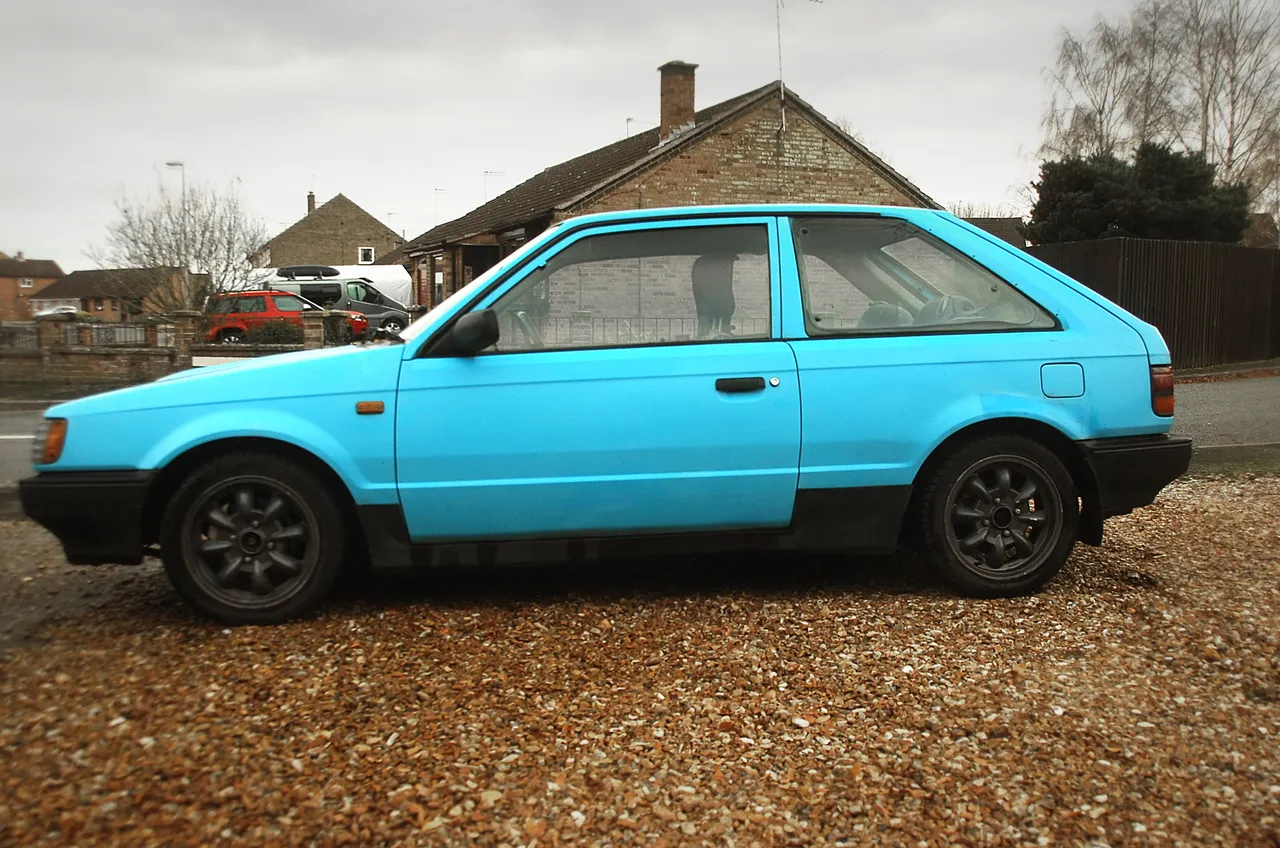
The windscreen has a blue tinted sunstrip, which the original did not. My car is blue, and will be staying blue even after I get it into a bodyshop, so I am okay with that. Even if I wasn't okay with that, I'd have to deal with it, because it is the windscreen and I will take whatever I can get.

I can't even remember whether I have windscreen cover on my insurance, and I do not care to look right now. But even if this was eligible for an insurance replacement, which is unclear, claiming for it would have felt fraudulent as I knew about this problem long before I insured the car. So, I paid for this out of my pocket. The cost was a mildly eye-watering £431. That included fitting, of course, as this is definitely not a job I would consider doing myself, but still...

I won't fault Autoglass for this, because this is an exceptionally rare car (even in non-turbo, non-4x4 form) and I would expect the price of the windscreen to be priced accordingly. I'm actually very happy with them, because once the disappearing-booking mistake was rectified their service was outstanding, and because they managed to source the windscreen, which is something I never expected.

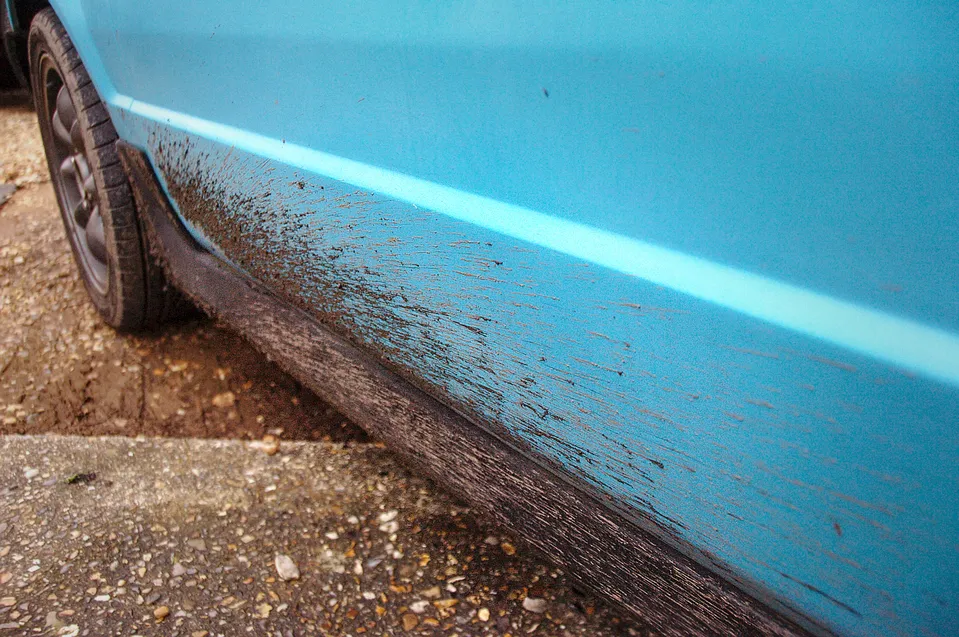
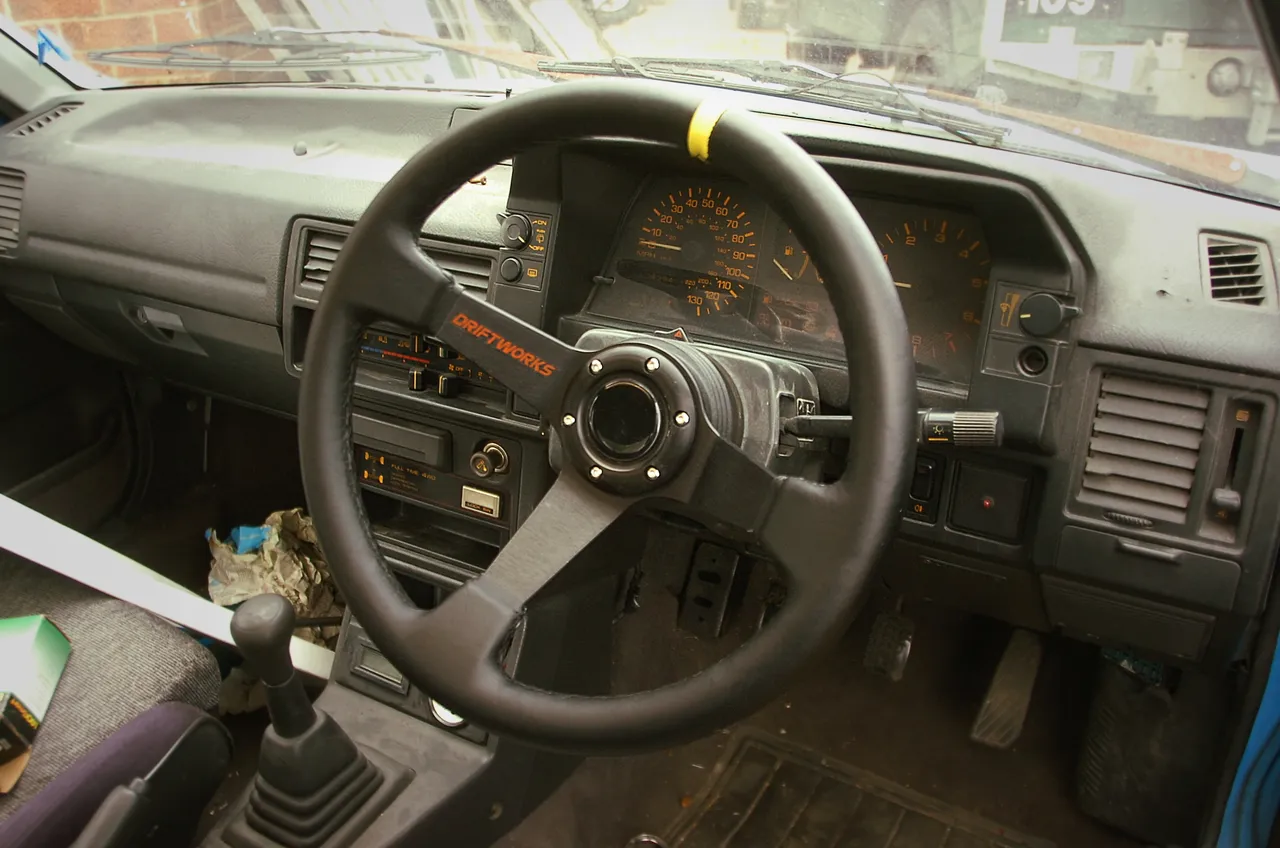
So that's one more pile of cash in the furnace, and one more job out the way. This also means I can tidy up the trims that normally cover the very visible gap you can see and get those fitted, too.

Onwards!

The Suspension: the final episode

Today, I decided to take a look at the Gaz rear suspension that I removed a few days shy of two months ago.

I know, it looks like shitty old suspension and maybe that's because it is. But this was a nice and rather expensive bit of kit in its day. Back in 2007, when my brother owned the car and had some intention to get it back on the road after a failed MOT, he replaced the rear shocks with two of the custom-made Gaz shocks seen here. These cost £250 for each shock absorber back then (about £300 inflation-adjusted).

Before the K-Sport "biting the bullet" episode, I had the idea that maybe I would also get Gaz to custom-make some front ones too. I decided not to; even at the non-inflation-adjusted price, that would have been £500, minus the desperately-needed new springs both front and rear. Each corner also needed new top mounts (which would have been another very expensive custom job) and even that would have left me unable to adjust preload and ride height separately as I can on the K-Sport setup, so they had to go.

That made me sad, because I knew these shocks, as old as they are, had maybe 100 miles of driving on them, if that, and that it was top-quality stuff in its day (and still is). So today, I decided to give them both a bit of a cleanup to see what they looked like. Top is before, bottom is after:

Tools used: Brillo pads! I'm not kidding. If you need to remove tarnishing or crap from any metal, a slightly damp Brillo pad is your best friend. The steel wool is only slightly abrasive, and with the built-in soap and a bit of water they glide over whatever you are trying to make pretty. On top of that, I used some electrical contact cleaner (for when I needed to quickly blast away the soap residue to see where I was with the cleaning), paper towels, and a little WD40 to lubricate the threads on the shocks to make it easier to get the bottom nuts on.

It's a tribute to Gaz that even after 13 years of disuse and only a hundred miles of use that they are still in really rather good condition. There's a tiny bit of pitting on the shafts but otherwise these shocks are close to perfect and still feel great today!

I don't know if these will make any amount of money that is worth my time to list them on eBay. I am not worried if they don't. They're just too nice to go onto the scrap pile, and I would rather see these go on a car again rather than being recycled.

Onwards!

Backroads are fun

The backroads were rather fun this weekend. For whatever reason the tractors around here have been busy this weekend, and deposited a ton of mud onto the wiggly roads around here. Which is fine, because that's where our food comes from and all. The tiny 4wd Mazda was bothered by it even less than I was. I'm amazed at how well she handles on greasy roads!

This weekend's blasts were mostly about debugging a whole lot of squeaks and rattles coming from Mazda Amy's interior trim. I bought a huge box of assorted varied trim clips that might help with this.

Onwards!

Coming soon: Banging choons

Edit (March 2021): Change of plan. I decided against having any kind of stereo in my car. Without cutting up any panels, I would never had a stereo that sounded really good, and also because hearing the engine is far too important to me. The latter isn't just because I like the noise, though I do; it's because I need that feedback to instantly know when something is not right with is. This head unit has been sold and was posted off for its Forever Home in a Porsche 928.

This is a Blaupunkt Vancouver SQR 45 head unit. As I am told, it was originally fitted to some expensive, high-end German cars. I believe, but do not know, it would have been fitted to the Porsche 944, and possibly the Porsche 911. Hopefully, someone coming here via a search engine will be able to correct me some day.

I got this for free, some years ago. Via some chain of events that I'm probably better off not knowing about, it ended up in my mum's 1988 Suzuki SJ410. A few years ago this Blaupunkt was, while still functioning, acting a little erratically, so it got replaced by a much more modern unit with a CD player, USB, and all those other things that people in the 1980s did not know they needed. This head unit was going to go in the bin. I thought it was too nice to go to landfill, and that some day it'd be a nice addition to Mazda Amy (which lacks a stereo), so I saved it.

Then some time passed, and with my car mostly working as it should, I decided I should actually do something with this stereo, so I got in touch with Bal from Retro Car Audio UK who did a refurb to bring it back to life. This cost me £285, which for most people doesn't resemble "cheap". I would not want this work to be done cheaply, because you get what you pay for. And this work was done on a rather rare head unit that I have seen selling for £200+ in working condition (not "refurbished by a pro and works exactly like new", as anything is when Bal is done with anything), I think the price was extremely reasonable. I could probably make a small profit selling it, though I don't plan on doing that.

The failure sheet, quoted directly from Bal, was this:

Power supply stiffening circuit malfunctioning

Radio PLL synthesizer circuit failure

Capacitor failure throughout - I will replace all electrolytic capacitors.

Cassette mechanism needs a full service

Volume pot oxidized

So it goes. Hey, Lewis-logic says it was a free stereo! Just like that time I bought a "cheap" Mazda 323, ha ha...

Anyway. It's here. It's lovely. Bal has done an extraordinary job. There are some practicalities I need to work out, though.

The UK edition 323 GTX had the stereo as an option in the "Lux" version of the car (that edition also including a body-coloured bodykit and alloy wheels). This stereo system only had two tiny speakers in the dashboard. The Rallye edition never had a stereo, but retains the two places where speakers would have been. Now, this car is extremely loud, because of its minimal sound deadening and 3" straight-through exhaust, and might get even louder in the near future via a tubular manifold and probably an obnoxious, totally illegal external wastegate. I'm not convinced that two tiny speakers are going to supply sufficient loudness, even with today's speakers being vastly superior to anything that existed in the 1980s.

But, I will not cut 6x9 holes in the parcel shelf I spent years trying to find (though I did briefly troll my brother, who acquired it for me, into thinking I would do just that, which was fun), or cut speaker holes in my even rarer original door cards. I need something stealthy. I think I can use the space under the front seats for a couple of compact subs, and maybe use the coin/random shit holder below the diff lock switch in the centre console for a small mid speaker.

There's also the small matter of getting the head unit to fit into the hole where a stereo should be. This may require home-brewed brackets!

Something that is not a practicality concern is the lack of an aux jack. Cheap tape adapters that you can buy for so little money that they may as well come free in your Corn Flakes are, by all accounts, remarkably good. Technology Connections from the YouTube explains why:

And because I like physical buttons, because I have a huge MP3 collection, and because I like not farting around with my phone while I am driving (it goes in my glovebox, on silent, and yours should too): this is probably going to be paired with a 5th generation iPod, running Rockbox. Or maybe I'll start a tape collection instead!

I'm also not totally happy with the backlight of the LCD on this one being green, when the illumination for the rest of the dash is consistently yellow/orange, but I'll park that one, for now.

Ah well, I'll poke around things this weekend. One expensive thing at a time.

Onwards!

Sitting pretty

So the alignment is done, and the figures in the photo showed that I didn't do a terribly bad job with my bottle-jack alignment. But, lacking a level surface, let alone all the tooling and knowing what the fuck they're doing that a real garage has, I took my car to Autoleys in King's Lynn.

They normally work on BMWs, and it was quite fun bringing down the tone in their car park with a shitty-looking 1987 Mazda 323, but bringing down the tone wasn't why I picked them. It was the first place I found that would do alignment that didn't involve me driving on main roads. Not that I don't trust this car or anything, given that I'd already sorted out the horrific bump steer and the dangerous understeer, but.

Anyway, this got done. I found a way to kill two hours in King's Lynn while Autoleys did what they did. And this car is better than she has ever been. I only write about this today, rather than on Wednesday, because I've had a chance to take her for a proper hoon two days in a row. Which means I can talk about how good the K-Sport suspension setup is now!

So, I've got my ride height exactly where I want it now:

Which partly happened by accident; from a previous episode, I took some dimensions from my collapsed former front suspension and used that as a baseline for my new suspension. Turned out that when you put not-collapsed brand-new front suspension following the old dimensions, the ride height is where I want it. No sump-smashing. There are no more "lows", but there are no also more scary noises when I hit a bump too fast.

I must say that the K-Sport suspension is awesome. It was horrendously expensive and I am happy with every penny I spent on it. The K-Sport suspension combined with good Toyo rubber means this car runs out of cornering ability long after I run out of bravery. Because this setup is okay with back roads and their corners at any speed, that also means that there are a lot of bits in the interior that are rattling at speed and it's quite hard to debug those rattles. That merely annoys me; maybe I'll find someone to ride with me and help me with that some time.

This chapter concludes with this: Everything is great. My car is still my favourite car in the world except that part where she's now both burning oil and leaking it from the front crankshaft seal. But that, is a thing to be solved another day.

Onwards!

Priorities

This week's problem: extremely low engine idle speed. It wants to sit at about 200-300 RPM, which is so low that it stalls or near-stalls the engine. This happened out of nowhere yesterday. This, only takes a few minutes to fix with a screwdriver.

So, instead of solving that problem I got a Bad Obsession Motorsport sticker for my horn push! And doesn't it look good.

It's actually lovely quality (it's very thick), and I reckon that's given me about another 15 horsepower. Or maybe it hasn't, but it's definitely a good idea to represent the greatest angle-grinder engineers in the world.

Onwards!

In which I spend a weekend on my car and don't make it worse

The title understates the success of my weekend. I actually improved it!

You may remember from the last episode:

Actually, that's a different photo; I used my trusty, battle-scarred SLR to take a photo today in the hope I'd get a better photo of the same thing, and still managed to get a bad photo. Maybe I'm just doomed if I try to take photos of anything but BMWs driving sideways past me at 50 miles per hour.

Anyway, that was the thing I worked out wherein I found it was much easier to get the bottom bolts in if you jack the hub up. At some point in the week, while working on something completely unrelated, I had a lightbulb moment: I had bolted up the front coilovers when the hub was dropped, which, from what little I know about suspension geometry on a car like this (mostly learned by osmosis from the drifters), means that I had ended up dialling in positive camber to the front suspension, which would almost certainly explain the bump steer and the near-dangerous amount of understeer.

I guess that's one of those things you don't know unless you know it; I've only fitted suspension on ancient Land Rovers in the past, so I don't feel bad about it. The upshot is: If you're doing coilovers on a car with fully independent suspension, always jack up the hub to roughly its natural sitting position (since your car is going to be jacked up when you do this, remember you need to do this relative to the body and not the ground) before doing up the bottom bolts.

So that's what I did when fitting my new longer bolts (sourced from the wonderful Franklin Industrial Supplies in King's Lynn, and picked up for me by the equally great Maurice due to my lack of a safe vehicle, so thanks to both). With the car back on all four wheels, I took it for a swervy spin down my street to get everything settled to where it wanted to settle, and with that settled down, I measured the gaps on each corner between the arch and an arbitrary point on the sidewall with my cheap Vernier.

Hey, I hate to boast about getting my front ride heights within two millimetres of each other, but it was a complete accident, so I'm probably not going to boast about getting my front ride heights within two millimetres of each other. I rather liked the extra ride height on the front, so I decided to raise the rear suspension to match it.

This is merely time-consuming, rather than difficult, especially when you know the thread pitch is 1.5mm. Working from the measurements I have, I needed to raise the rear left by 20mm; that meant unbolting the rear shocks at the bottom (and loosening them at the top, to give me some room to wiggle the shock around) and unscrew the bottom mount by 13 turns. I needed to raise the rear right by about 7mm, which meant unscrewing the bottom mount by 5 turns.

After that, it was time to go for a little spin on the bumpy backroads around here.

Yeah, that's a 'car park' around here, but the roads aren't much better...

And the end result...is the bump steer is almost gone, and the understeer is gone entirely! Yep, it still needs a proper alignment from people who know what they are doing and who have tools I don't have, and I'm going to see where I can get it booked in next week to make that happen, but I can confidently say this: The new suspension and the ride height has completely transformed the car. Yeah, the K-Sports were a bit of a fiddle, and you cannot fit them unless you have some minor fabrication skills, but they are awesome even at speed on the terrible roads in this little corner of Norfolk.

There's one more good thing that came out of this. Let's go back to the Driftworks steering wheel I bought and fitted a few months back:

You may notice that in this photo, the steering wheel is at a bit of an angle. The fun part is that this was with my steering centred. And no, this could not be because the boss was fitted incorrectly; there are two nubs on the Mazda steering column that meet two holes on the Mazda steering boss, which means it is impossible to get that wrong. It was annoying; because of the low sitting position in the Mazda, it meant that one of the spokes of the steering wheel was blocking the speedometer in the 20-30mph range.

Unfortunately, it was not quite out enough that I could unbolt the steering wheel and rotate it by one bolt spacing (6 bolts, so 60 degrees). I wrote this off as "I'll deal with it some other time", as I didn't want to pull the engine out to get to the steering box to fix a minor annoyance; I figured I'd get someone else to pull the engine out to get to the steering box to fix this minor annoyance at some point. I'm glad I didn't, because with the new suspension sitting correctly this happened:

Which looked like everything had changed, such that the steering wheel was out by almost exactly 60 degrees, which meant I could unbolt and rotate the steering wheel by one bolt hole to the left:

And well, that's actually still not totally straight, but it'll do. And does that mean I actually fixed a steering alignment problem with this car with a prehistoric Halfords bottle jack? I don't know if I did, but that's not the story I'll tell everyone else in the future.

In short: I got everything done that I wanted to get done this weekend and fixed a thing I didn't even intend to fix. And that, means it was a good weekend. :)

Onwards!


So last night that thing happened wherein the clocks shift by an hour, for entirely unclear reasons. I figured it might be time to change the clock in the car. I've never looked at the clock, really, other than that brief time when it was a canary for electrical problems. I've certainly not changed it; that means that the clock has not been set in 13 years. Today, I looked at it:

The time was actually 3:33pm (what sensible people call "15:33"), so when you ignore the clocks changing, the clock has lost 6 minutes, in over a decade. That's pretty impressive!

That LED poking out of the clock annoys me though. That's probably a remnant of the vestigial alarm system. That vestigial alarm system is something that I want to get rid of. But that, will come in a much later episode of "Lewis spends too much money on a 33 year old hatchback".